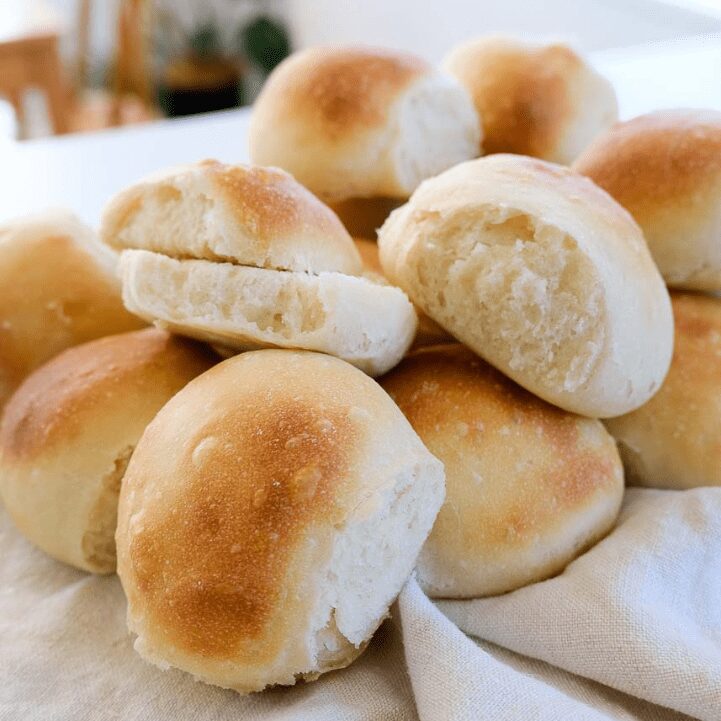
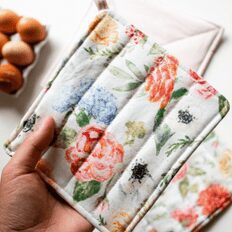
Latest Posts
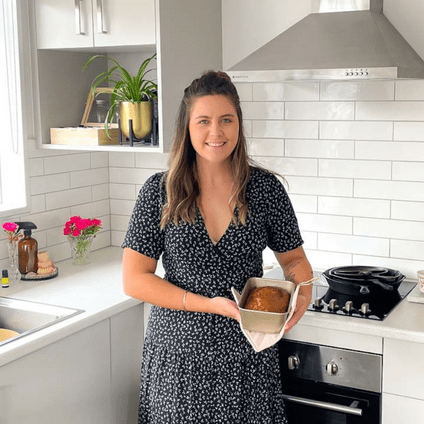
Hi, I’m Makyla
I’m so glad you’re here! I’m an ex-fashion buyer turned homemaking enthusiast. Through tutorials, tips, and recipes, I inspire and encourage others to embrace their creativity and create beauty in their homes and lives…


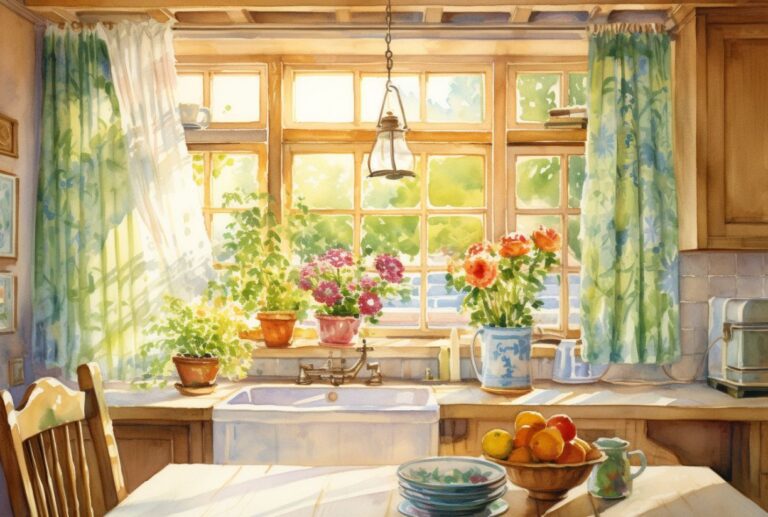
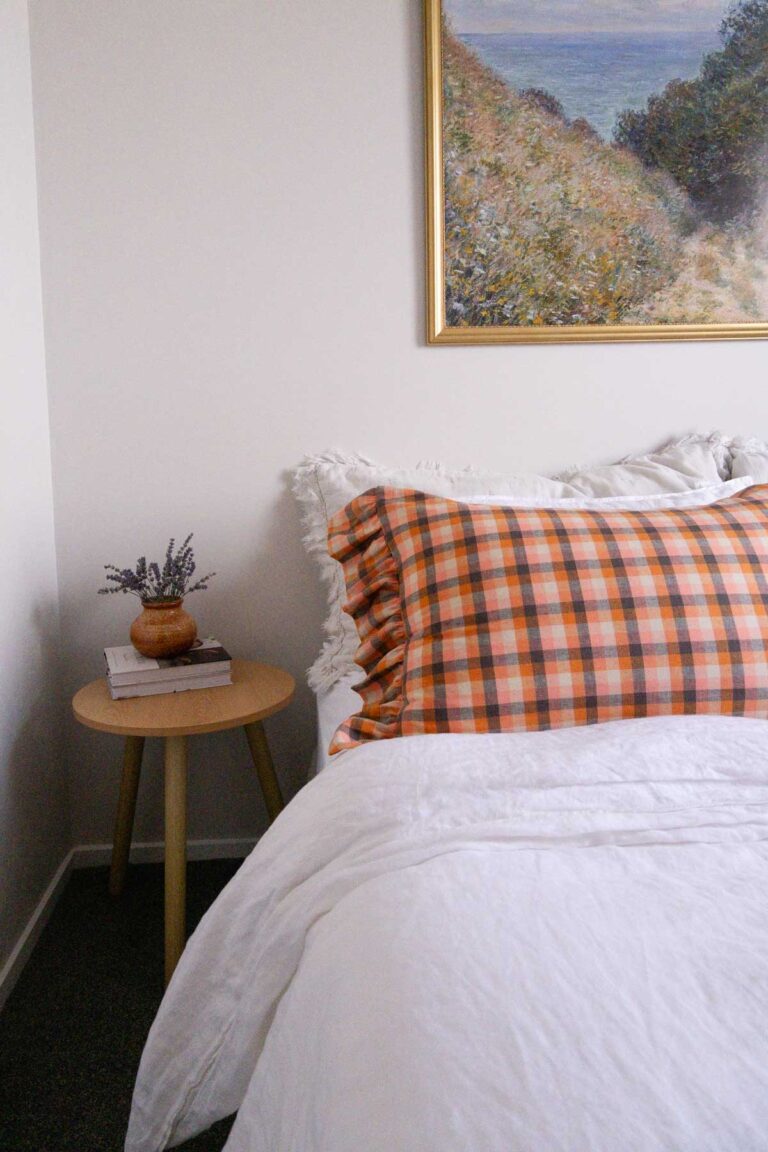
Homemaking
See All >
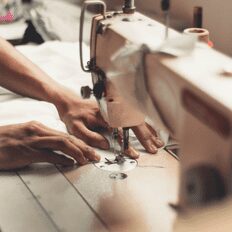


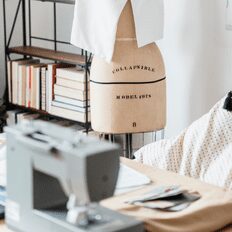

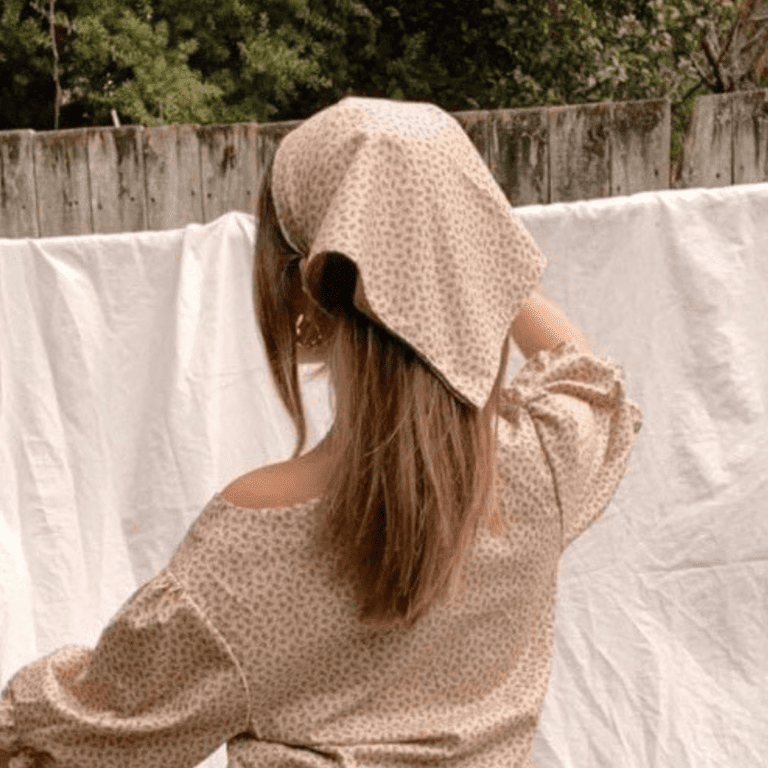
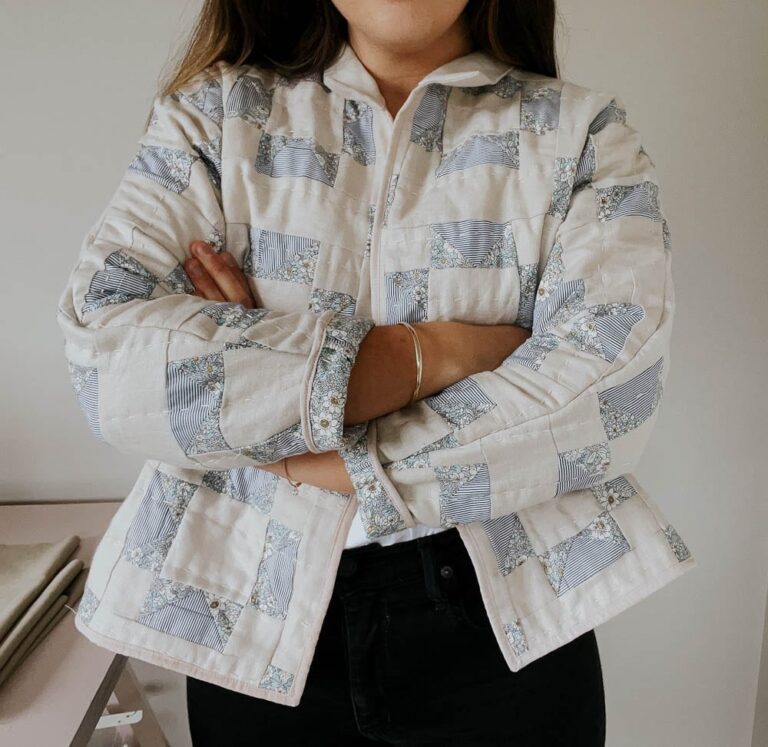
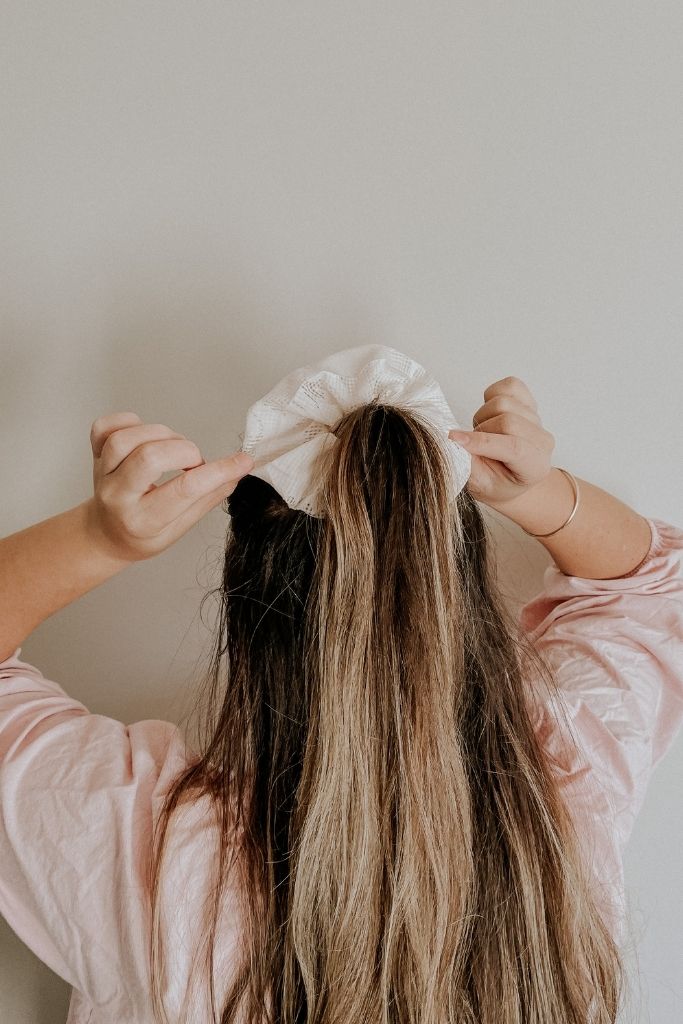
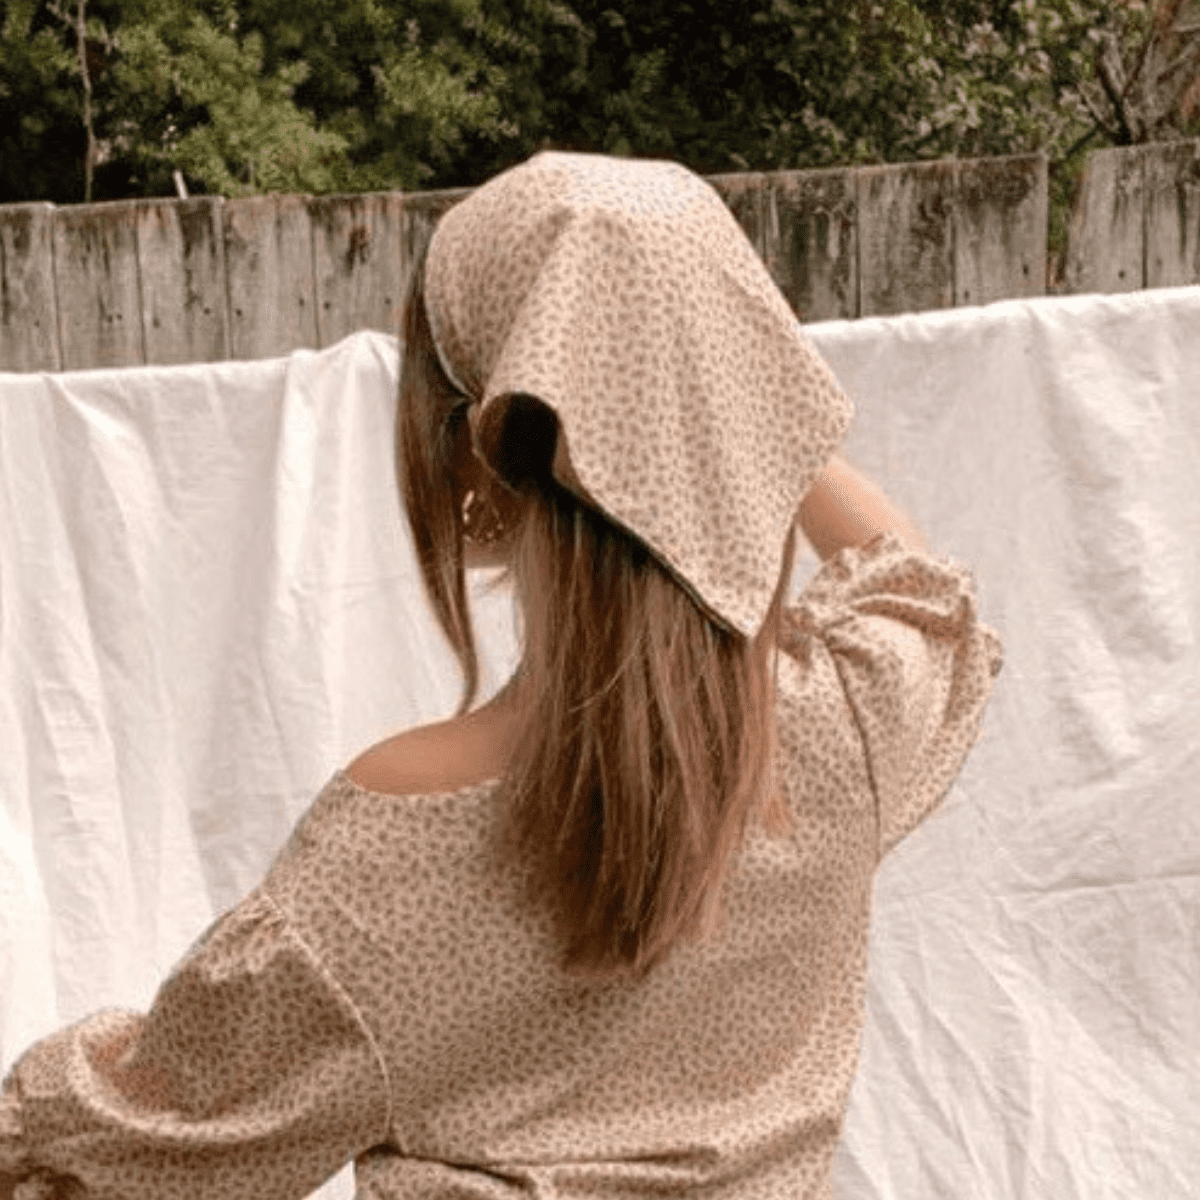
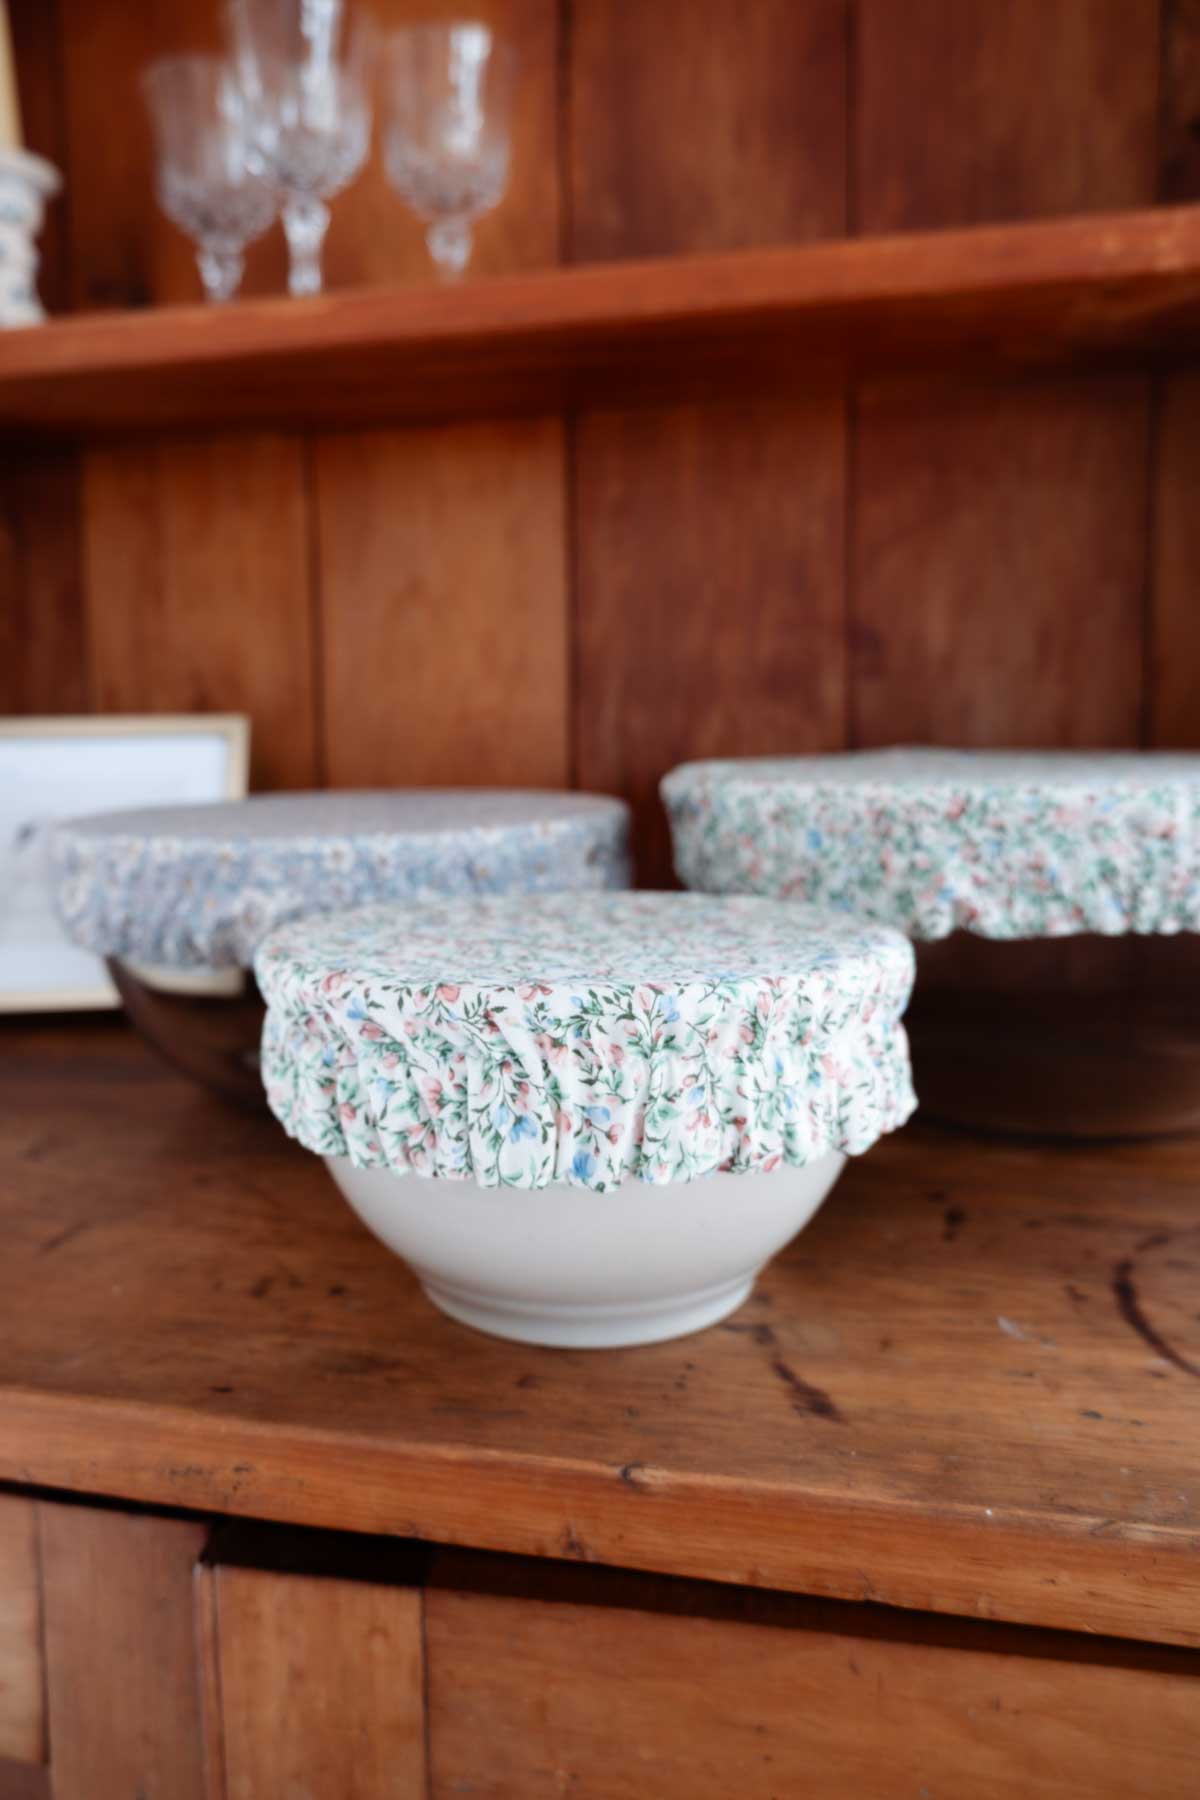
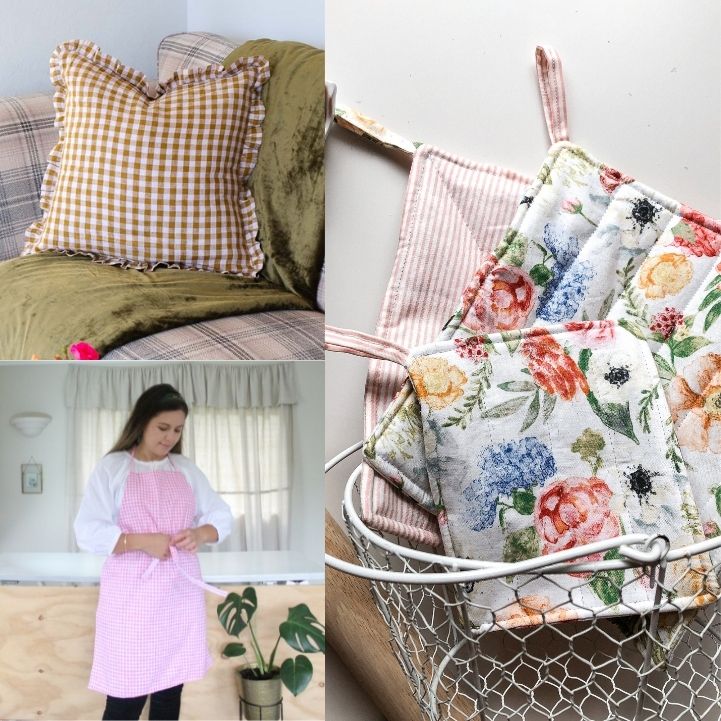
DigitaL Sewing patterns
Make clothing you love with Makyla’s simple, timeless sewing patterns.
Designed with simplicity, Makyla’s patterns are easy to follow and provide detailed instructions and tips to help you sew confidently.
Makyla thoughtfully crafts her sewing patterns in Canterbury, New Zealand.