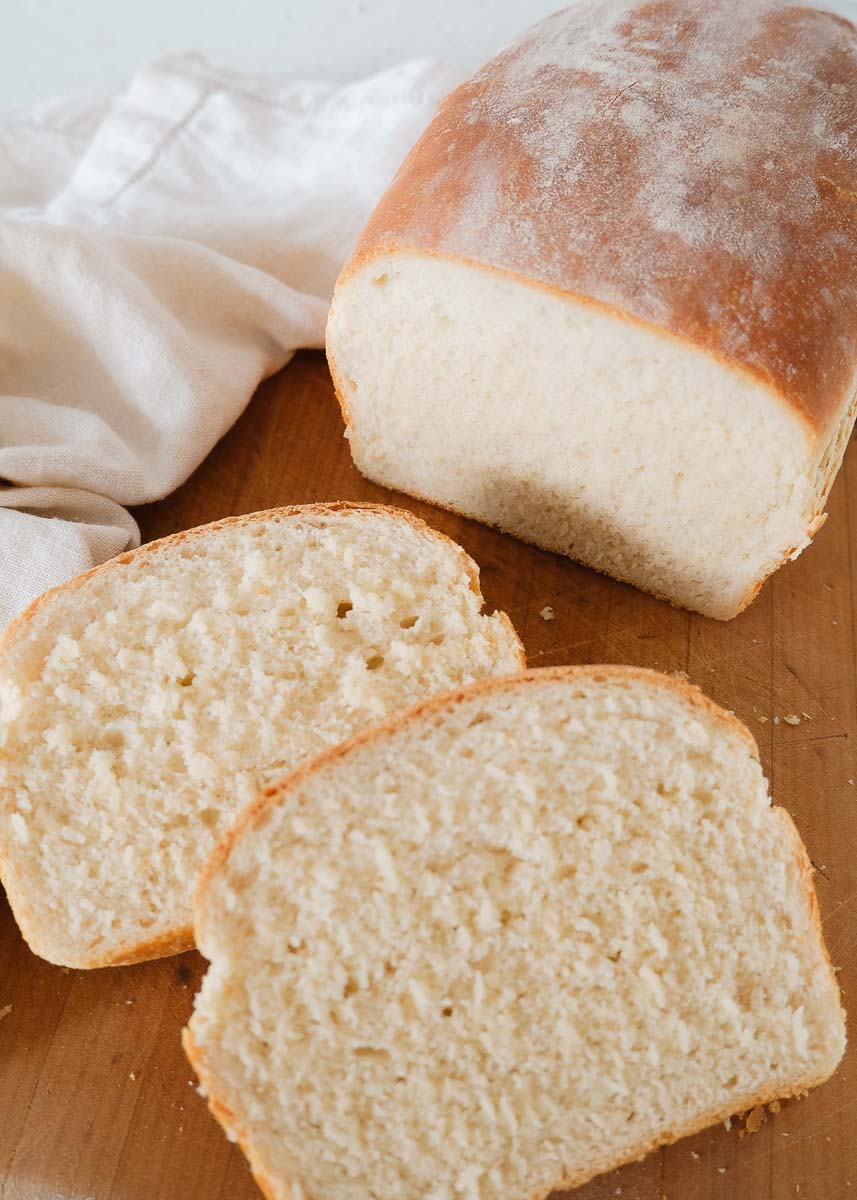
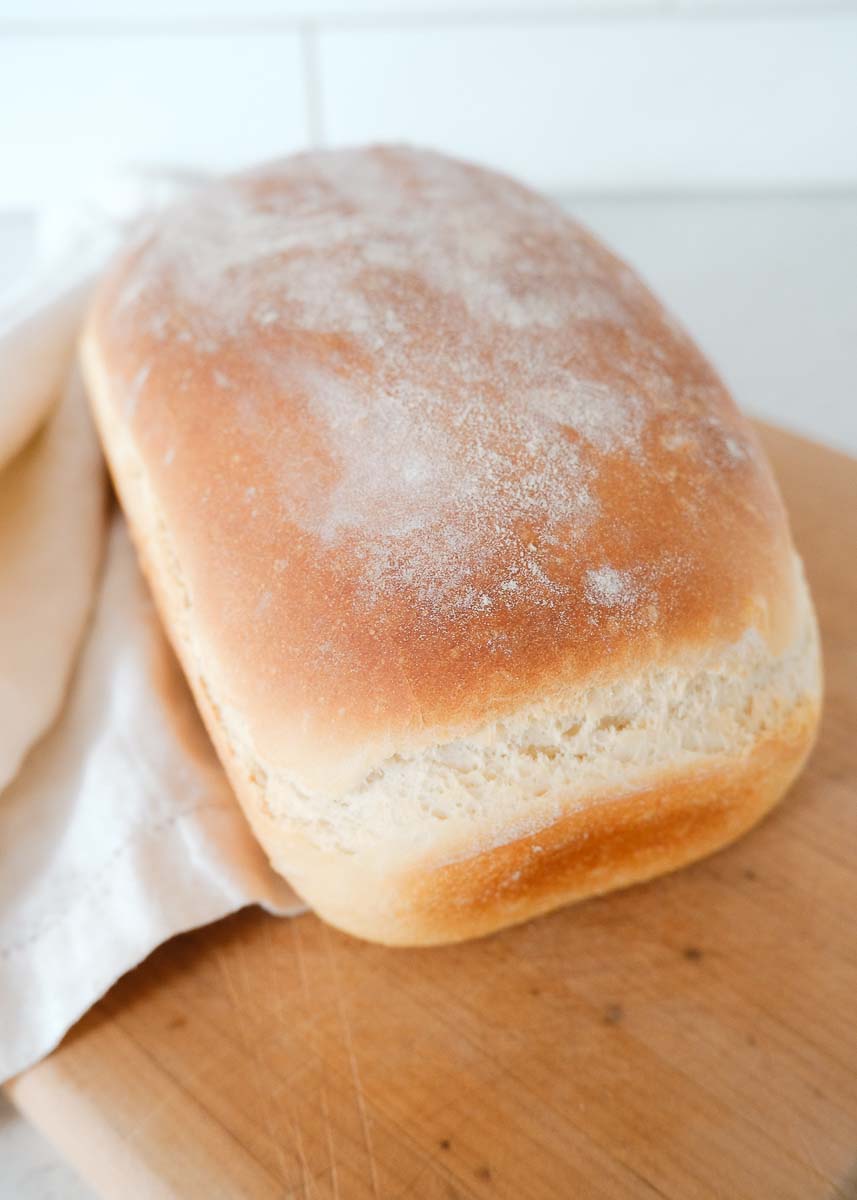
Soft, light and fluffy this farmhouse white bread is the perfect beginner recipe to bake. Warm with butter, its mouth-wateringly good and better than any store-bought loaf, and cheaper too!

If you are new to making bread, then it’s best to start with an easy recipe like this beginner’s farmhouse white bread. It’s my favourite daily bread recipe, which can be toasted or used to make sandwiches. When we don’t feel like cooking, it’s our go-to, so we make BLTs or cheese toasties with freshly baked bread. Yum!
It tastes divine slathered in thick wads of butter and garlic, then grilled in the oven and served with my favourite pumpkin soup.
You don’t need fancy equipment like a bread machine or stand mixer, but they do make the process easier.
In the long run, making your own bread is cheaper and healthier because it doesn’t have lots of sugar, preservatives, or nasty extras that make it last longer.
As an Amazon Associate, I earn from qualifying purchases. Read my full disclosure here.
Why You Will Love This Easy White Bread
Ingredients
Baker’s flour – Not to be confused with plain flour. In high-grade or baker’s flour, the protein content is higher. As a result, more gluten is created for better bread.
Yeast – I use active dry yeast that can be purchased in big quantities.
Sugar – White sugar is used to help activate the yeast. It feeds on the sugar. I wouldn’t recommend swapping this out because it may not work.
Salt – Good quality salt is important for a good loaf of bread. I use Himalayan pink salt, but sea salt will be fine, too.
Warm water – Warm water is crucial as anything too hot will kill the yeast. I like to pop my finger into the water to ensure it’s not too hot. The water should be 43°C (110°F).
Butter – Butter acts as a preservative and gives the bread a softer texture.
Tool You May Need
 Buy Now →
  Buy Now →
  Buy Now →
 Beginner Farmhouse White Bread FAQs
Is baker’s flour the same as plain flour?
They are different because plain all-purpose flour is not as high in protein as high-grade or baker’s flour. The higher protein means the bread will have a higher amount of gluten, which helps to create strong, crunchy bread. You can use all-purpose flour, but your bread may not come out as good.
Why do you put salt in bread?
Salt slows down yeast reproduction and growth, stopping the yeast from eating all the sugar available in the dough. Adding salt can slow down how quickly the yeast reproduces, thereby controlling how long the dough rises. Salt will also strengthen the gluten in the bread, making it a strong loaf that can be shaped easily. Lastly, salt adds flavour to your bread.
Tips For Bread Baking Success
- Under kneading is a common mistake lots of beginners can make. My best bread loaves or rolls were kneaded for 10 to 15 minutes, and I have a heavy hand. A stand mixer or bread machine can help make this step easy because it does the work for you.
- Be diligent with the moisture of your bread. You don’t want it to be too dry or too wet. I’ve had the best results when the bread is slightly sticky just after combining the wet and dry, which works to a soft, smooth dough after kneading.
- Spray or brush your rising bowl with olive oil to make sure the dough doesn’t stick.
- Don’t panic if your bread comes out of the oven with a rock-hard crust. Let it cool down and this will soften as it cools and become easier to cut.
How to Make Farmhouse White Bread
1. Activate the yeast. In a bowl, add the warm water and sugar and mix until the sugar dissolves. Once the sugar has dissolved, sprinkle the yeast on top of the water. Don’t mix it, just leave it to activate for about 10-15 minutes. It will become frothy when it is activated.
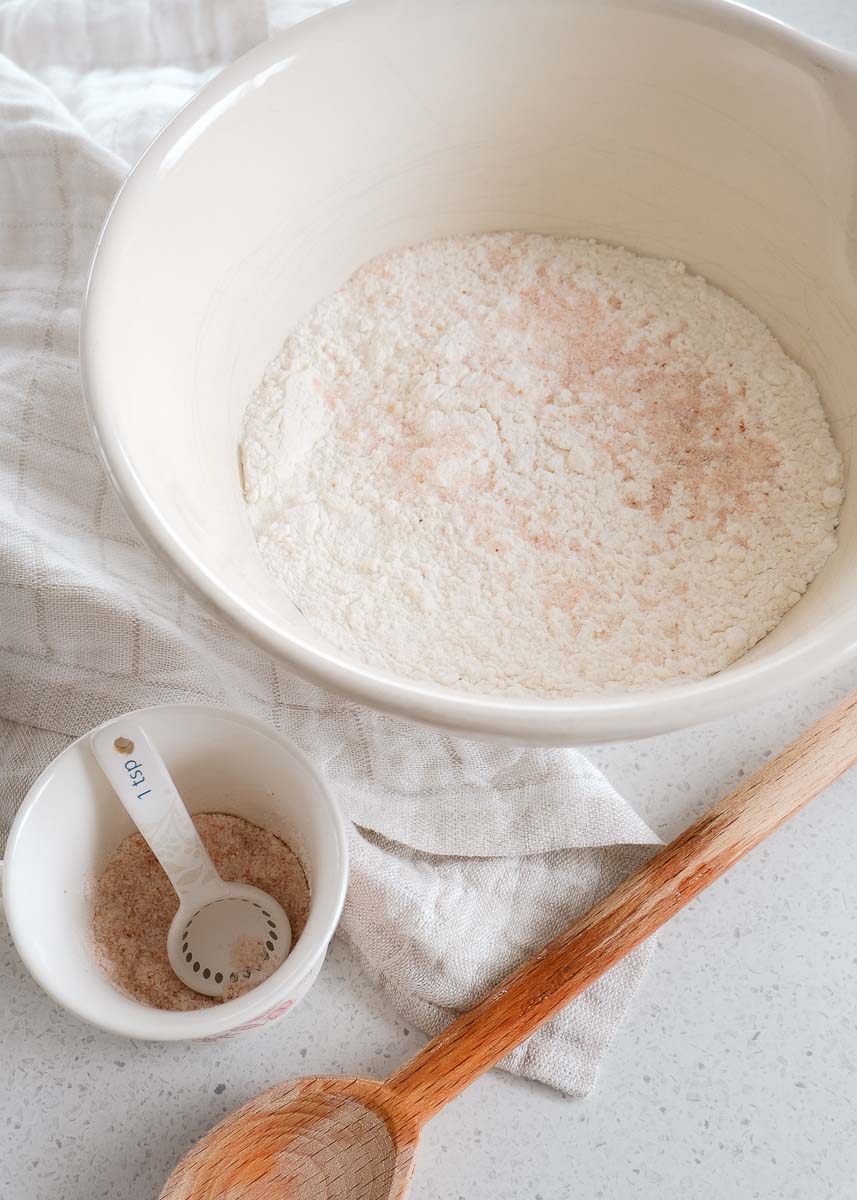
2. Mix the ingredients together. In a large bowl (or stand mixer or bread machine), mix the flour and salt together. Create a well in the centre and pour in the yeast and softened butter. Mix this together with a wooden spoon or Danish dough whisk until the dough begins to form. Now, you can begin using your hands to combine the remaining flour into the dough.
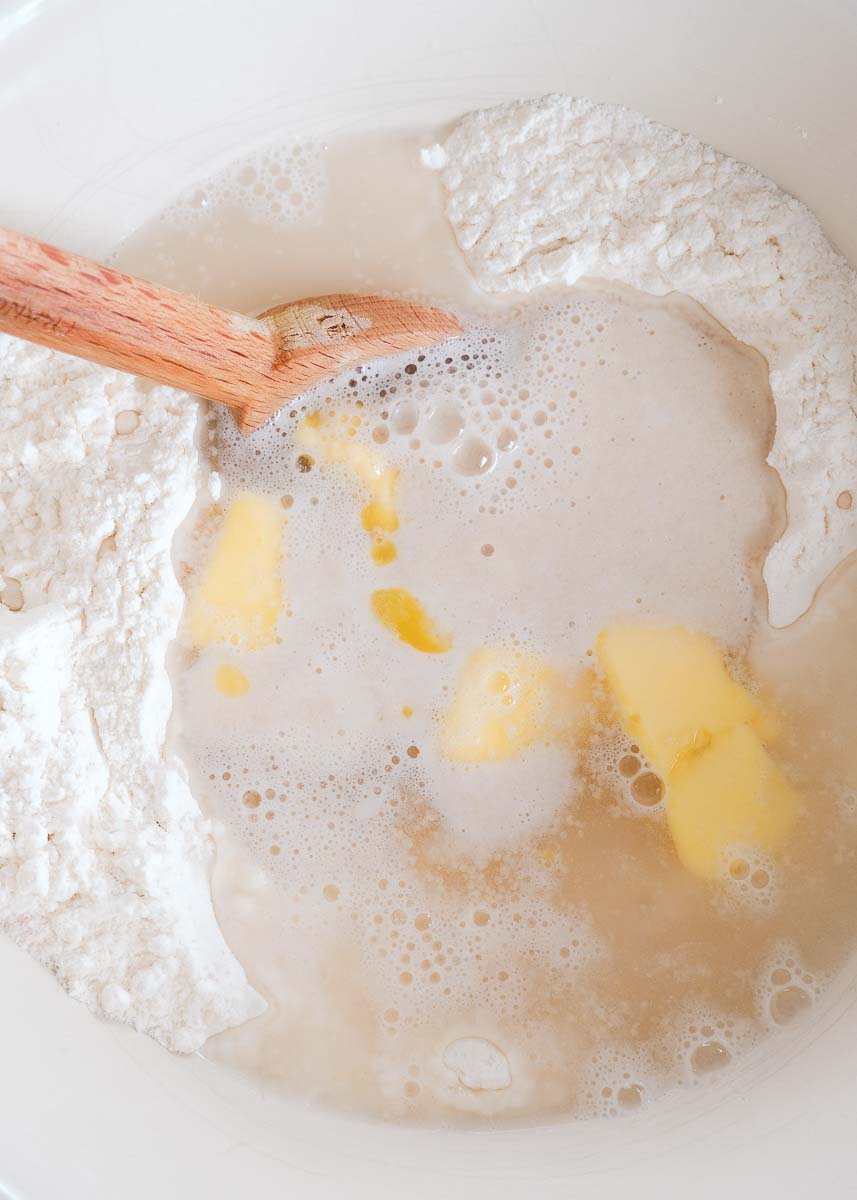
3. Dough Consistency. Check the dough is not too wet. If it is sticking to the bowl or your hands, add a little bit more flour. If the dough is crumbly, it is too dry. Add a tablespoon of warm water at a time until it feels more workable.
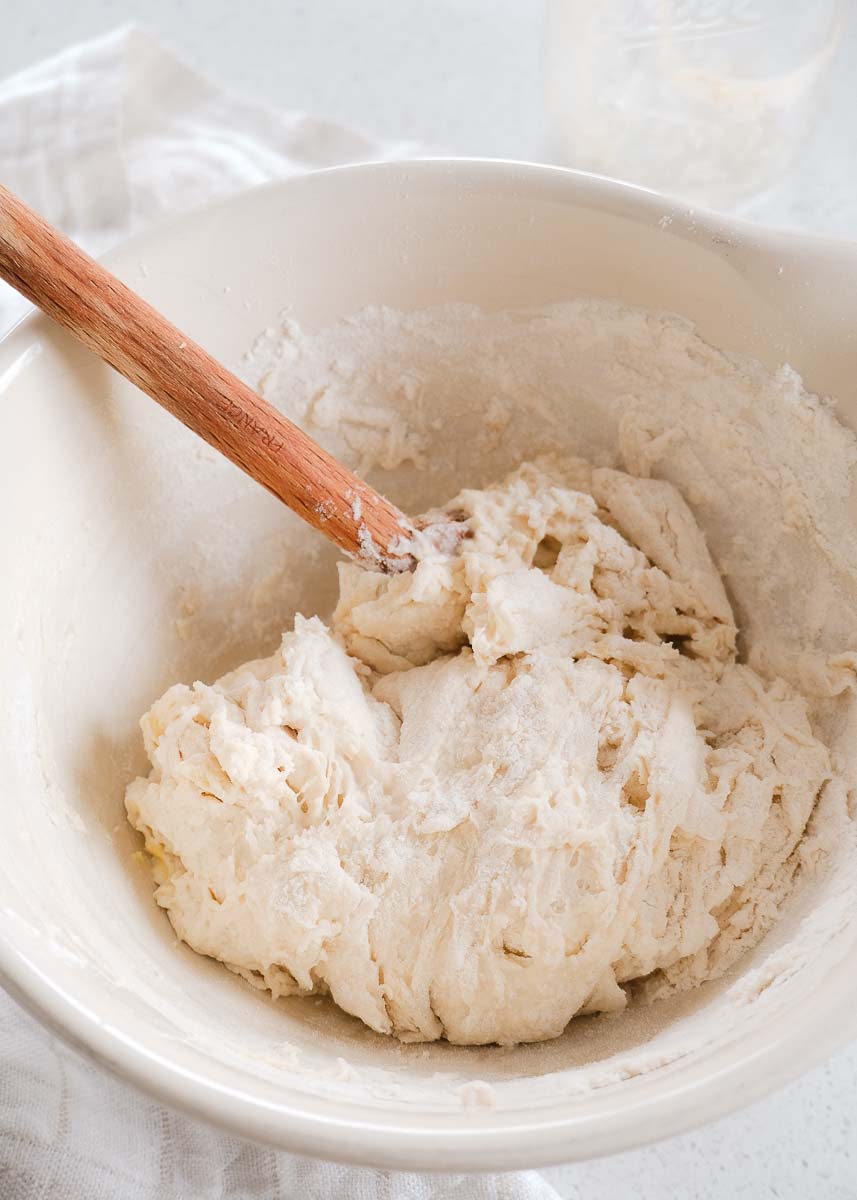
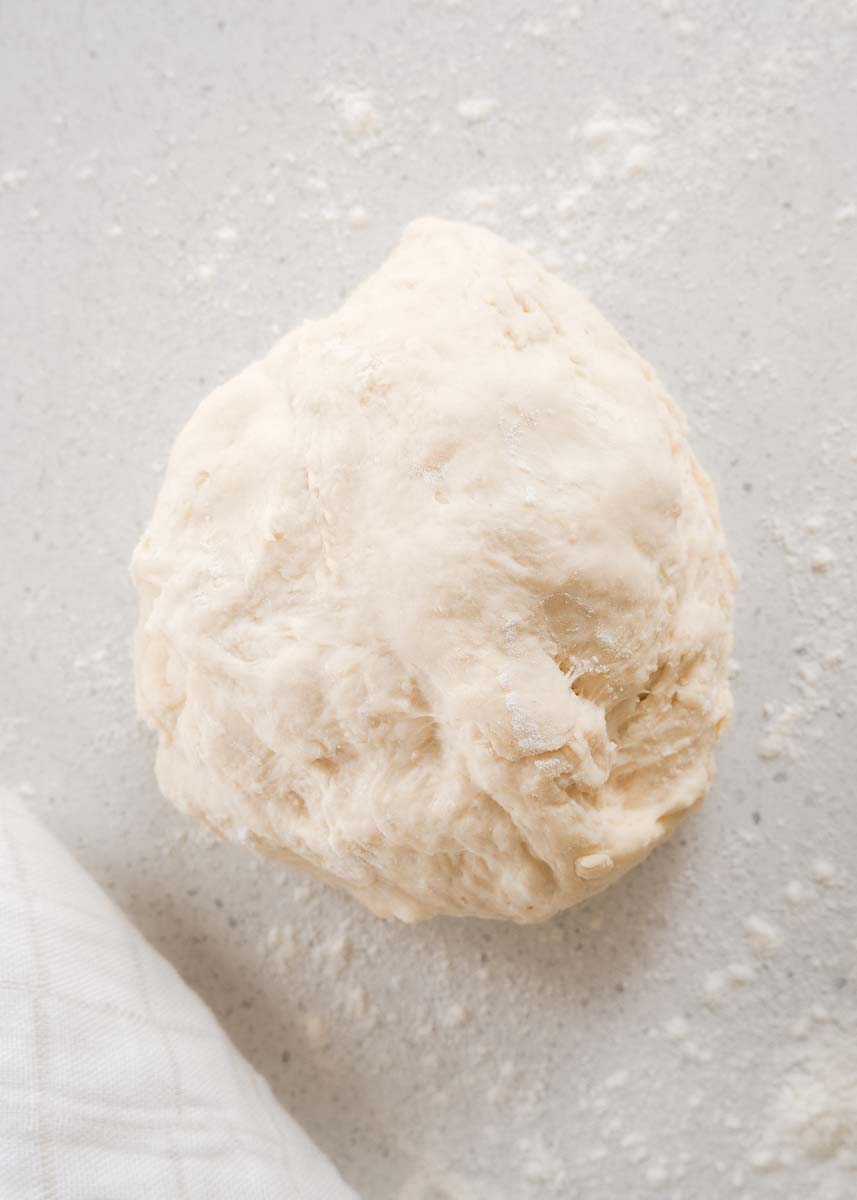
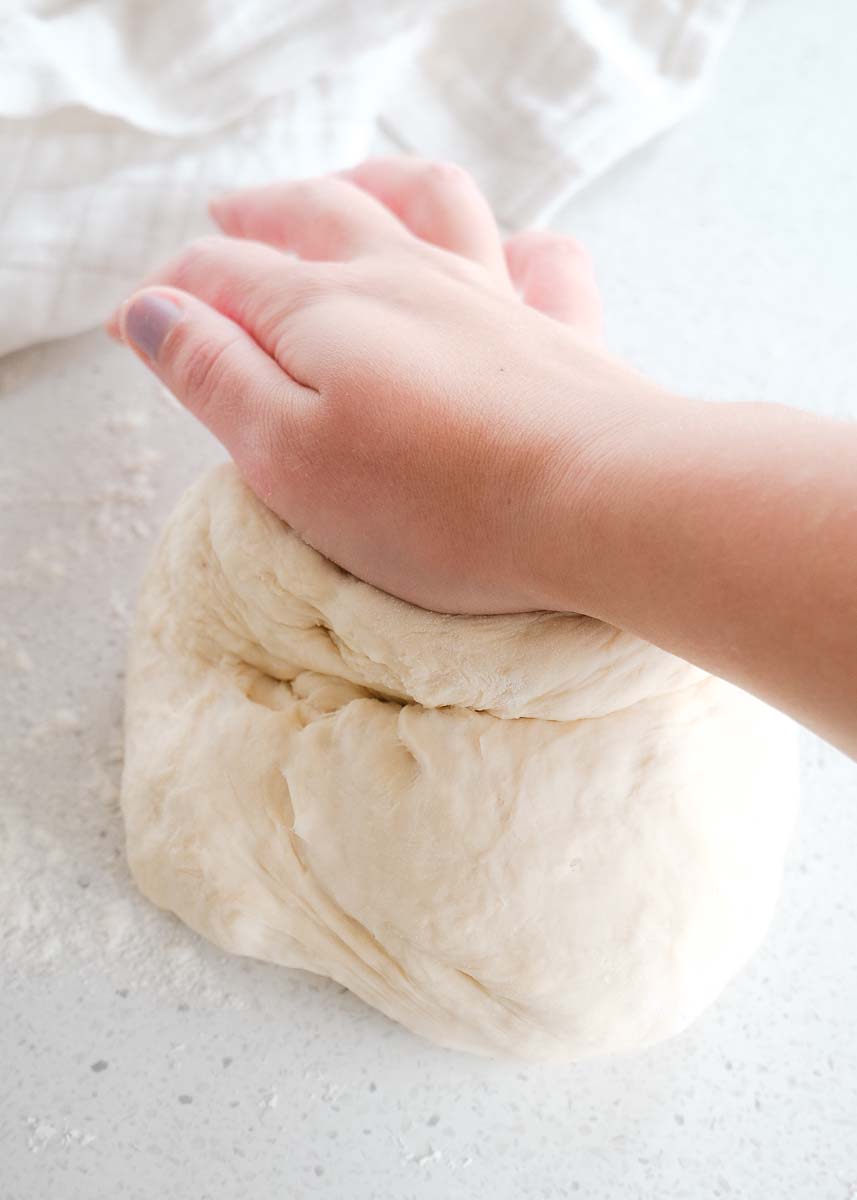
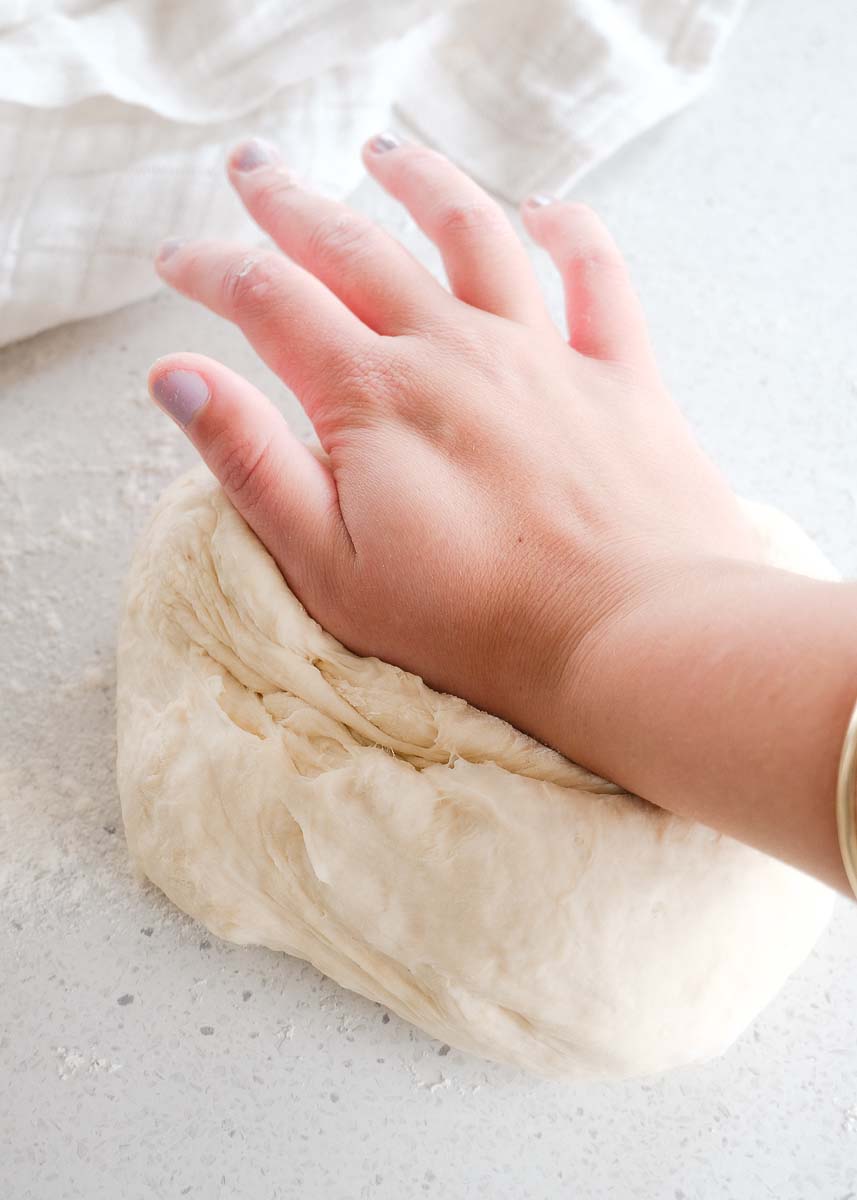
4. Knead. Now that your dough mixture is ready, it’s time to knead. Lightly flour a clean benchtop and place the dough on top. Begin kneading the dough to develop the gluten.
To knead, fold the top back over like an envelope, then push the dough away from you with the palm of your hand, quarter-turn the dough and repeat.
Knead for 10 minutes or until the dough is smooth, soft, and silky. Pop your finger into the dough, and if it springs out nicely, this is when you know the dough is ready.
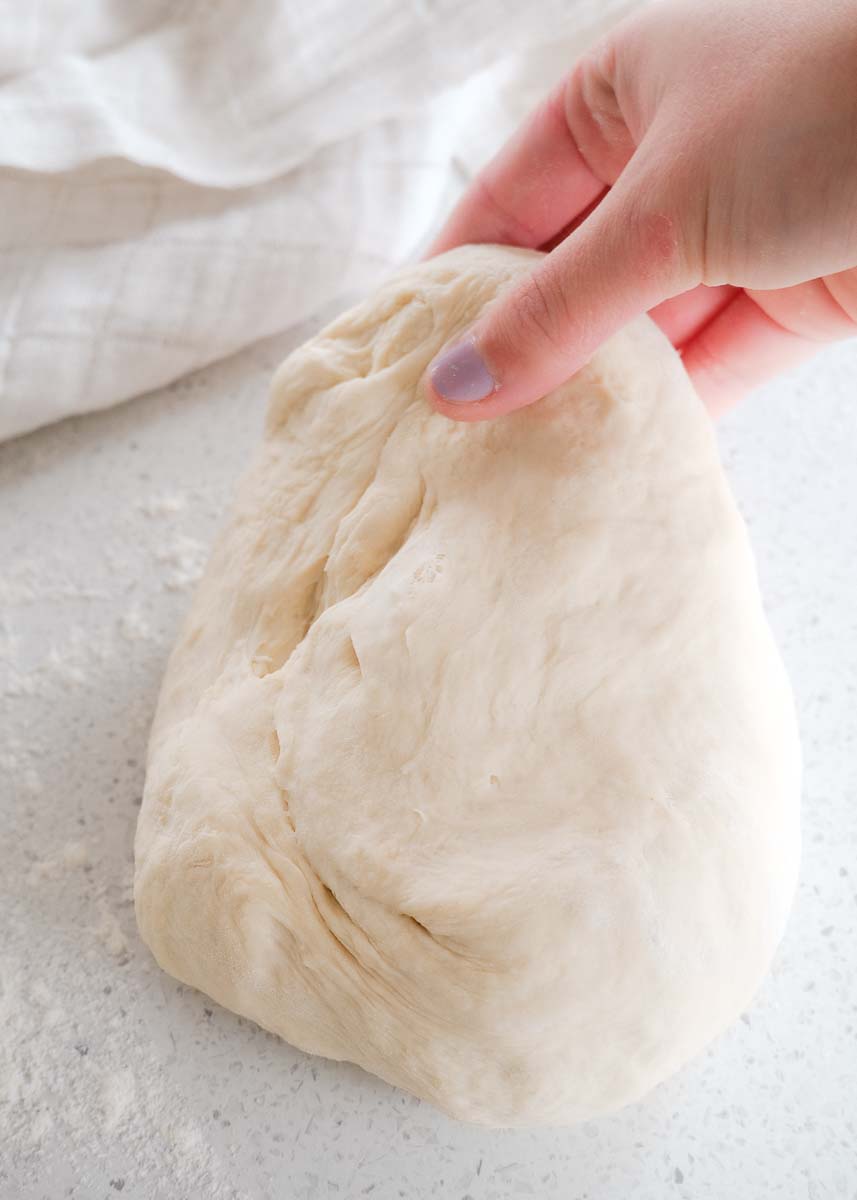
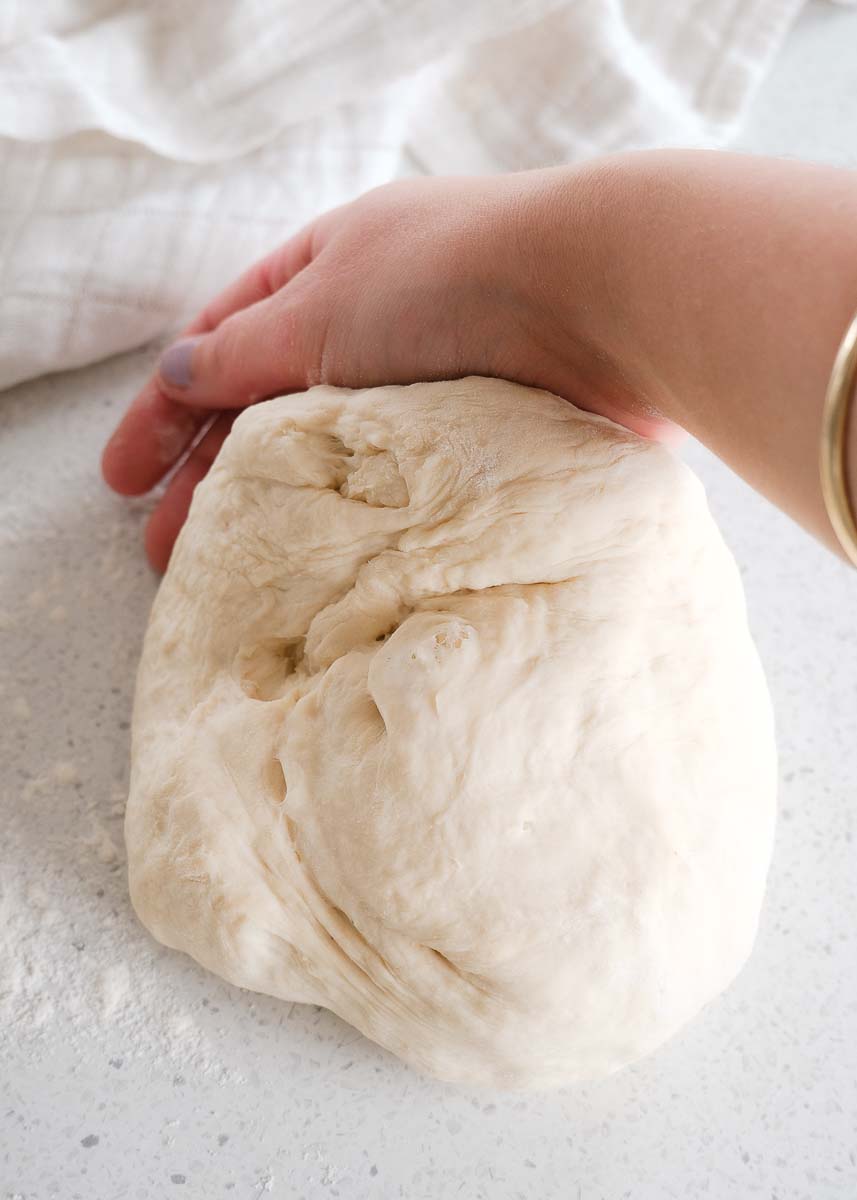
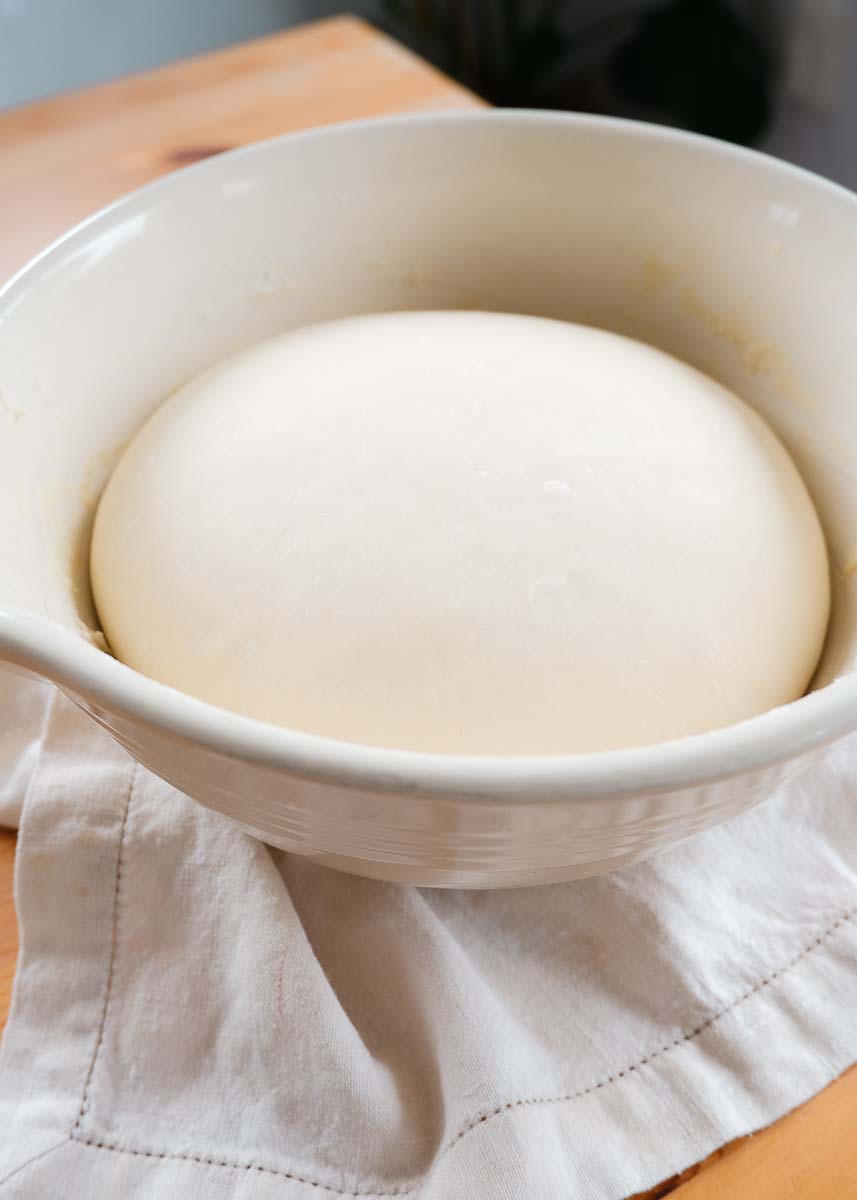
5. First Rise. Now, it’s time to let the dough complete its first rise. Lightly grease a large bowl and place the dough ball in, smooth side up. Cover the bowl with a clean, wet tea towel, bowl cover or cling wrap and let it sit in a warm place for at least an hour or two until it’s doubled in size. It may take longer in a cold area or shorter in a hot area.
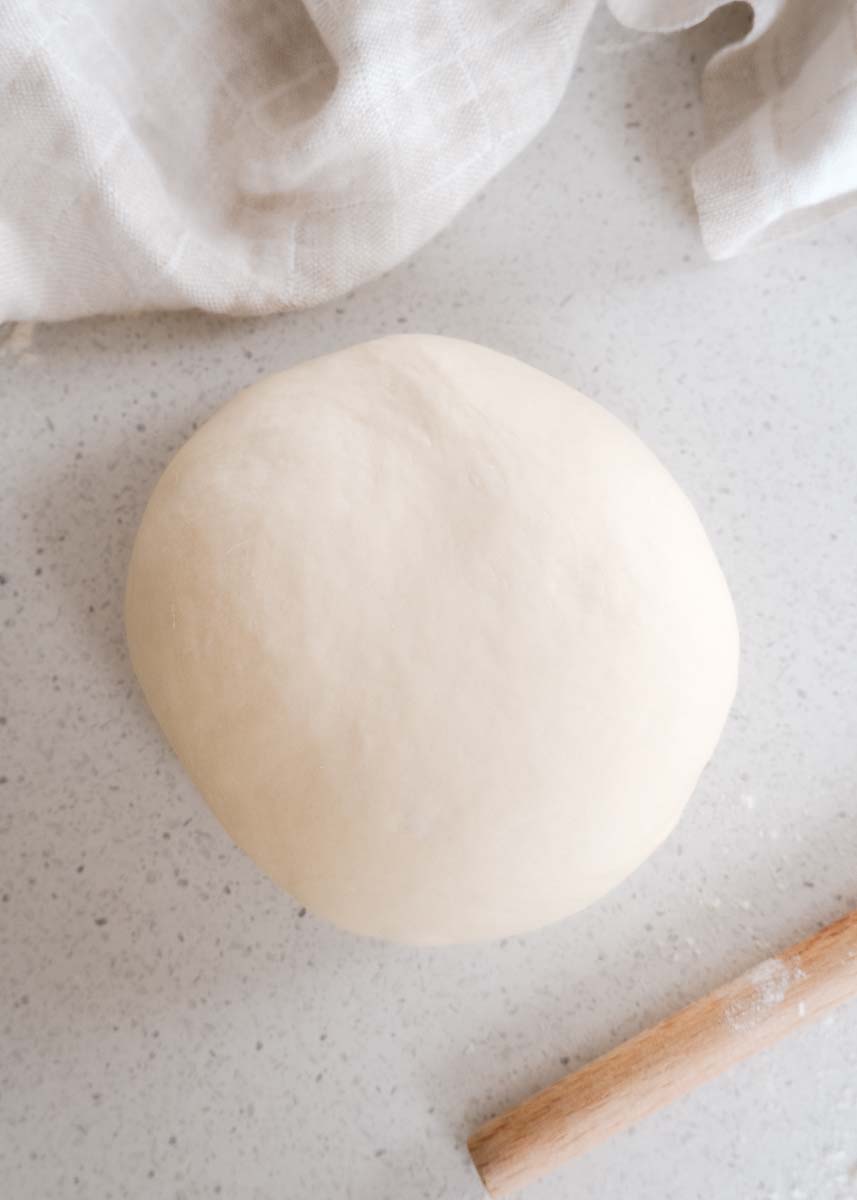
6. Shape the dough. Once the dough has doubled in size, knock it back by punching the dough, then pour it out onto a lightly floured surface. Knead the dough for 2 minutes. Folding the dough back onto itself like an envelope again. Aim to create a rectangular shape as you knead.
Give the long side of the dough a roll on the bench with your hands to create a loaf tin shape. Watch this helpful bread-shaping tutorial for help.
Place the dough into a greased loaf pan with the seam down. Cover and place in a warm spot to rise again. This could take 45 minutes to an hour, but you want it to double in size again. Preheat the oven to 210°C(410°F) fan bake or conventional is fine.

7. Bake and Cool. Dust the top of the bread with flour. Place the bread in the oven and bake for 30 minutes or until the bottom of the loaf sounds hollow when tapped.
Cool on a wire rack for at least an hour, then you can slice and enjoy.


How do I store leftover bread?
- Room Temperature: To keep your farmhouse white bread fresh, store it in an airtight container or paper bag at room temperature for up to 2-3 days. Since it doesn’t contain preservatives, homemade bread has a shorter shelf life than store-bought bread.
- Freezer: For longer storage, freeze slices in a resealable freezer bag and reheat them in the oven when ready to eat.

More Easy Bread Recipes:
- Soft Bread Machine Cheese Rolls
- Soft Homemade Sandwich Bread
- Old Fashioned Yeast Dinner Rolls Recipe
Don’t forget to save this recipe to Pinterest for later!
Beginners Farmhouse White Bread Recipe
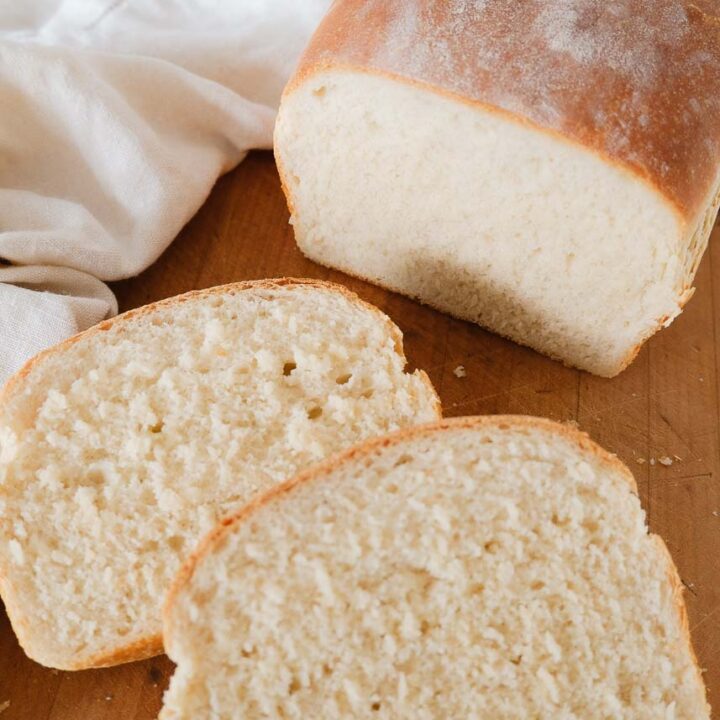
Soft, light and fluffy this farmhouse white bread is the perfect beginner recipe to bake. Warm with butter, its mouth-wateringly good and better than any store-bought loaf, and cheaper too!
Ingredients
- 320ml warm water
- 1 tsp white sugar
- 2 tsp active dry yeast
- 510g white bread flour (high grade flour)
- 2 tsp salt
- 2 tbsp butter, softened
- olive oil for greasing
Instructions
- Activate the yeast. In a bowl, add the warm water and sugar and mix until the sugar dissolves. Once the sugar has dissolved, sprinkle the yeast on top of the water. Don’t mix it, just leave it to activate for about 10-15 minutes. It will become frothy when it is activated.
- Mix the ingredients together. In a large bowl (or stand mixer or bread machine), mix the flour and salt together. Create a well in the centre and pour in the yeast and softened butter. Mix this together with a wooden spoon or Danish dough whisk until the dough begins to form. Now, you can begin using your hands to combine the remaining flour into the dough.
- Dough Consistency. Check the dough is not too wet. If it is sticking to the bowl or your hands, add a little bit more flour. If the dough is crumbly, it is too dry. Add a tablespoon of warm water at a time until it feels more workable.
- Knead. Now that your dough mixture is ready, it’s time to knead. Lightly flour a clean benchtop and place the dough on top. Begin kneading the dough to develop the gluten.
To knead, fold the top back over like an envelope, then push the dough away from you with the palm of your hand, quarter-turn the dough and repeat.
Knead for 10 minutes or until the dough is smooth, soft, and silky. Pop your finger into the dough, and if it springs out nicely, this is when you know the dough is ready. - First Rise. Now, it’s time to let the dough complete its first rise. Lightly grease a large bowl and place the dough ball in, smooth side up. Cover the bowl with a clean, wet tea towel, bowl cover or cling wrap and let it sit in a warm place for at least an hour or two until it’s doubled in size. It may take longer in a cold area or shorter in a hot area.
- Shape the Dough. Once the dough has doubled in size, knock it back by punching the dough then pour it out onto a lightly floured surface. Knead the dough for 2 minutes. Folding the dough back onto itself like an envelope again. Aim to create a rectangular shape as you knead.
Give the long side of the dough a roll on the bench with your hands to create a loaf tin shape.
Place the dough into a greased loaf pan with the seam down. Cover and place in a warm spot to rise again. This could take 45 minutes to an hour, but you want it to double in size again. Preheat the oven to 210°C(410°F) fan bake or conventional is fine. - Bake and Cool. Dust the top of the bread with flour. Place the bread in the oven and bake for 30 minutes or until the bottom of the loaf sounds hollow when tapped. Cool on a wire rack for at least an hour, then you can slice and enjoy.
Notes
- Under kneading is a common mistake lots of beginners can make. My best bread loaves or rolls were kneaded for 10 to 15 minutes, and I have a heavy hand. A stand mixer or bread machine can help make this step easy because it does the work for you.
- Be diligent with the moisture of your bread. You don’t want it to be too dry or too wet. I’ve had the best results when the bread is slightly sticky just after combining the wet and dry, which works to a soft, smooth dough after kneading.
- Spray or brush your rising bowl with olive oil to make sure the dough doesn’t stick.
- Don’t panic if your bread comes out of the oven with a rock-hard crust. Let it cool down and this will soften as it cools and become easier to cut.
Nutrition Information:
Yield:
12Serving Size:
1Amount Per Serving: Calories: 184Total Fat: 4gSaturated Fat: 1gTrans Fat: 0gUnsaturated Fat: 2gCholesterol: 5mgSodium: 405mgCarbohydrates: 31gFiber: 1gSugar: 0gProtein: 5g
Estimated nutrition information is provided as a courtesy and is not guaranteed.