If you have Christmas prints in your fabric stash, why not sew some new decorations for your Christmas tree this year? These DIY homemade Christmas decorations are easy to sew and only take 20 minutes to make when you download my free sewing patterns.
Christmas is busy, but it’s always nice to find time to relax and unwind by crafting, which is why these super easy Christmas decorations are perfect for sitting with a cup of tea and sewing.
Since moving into our first home, we have had a very tight budget to stick to. I love the challenge of making my products or items instead of buying them, like my homemade coffee scrub or these reusable paper towels.
Christmas is no exception, so I’m making these homemade decorations for our home. You may have seen that I recently made some Christmas stockings in lovely floral prints.
Making your decorations is a great way to incorporate your style or customise things by adding names or favourite colours and prints.
These homemade Christmas decorations are the perfect beginner sewing project or a fun project to make with children. Check out my 15 Easy Homemade Christmas Gift Ideas for more handmade Christmas inspiration.
New to Sewing?
If you are new to sewing, no problem! I have you covered. Learn how to thread your sewing machine quickly and wind the bobbin with my step-by-step guides. Then you can practise sewing with these sewing practice sheets. These sheets will help you feel confident using your sewing machine, so you can quickly start this project!
How to Download the Sewing Patterns?

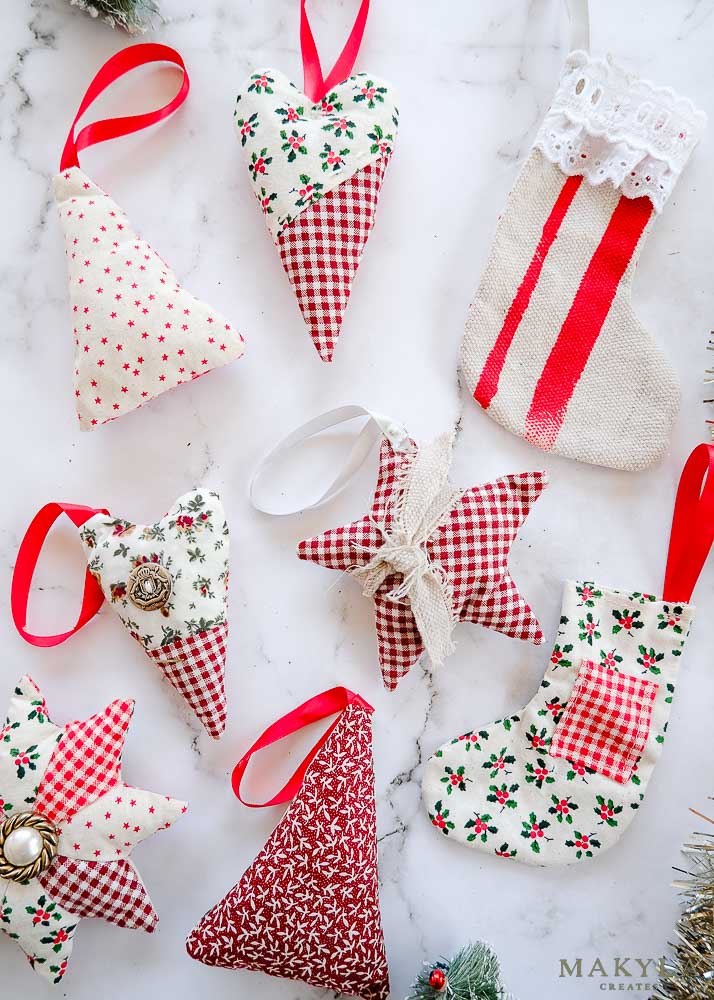
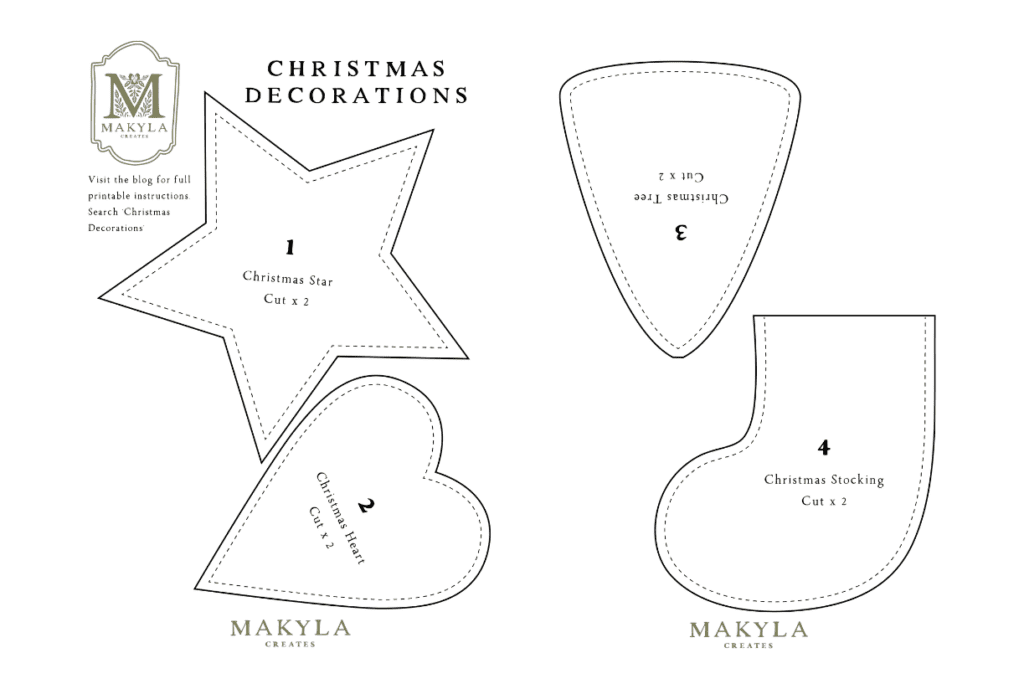
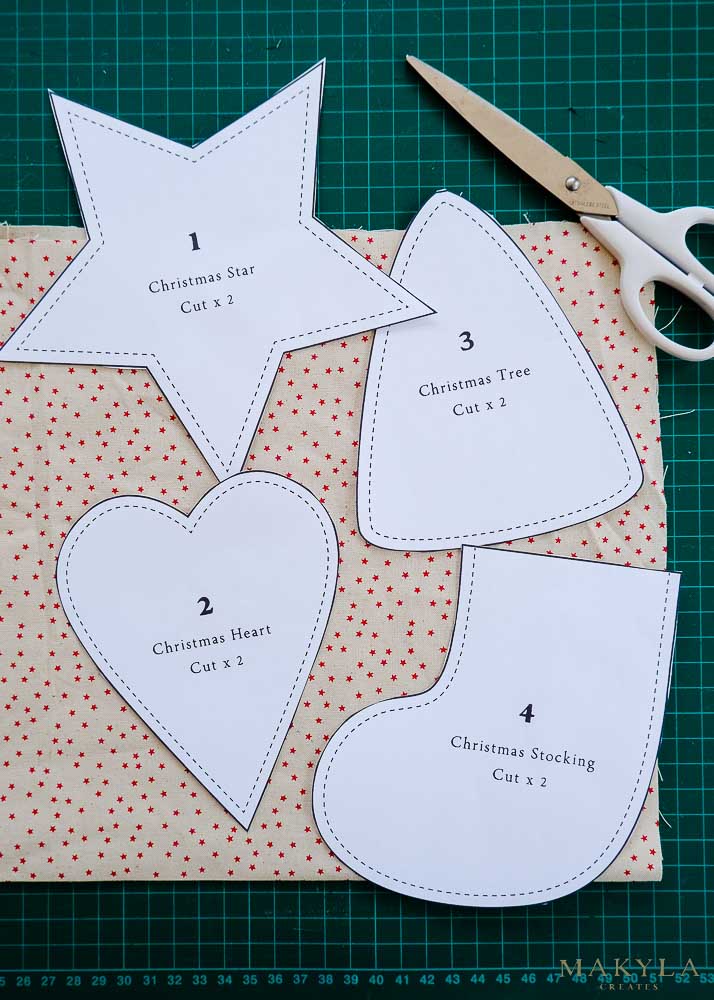
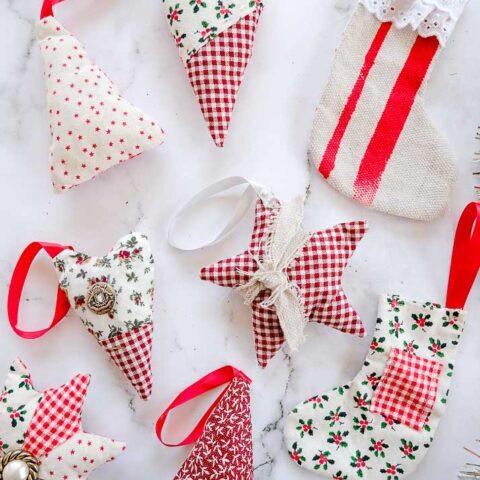
The patterns include templates for four decorations:
- Christmas Tree
- Christmas Star
- Christmas Heart
- Miniature Stocking
What Fabrics To Use For Homemade Christmas Decorations
The beauty of making your own Christmas decorations is customisation, and you can use whatever fabric colours and prints you like. If your current decorations already have a theme, why not stick to them using fabrics in the same patterns or colours?
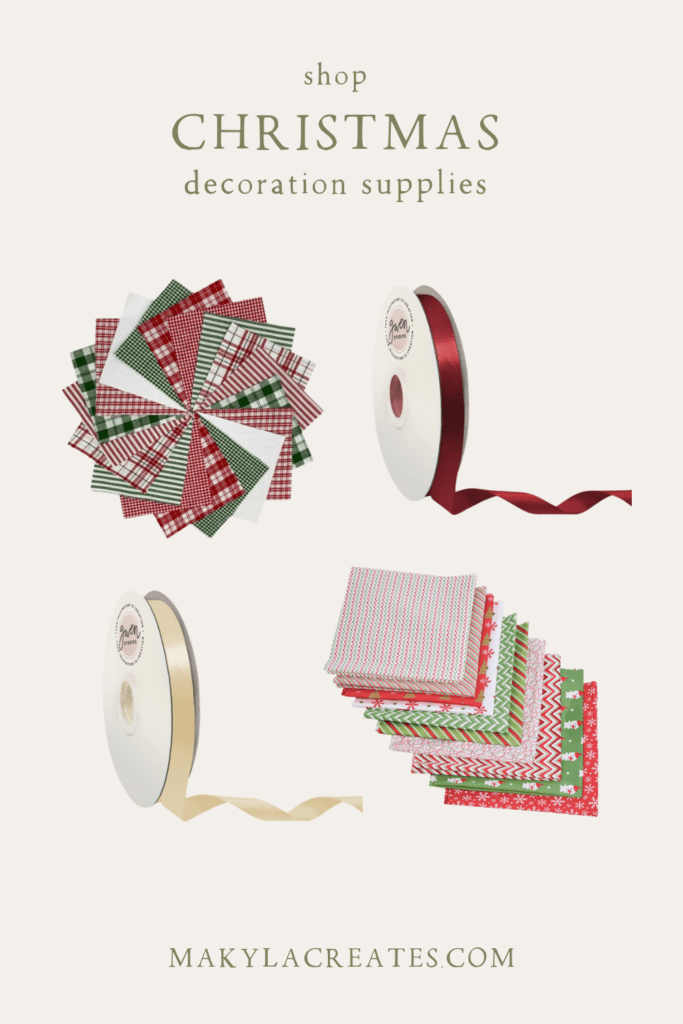
The best fabric to use for these decorations is sturdier materials like:
- Quilting Cotton
- Cotton Poplin
- Linen
- Calico
Use fabric scraps from other sewing projects to be resourceful, or find quilting fat quarters in Christmas prints you like.
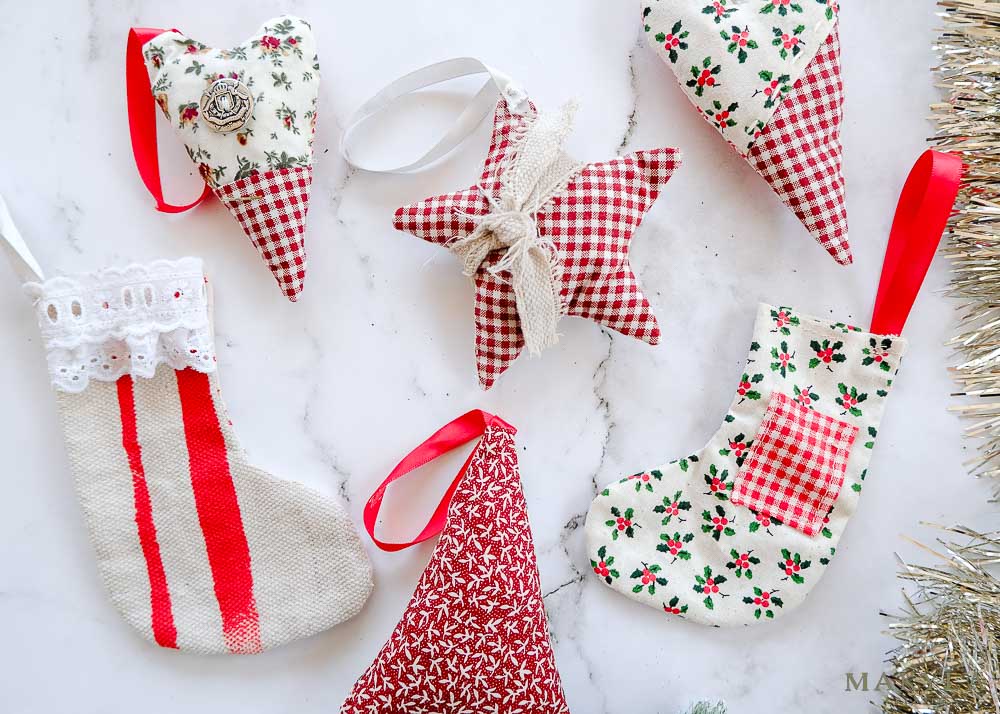
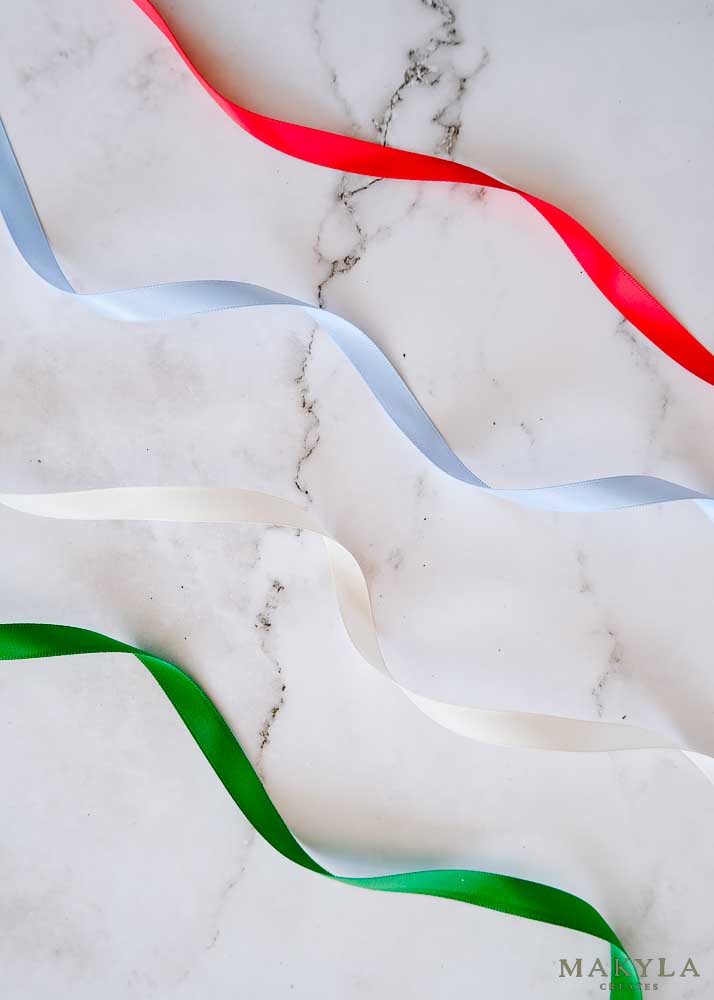
Ribbons, lace and buttons are all charming finishing touches you can add for an extra homemade touch. I like to use lovely cross-grain or satin ribbons to hang my decorations.
Shop The Post
DIY Handmade Decorations Video Tutorial
Materials & Tools You Will Need
0.5 metres fabric
5mm wide ribbon – 20cm per decoration
Stuffing
Pattern templates
Thread
Sewing machine
Fabric shears or rotary cutter & mat
Chalk
How to Make DIY Homemade Christmas Decorations
Step One: Print off the patterns
To get started print off the templates on your home printer.
Cut out the pattern templates so you have four shapes.
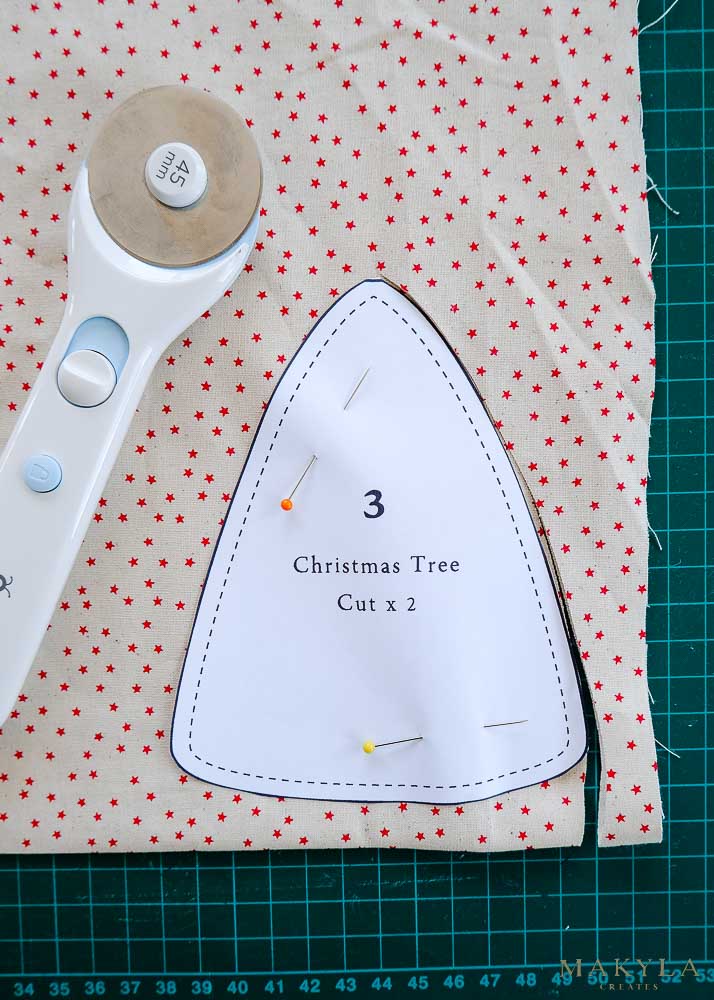
Step Two: Cut out the fabric
Cut out one pair for each decoration shape by placing the fabric on the fold and cutting out the templates. If you want multiple decorations, work out how many and cut more pairs.
Tip: I find it easier to use a rotary cutter and mat to cut out small sewing projects like these, but you can also use dressmaking shears and chalk.
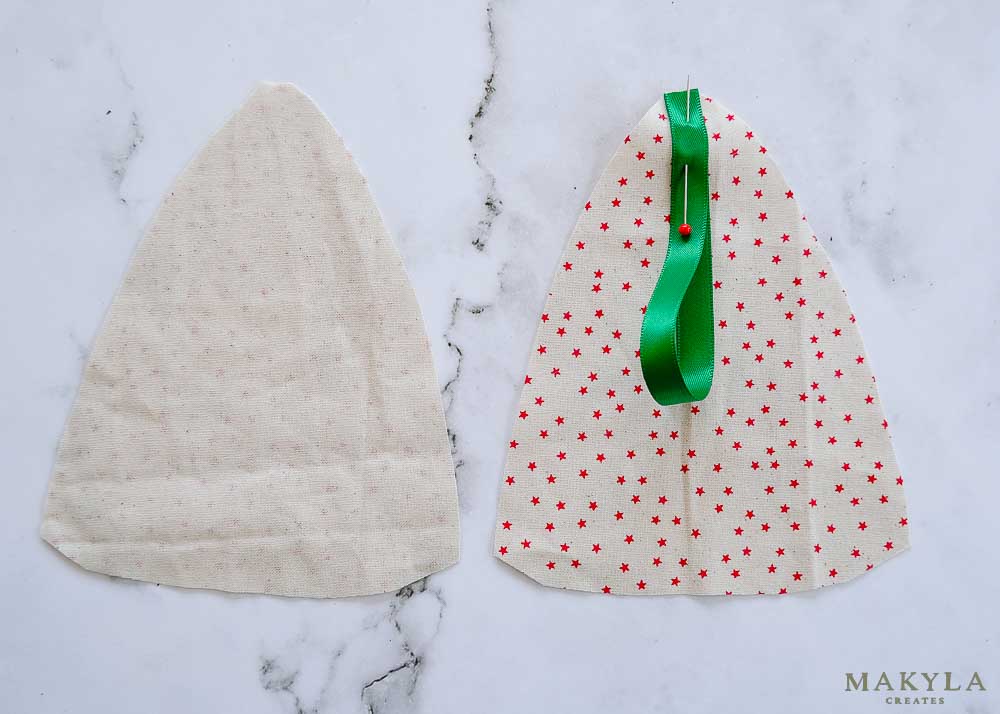
Step Three: Attach the ribbon
Cut a piece of ribbon 20cm long for each decoration to hang it from.
Fold the ribbon in half and pin it to the top right side of the decoration. Only pin this to one side, not the pair.
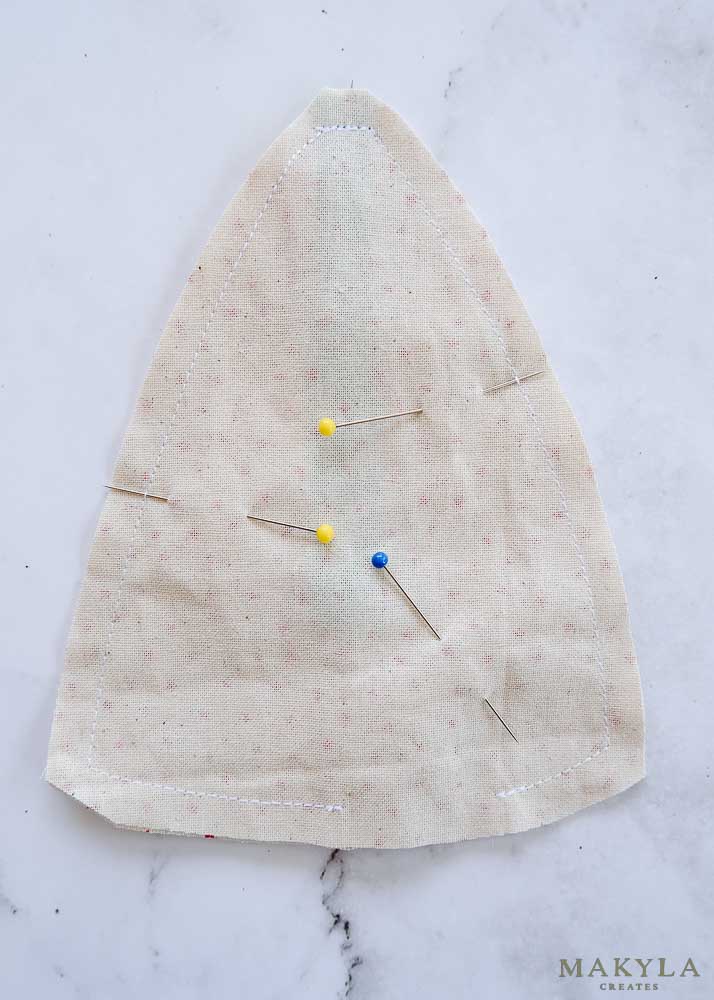
Step Four: Sew together.
Place the pair’s right sides together and pin the edges to hold them in place. Sew around the outside with a 5mm seam allowance, leaving a 3cm opening in the seam to turn it through to the right side.
Turn the decorations out to the right side through the seam opening. Use the ribbon to help pull this through.
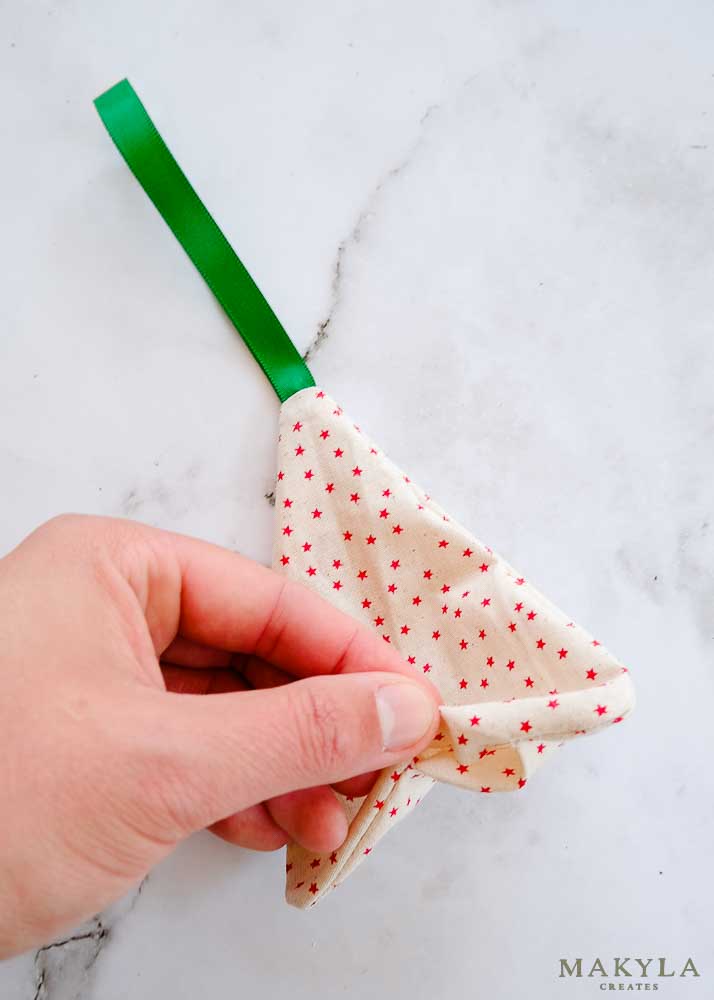
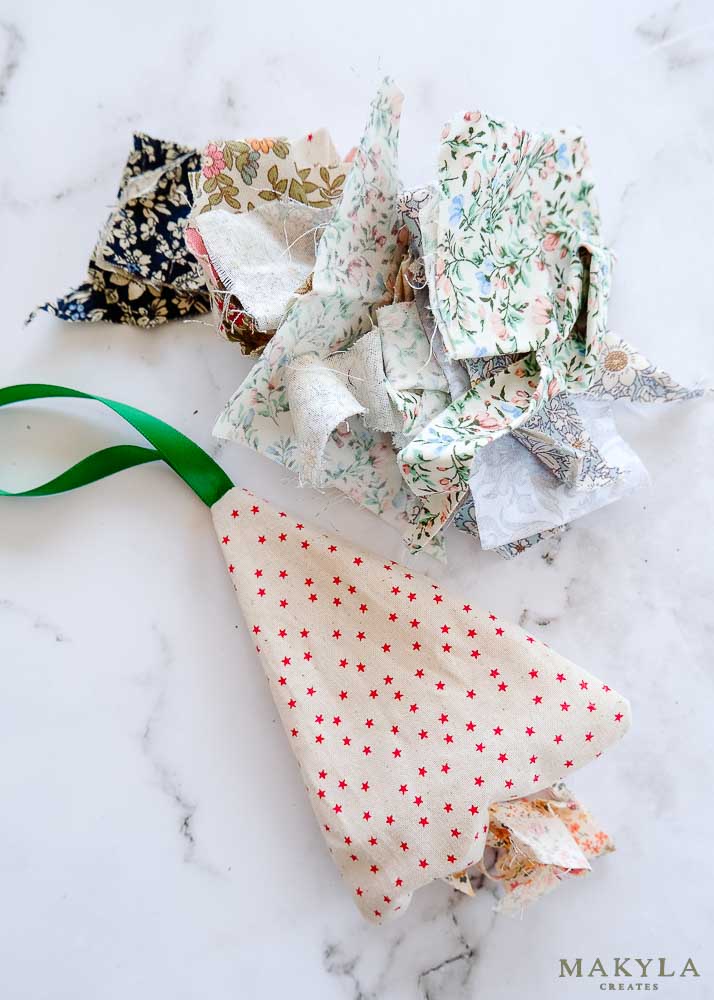
Step Five: Add stuffing
Fill the decorations with stuffing or fabric scraps. I used old quilt batting to stuff mine because I had small scraps in my stash.
Once they are filled enough, pin the seam opening shut, hand stitch, or edge stitch it closed.
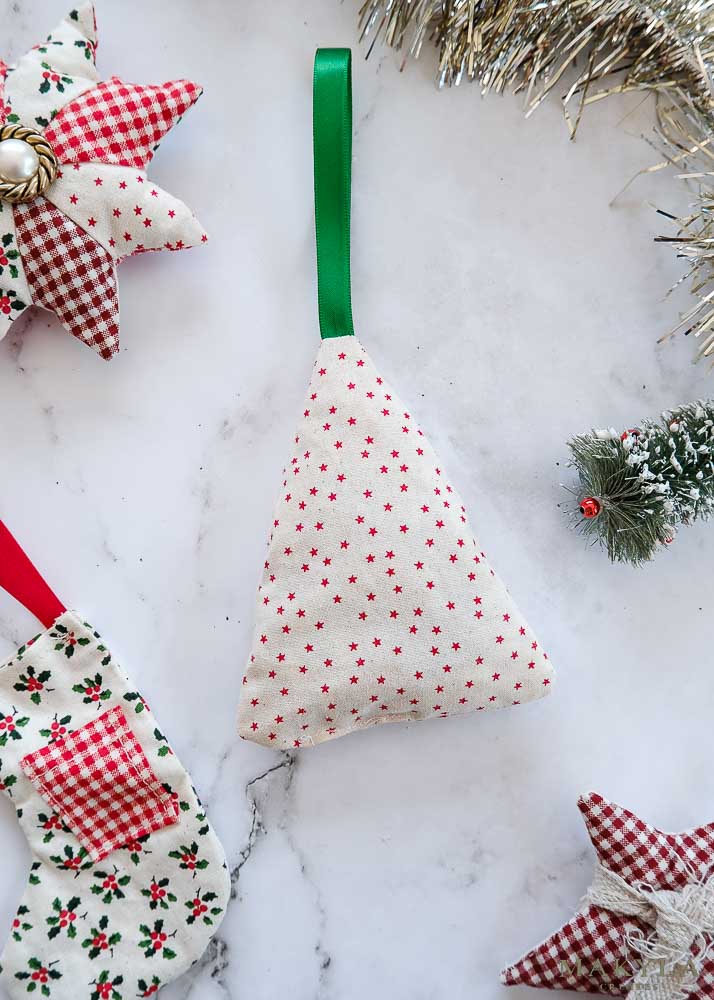
Step Six: Hang and enjoy!
More Christmas Inspiration:
- 15 Easy Homemade Christmas Gift Ideas
- Simple Christmas Stocking With Pattern & Tutorial
- 3 Unique Christmas Gift Basket Ideas
- Sangria Christmas Cocktail
- Shortbread Cookies Recipe (Perfect Christmas Gift Idea)
DIY Homemade Christmas Decorations to Sew
These DIY homemade Christmas decorations are easy to sew and only take 20 minutes to make when you download my free sewing
patterns.
Materials
- 0.5 metres fabric
- 5mm wide ribbon - 20cm per decoration
- Stuffing
- Pattern templates (visit the resource library)
- Thread
Tools
- Sewing machine
- Fabric shears or rotary cutter & mat
- Chalk
- Pins
Instructions
- Print off the patterns
To get started, download the patterns from my resource
library. This pattern is a PDF designed to be printed at home using
an A4 or letter-sized printer. Before printing, confirm the file is set to
‘actual size’ or ‘100% to scale’. Double check that it is NOT printing ‘scale to fit’ as it will come out the wrong size! Cut out the pattern templates so you have four shapes. - Cut out the fabric
Cut out one pair for each decoration shape by placing the
fabric on the fold and cutting out the templates. If you want multiple decorations, work out how many, then cut more pairs out. - Attach the ribbon
Cut a piece of ribbon 20cm long for each decoration to hang
it from. Fold the ribbon in half and pin it to the top right side of
the decoration. Only pin this to one side, not the pair. - Sew together
Place the pair's right sides together and pin the edges to hold
them in place. Sew around the outside with a 5mm seam allowance, leaving a 3cm opening in the seam to turn it through to the right sides.
Turn the decorations out to the right side through the seam opening. Use the ribbon to help pull this through. - Add stuffing
Fill the decorations with stuffing or fabric scraps. I used
old quilt batting to stuff mine because I had small scraps in my stash. Once they are filled enough, pin the seam opening shut and hand
stitch or edge stitch it closed. - Hang and enjoy!
Notes
- I find it easier to use a rotary cutter and mat to cut out small sewing projects like these, but you can also use dressmaking shears
and chalk. - Add charming ribbons, buttons or lace for added detail.