Learn how to make a simple zero waste top with me, perfect to wear on warm summer days. This sewing project doesn’t require any fancy sewing skills, so if you are a beginner totally give this a go!
 I love being able to sit down and sew a project in a few hours, this zero waste top is one of those projects.
Lately, I have been making a lot of conscious decisions on how I am consuming and how I can reduce my waste. I was really inspired to use up this entire piece linen I had in my fabric stash, which is how this top came about.
If you have kids this tutorial would also work. You will require a lot less fabric, so you may be able to get rid of those odd fabric scraps you have in your stash.

Sewing is an amazing skill to acquire. You will be able to sew yourself and your family clothing and homewares saving you thousands of dollars every year.
ZERO WASTE TOP PROJECT TIPS
- Lightweight fabrics such as cotton and linen work well here. Don’t use anything with stretch in it.
- If you use a striped fabric just followed my cutting layout and you should have a similar look to my top.
- When cutting out this top you can measure at the start and cut to the correct width. Then fold the fabric over and keep cutting the piece. This saves you needing to measure all the way along.
- If you want to make a few of these tops I suggest taking some time to make a quick pattern on newsprint.
Please note this post contains affiliate links, which means I make a small commission at no extra cost to you. You can read the full disclosure here.
MATERIALS AND TOOLS:

- Lightweight fabric about 45″ x 35″ or 115cm x 90cm
- 2m Elastic 3/4 inch or 2cm wide
- Matching thread
- Sewing Machine
- Measuring tape
- Fabric scissors
- Safety pin
- Pins
DIY ZERO WASTE TOP CUT LIST:
Below is the lay for this zero waste top using a 45″ (115cm) wide piece of fabric. If you are making a smaller size save the small scrap to use on one of these quick sewing projects.

To get the right size top for you, you will need to measure your bust first then add 3 1/2 inches.
The length of this top is 15 inches but feel free to make it longer if you have more fabric to spare.

The ruffles can be cut to whatever width you like. I have shared the width of the ruffles I made in the cut list.
Remember if you have a little bit more fabric to use up just make these ruffle a little wider to reduce fabric wastage.
HOW TO MAKE A ZERO WASTE TOP
CUTTING OUT
Follow the cutting guide to cut out all the pieces.
If you would like a fuller top just cut the full width of your fabric at 15 inches long.

 Cut out the top and bottom ruffles following the cutting guide above.
SEW CB TOP SEAM
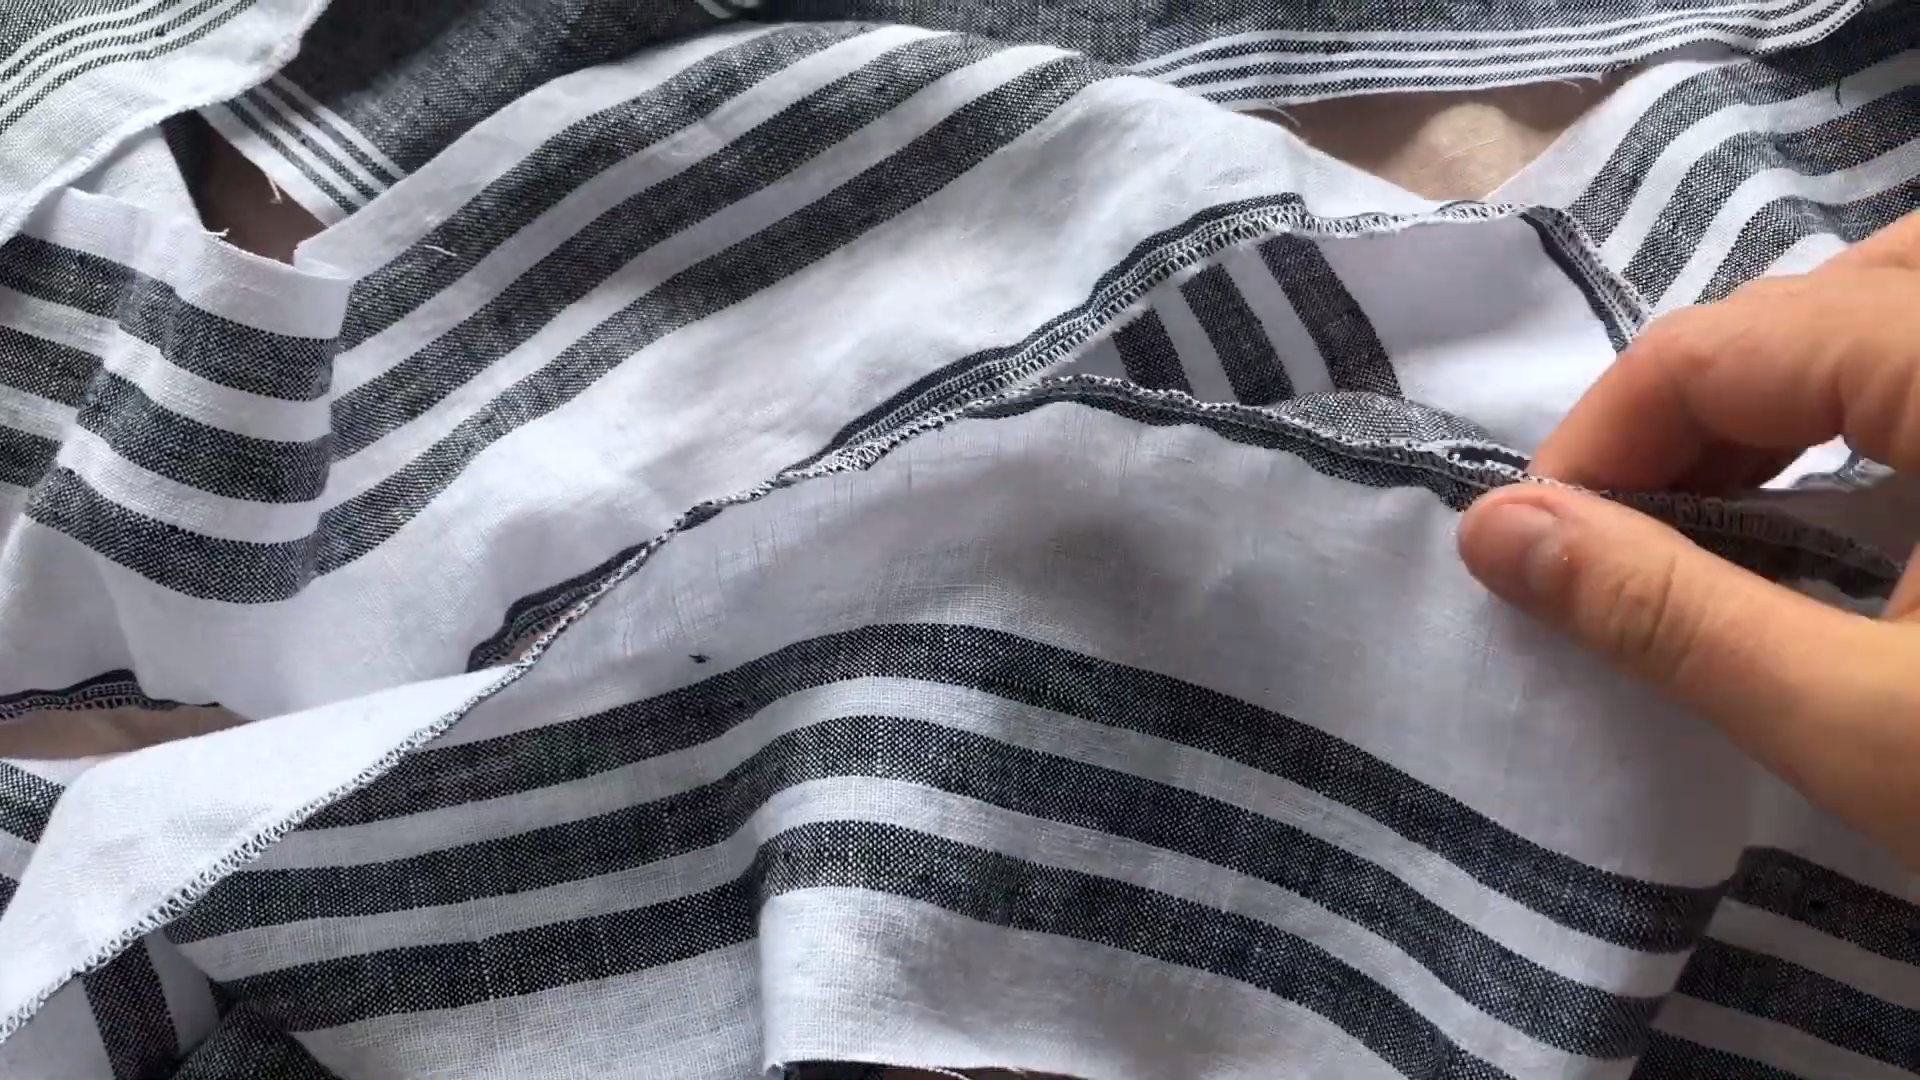
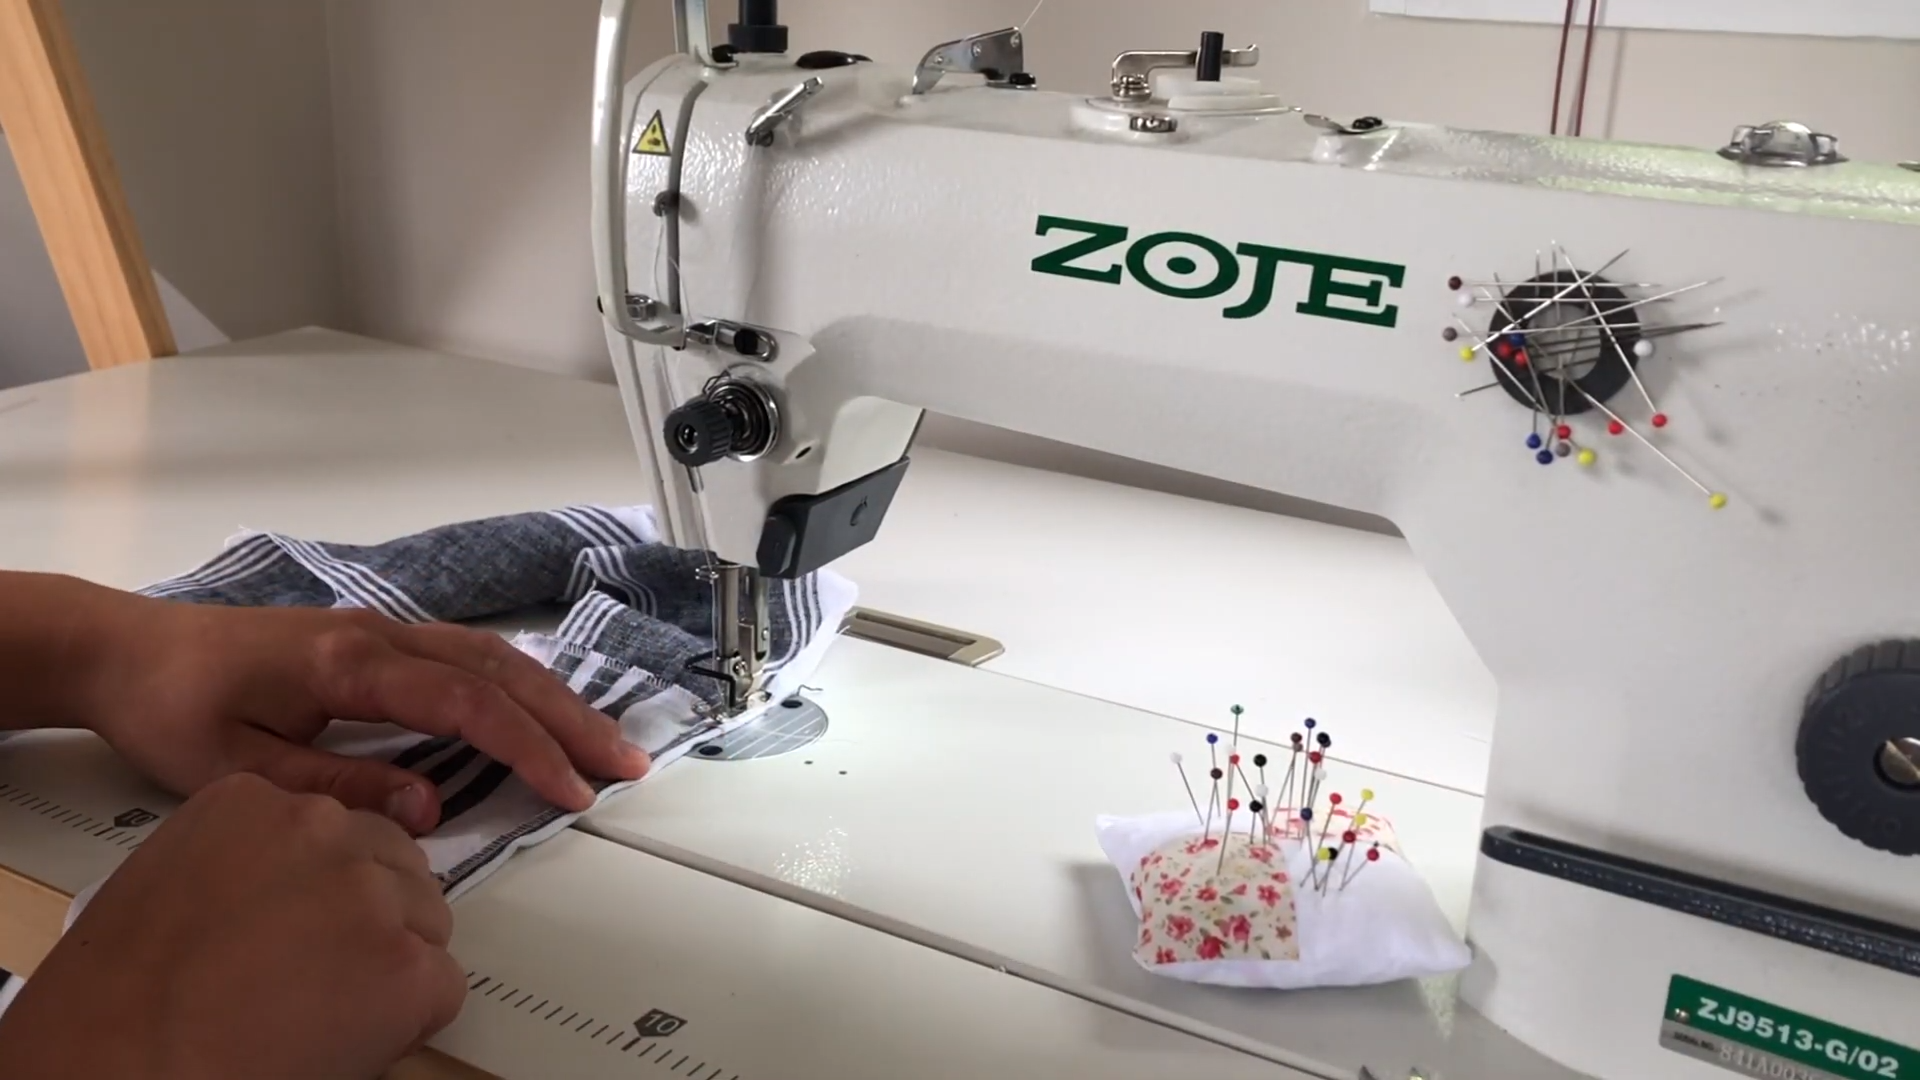
 Pin the centre back seam of the main top piece and sew together with 1/2 inch seam (1cm). Finish off the raw edges with an overlocker or zigzag stitch.
SEW ELASTIC CASING & HEM
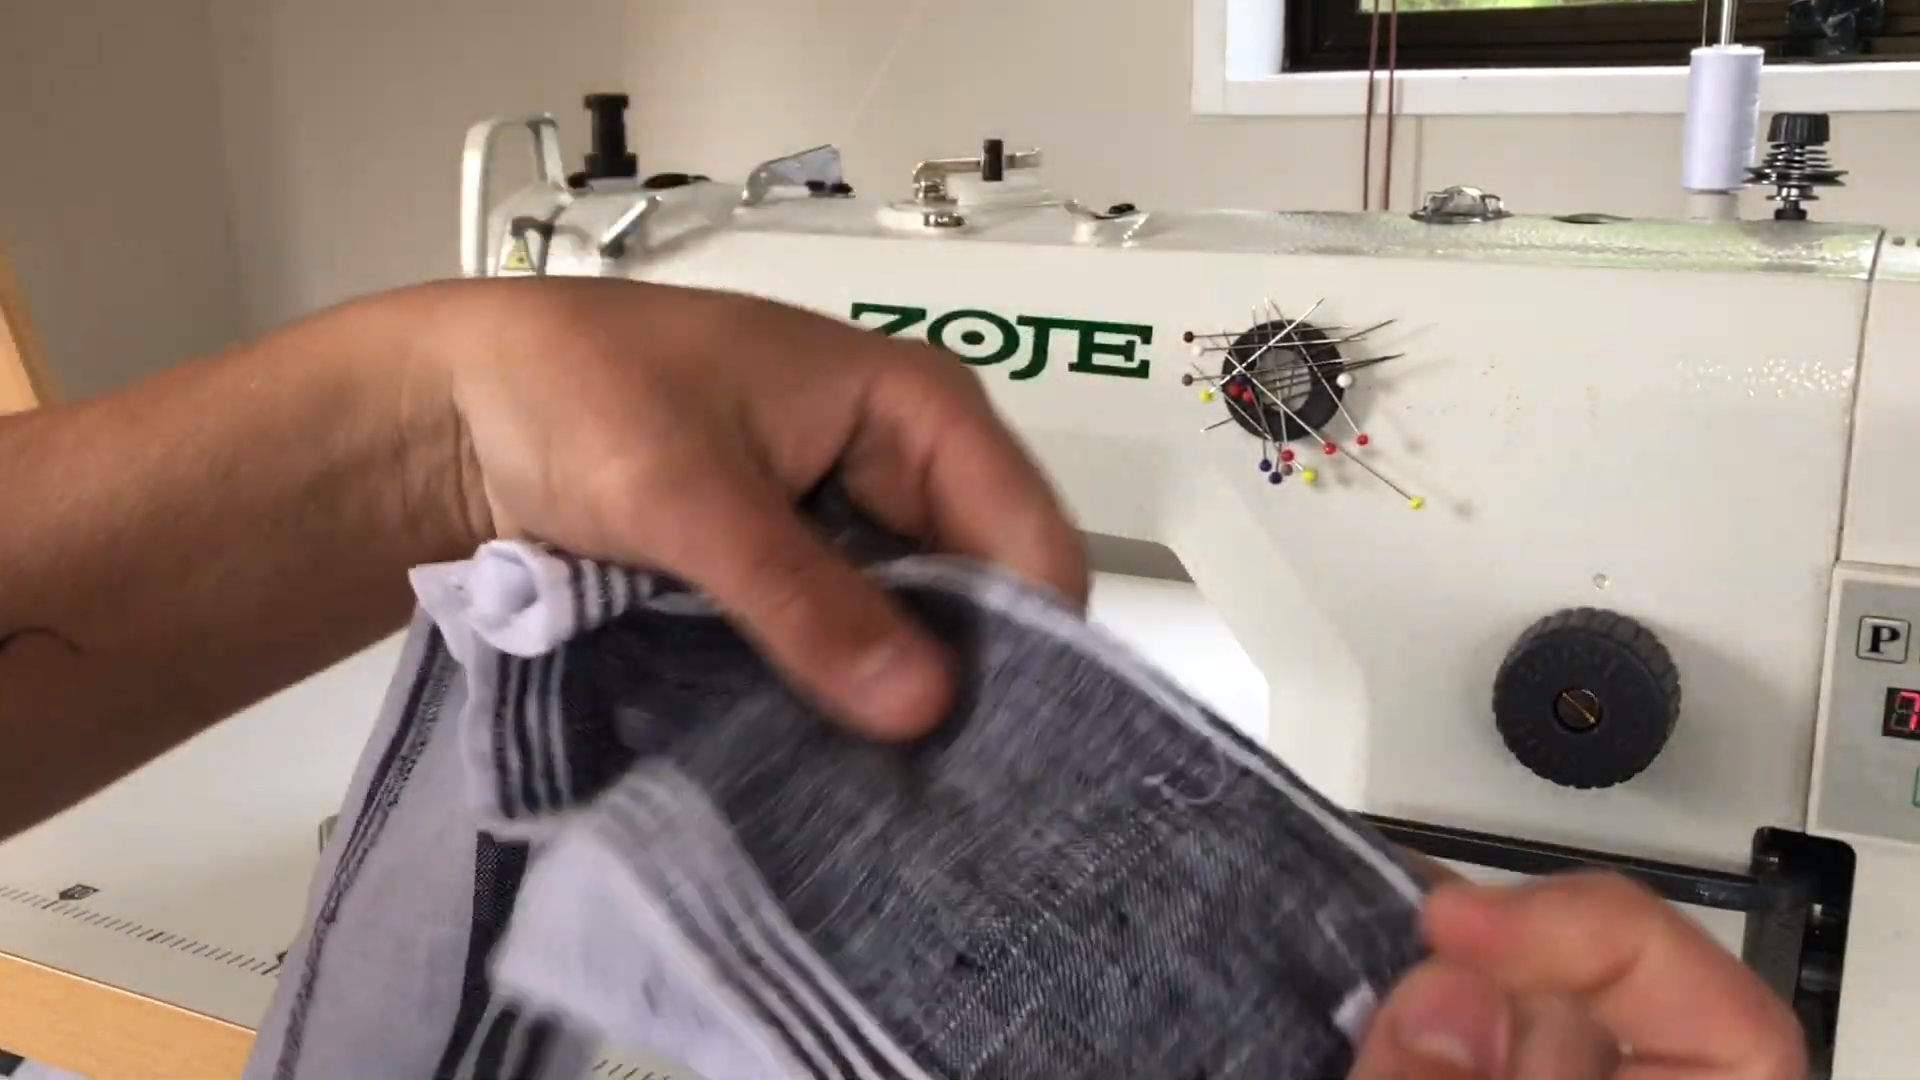
 On one edge of the top fold over 1/4 inch (5mm) and press in place.
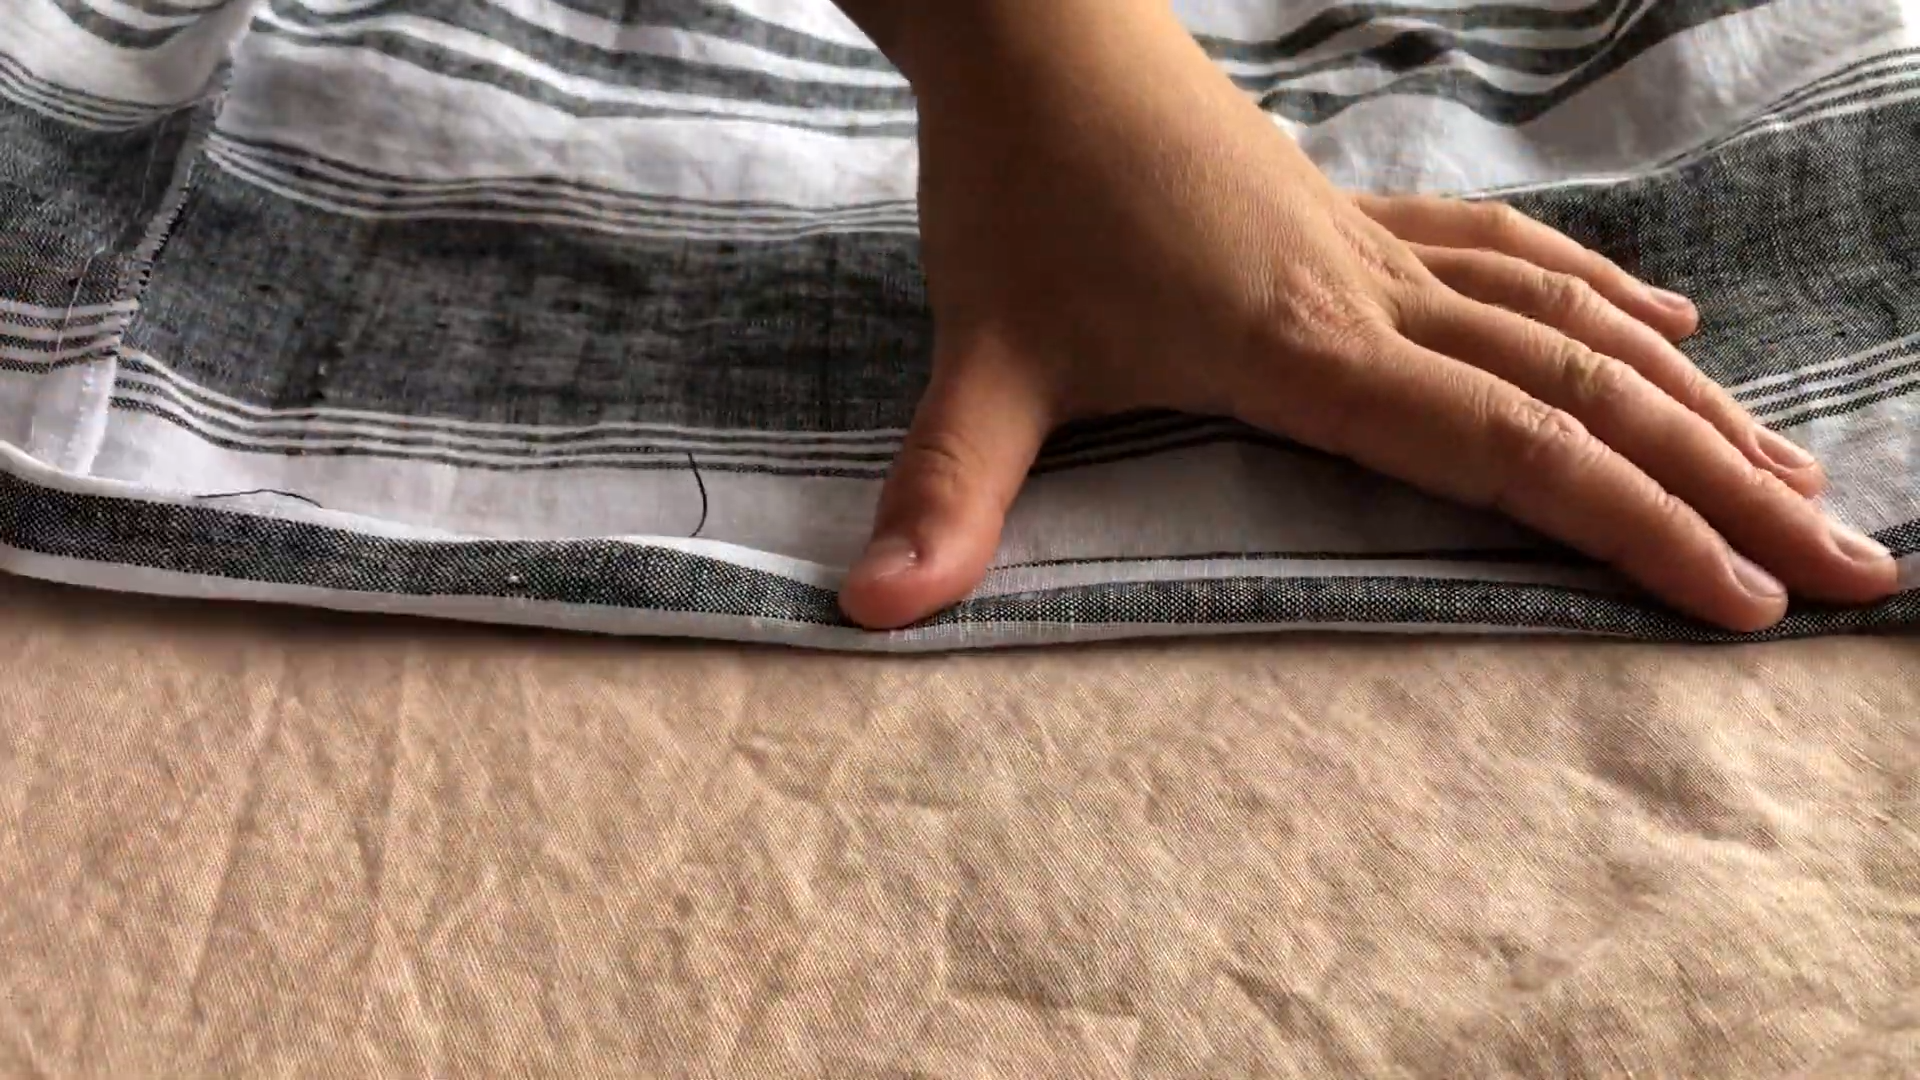 Fold again 1″ and pin in place. Pin in place if you need to.

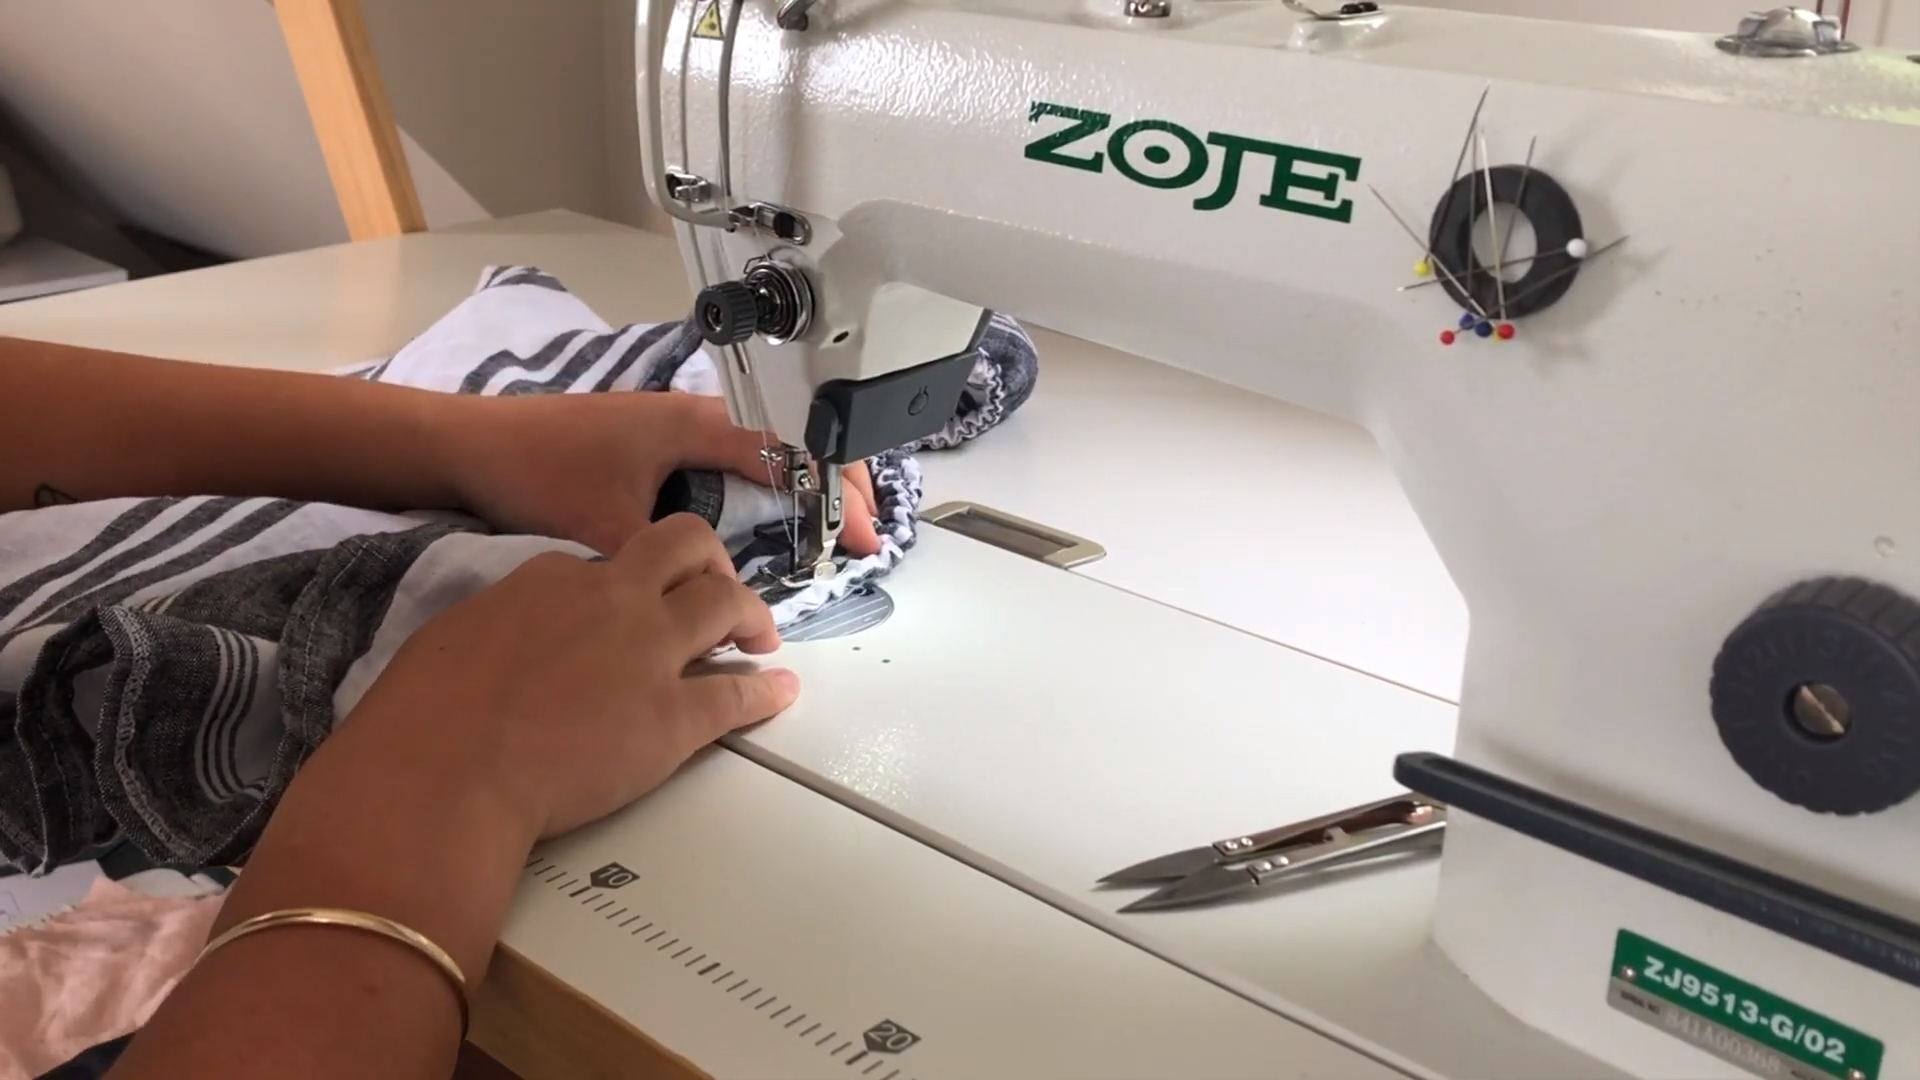
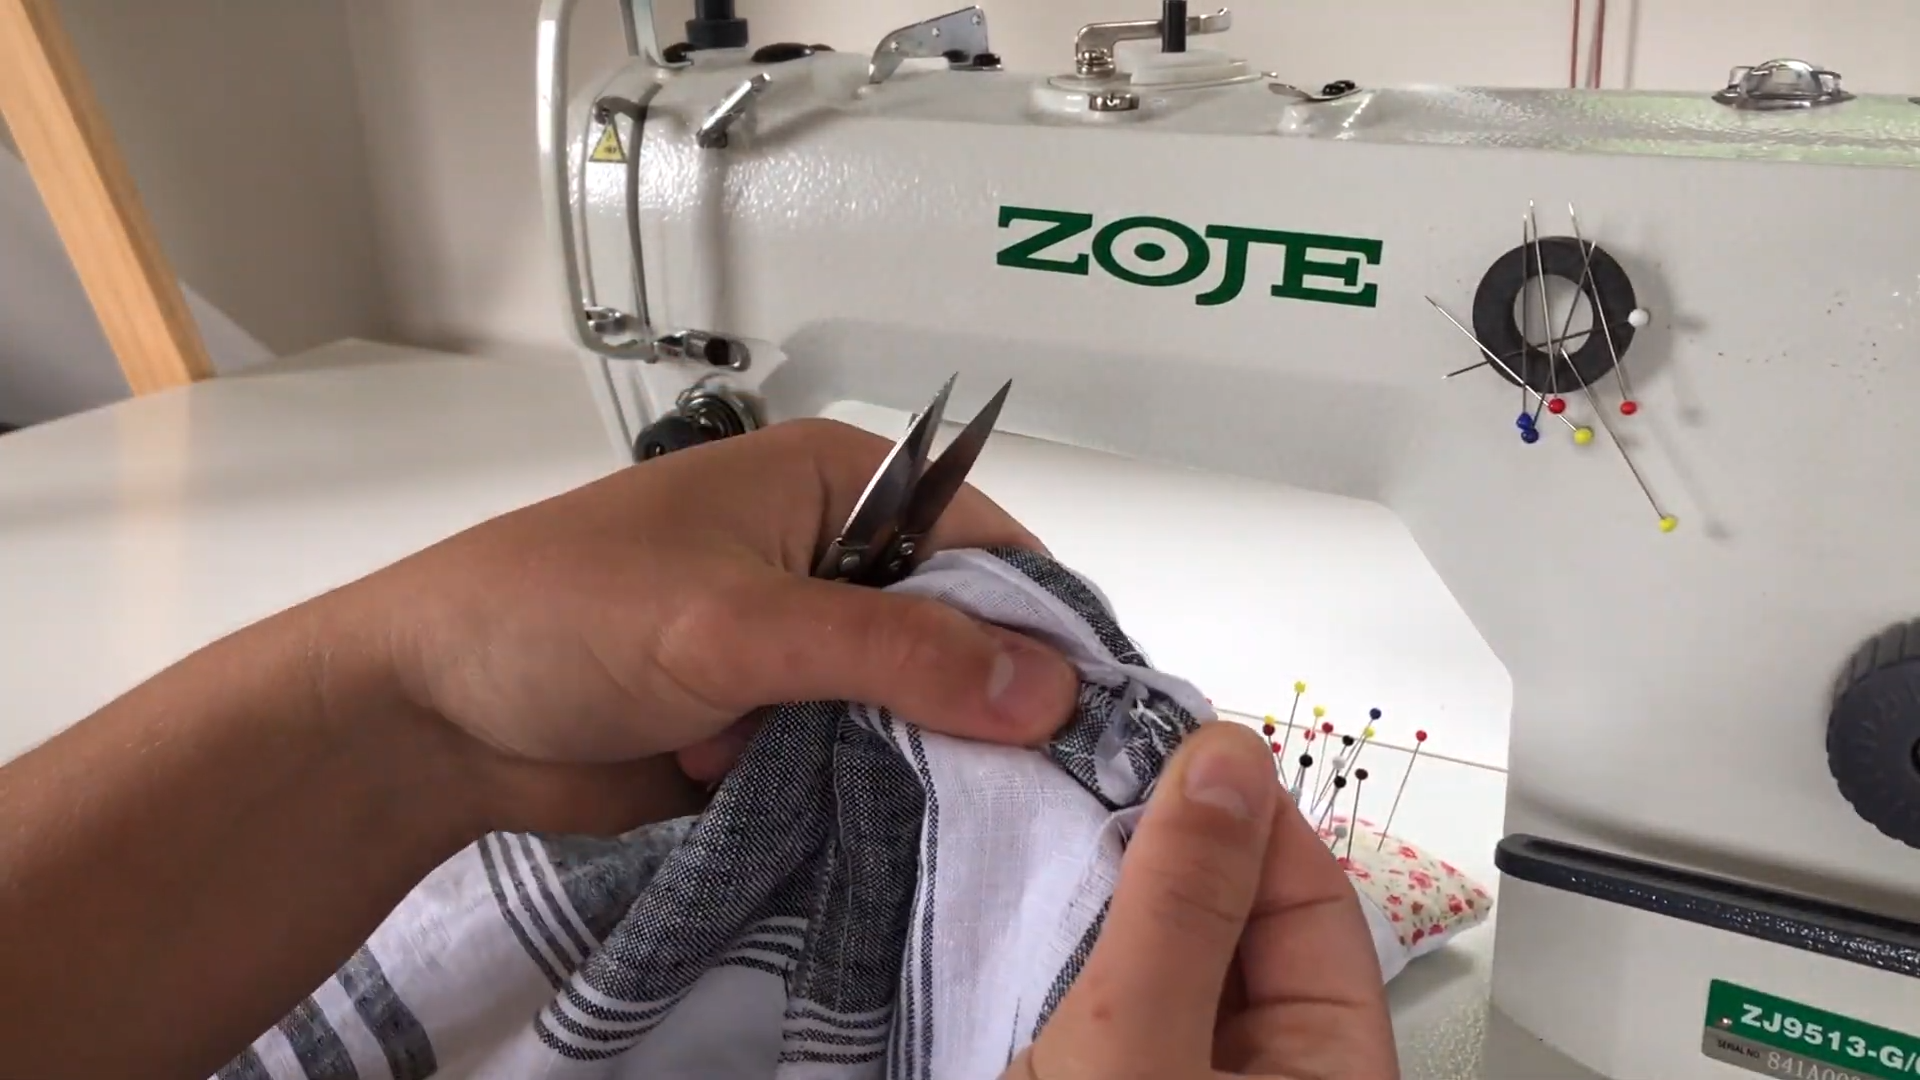 Edgestitch the casing closed leaving a small opening around 1 inch to thread through the elastic.

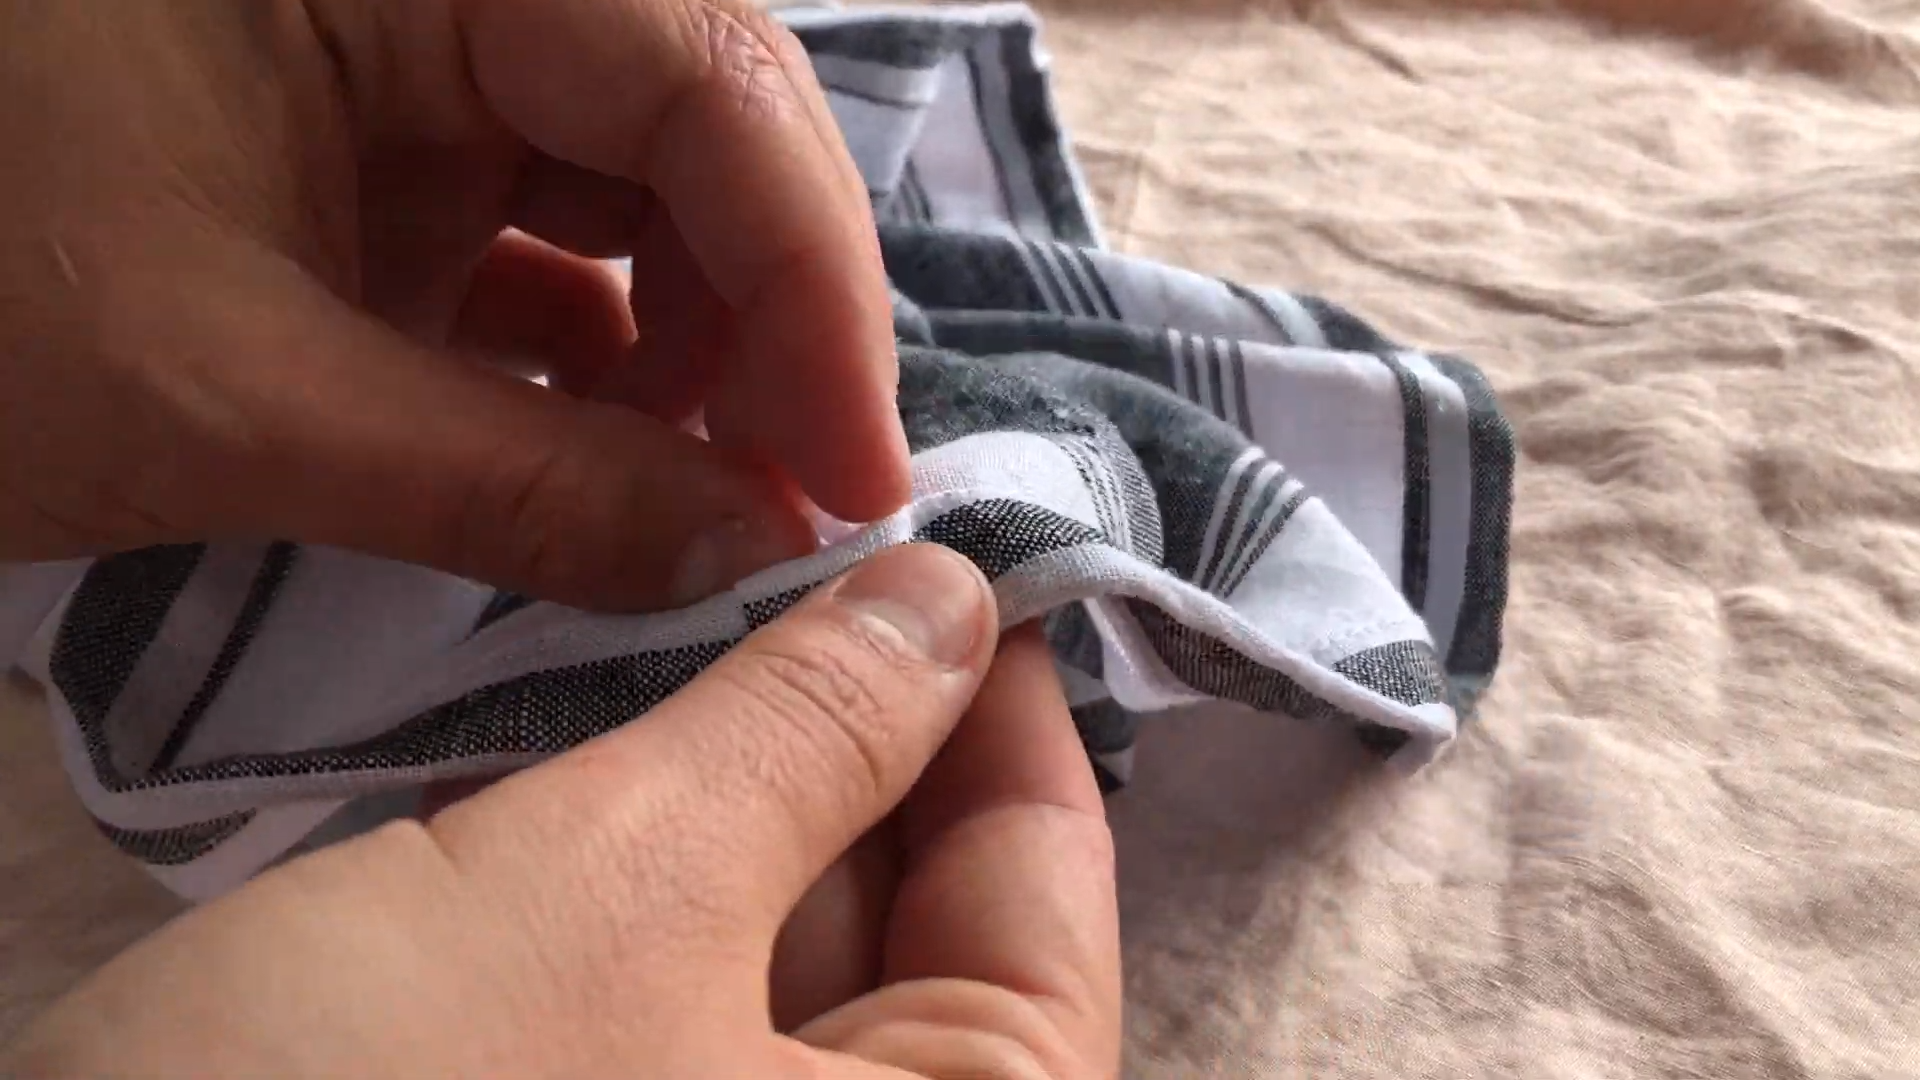 Pop a safety pin into your elastic and thread it all the way through until you can pull it back out the casing opening.
I suggest pinning the elastic in place with the safety pin and trying on your top to see what feels comfortable to you. I could suggest a length to cut but this will be so different for everyone.
A good indicator is that the elastic is firm enough to hold up your top but not too tight it hurts!
 Once you find a good length of elastic cut it about 1 inch bigger and pin the two ends together. Stitch this a few times to secure in place. Close the opening in the casing.
 Hem the top by folding up 1 inch (2.5cm) to the wrong side and press in place. Then fold again 1 inch (2.5cm) and press. Pin in place.
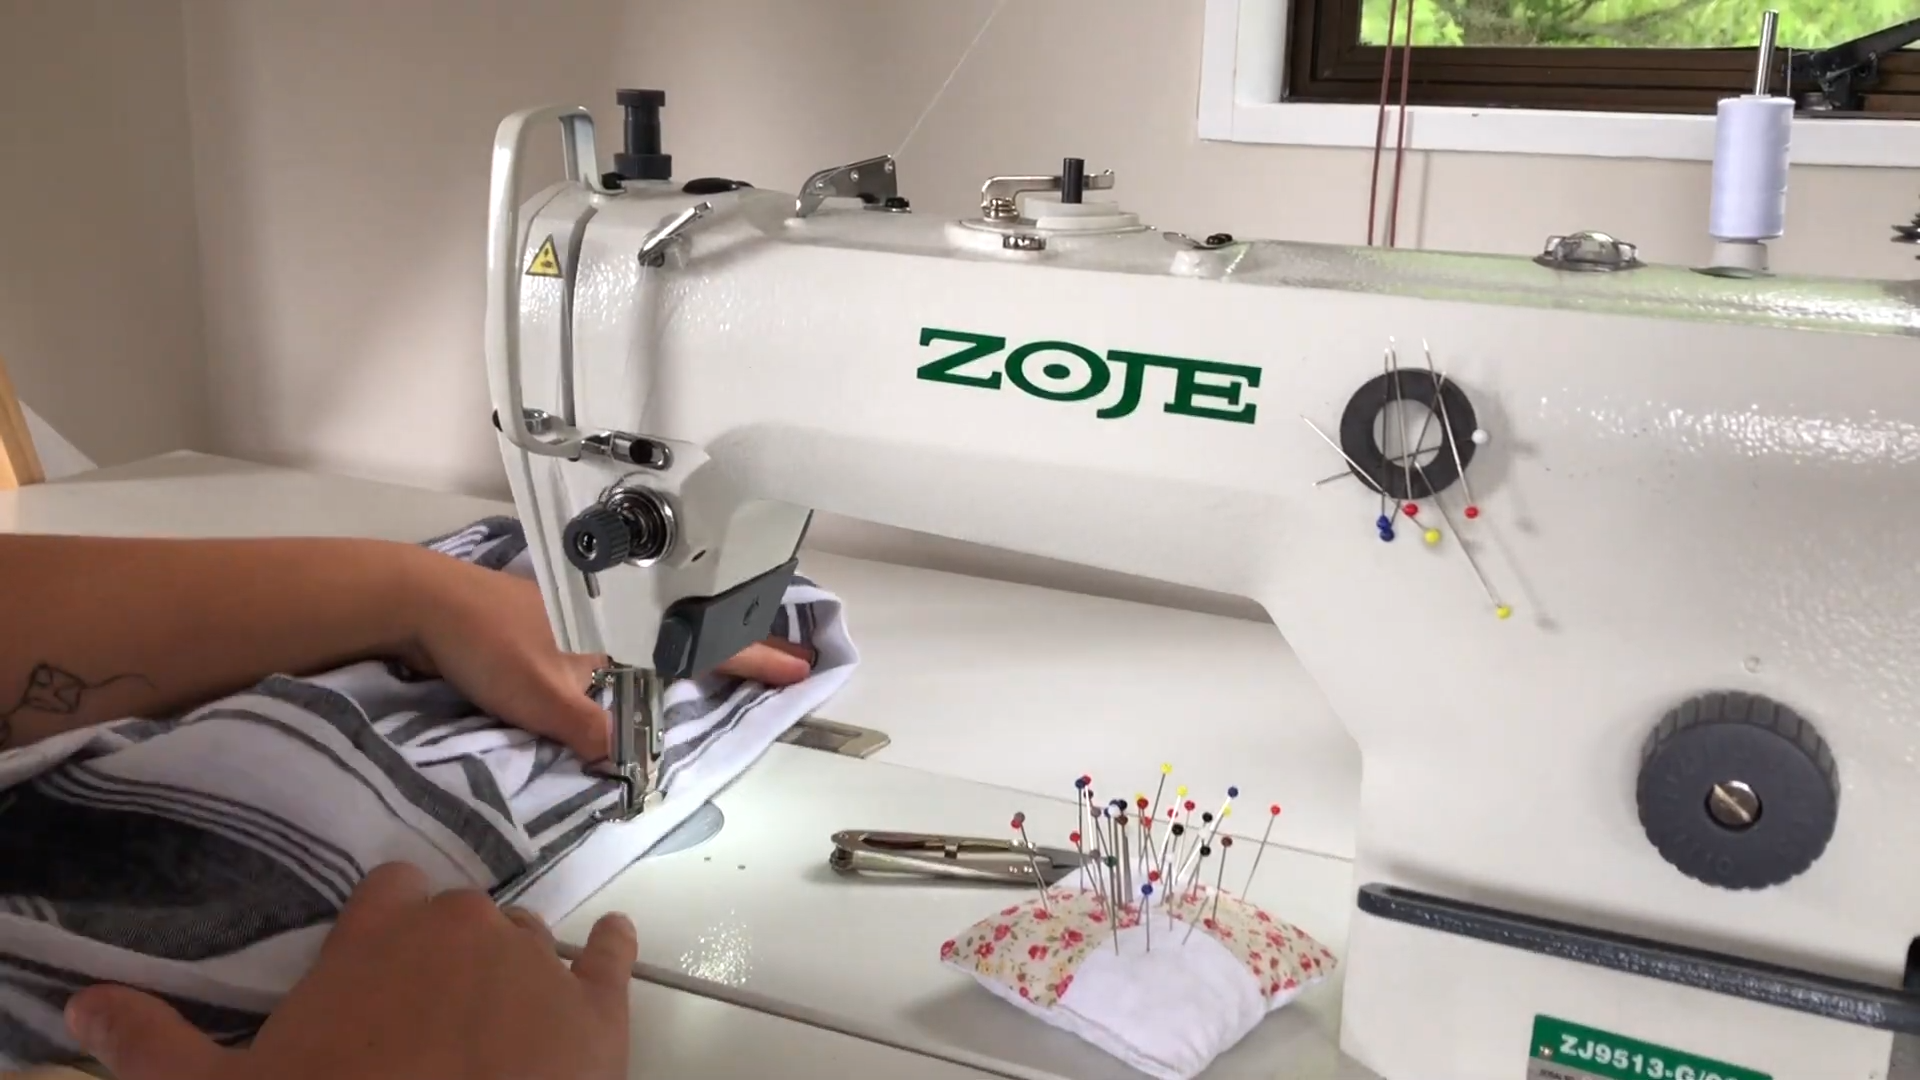 Edgestitch around the hem.
MAKING RUFFLES
 Pin the top ruffle pieces together to form a circular shape and sew together with 1/2 inch seam. Finish the raw seams with an overlocker or zigzag stitch.
Repeat for the bottom ruffle.
 Finish around the raw edges on one side of each ruffle.
 Fold up the finished edge 1/4 inch and press in place. Edgestitch all the way around to hem the ruffle. Repeat for other ruffles.
 Face the bottom ruffle wrong side out and place the top ruffle on top with the wrong side also facing you. This will mean the ruffles are the wrong side to right side.
 Pin them together along the raw edges, matching up the seams. Stitch together with a 1/4 inch seam and turn to the right side so the seam allowance is now hidden in between the layers. Press the ruffles.
 To create the ruffle elastic casing sew 1/2 inch from the top on the right side. Remember to leave about 1 inch open to thread through the elastic.
This time cut the elastic to 33 inches long and thread through the ruffle casing. Join the elastic together. Close up the casing opening.
JOINING THE RUFFLE AND TOP TOGETHER
The final step is to join the main top piece and the ruffle together.
 Grab the top and fold in half with the centre back seam indicating the line to fold on. This will help you find the centre front of the top. Pop in a pin at the centre front as a placement holder.
Do the same with the ruffle. Make sure to have to seams on the sides where your shoulders will be not at the front. Fold in half matching up the seams to find the centre front and centre back. Pop in pins.
Now match the CF and CB of the top with the ruffle and pin together.
 Sew about 1 inch either side of the centre marks making sure to back tack to secure these in place.
There will be a bit of pressure on this part of the top so make sure to sew a few times over just to be safe!
If you enjoyed making this zero waste top, I would appreciate it if you gave the project 5 stars and shared it with your friends and family! Also, don’t forget to tag me on Instagram @makylacreates
PIN FOR LATER: