Learn how to make a puff sleeve top with me using my popular Blouse One sewing pattern…
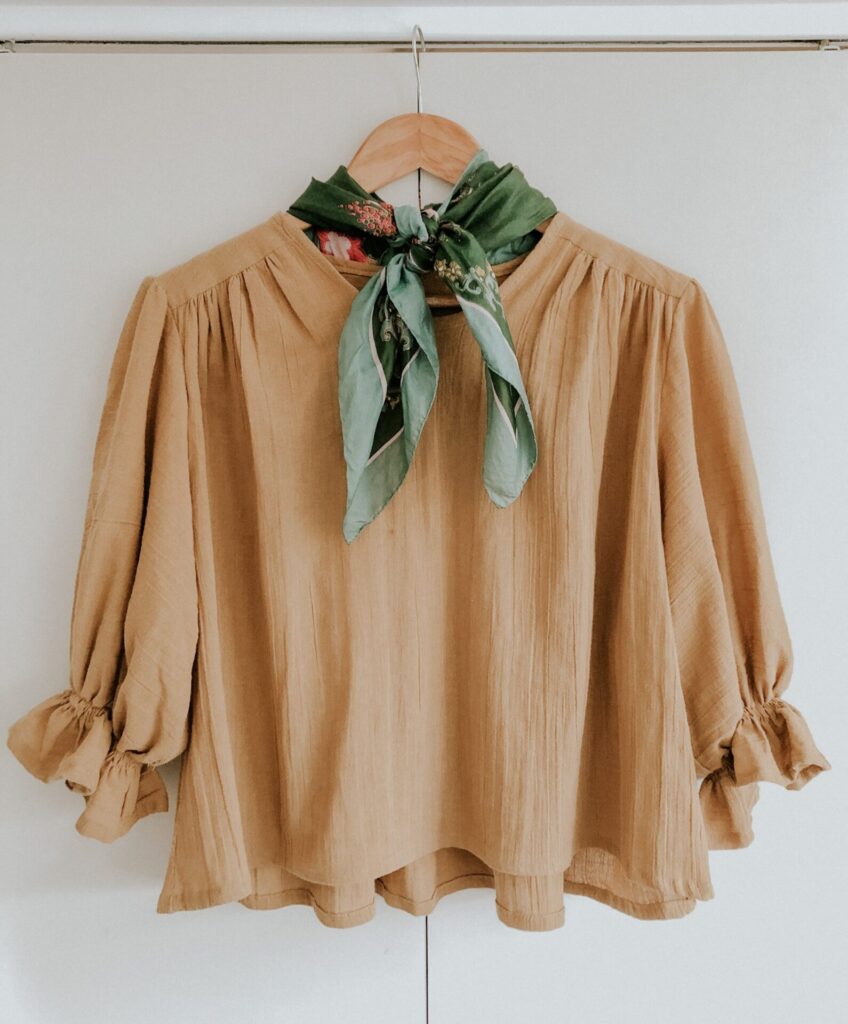
Puffy sleeves have really made a comeback over the past few years and I am not complaining. When I was younger puff sleeves made me think 80’s…oversized shoulders, massive arms, just not my style! But I have to say I have a huge weakness for gathers, ruffles and puffy anything these days. Its something that I really enjoy drafting as a pattern maker and sewing as a seamstress so naturally I am drawn to this style.
This tutorial is a fun, easy pattern hack for my popular Blouse One sewing pattern.

If you are new to sewing this hack is beginner friendly and you can be fully supported by sewing along with me in my video tutorial. This is a quicker sewing project then the original blouse as there is less time consuming construction required like cuffs and curved hemlines.
Inspiration behind this puff top pattern hack
If you have been a supporter of Makyla Creates for a while you may already know that I love garments with puff sleeves, ruffles and gathers. When I am designing sewing patterns for my brand Makyla Creates or making DIY projects I am always drawn to these features.
I have always been fond of fashion designers, not as such for the fashion brand or house but for the magical clothing they would create. Seeing beautiful dresses and pant suits drew in my attention, which lead me to an interest in garment construction…how on earth is that sitting the way it is? Some of my favourites are Dior, Miu Miu, Rouje to name a few but my overall favourite is Chloe.
I found an interest in studying the garments, fabrics and styling these brands created. By doing this I came to realise the aesthetics that pleased me from each of these design houses. Surprise surprise, ruffles, gathers, and oversized volume were on the top of my list. I really encourage you do to the same if you want to develop a more curated personal style, you may be surprised by what you discover about yourself!


what you will need to make This puff sleeve top
- Blouse One sewing pattern by Makyla Creates
- 2m Cotton gauze or medium weight cotton, linen, rayon fabric
- Sewing machine (this was my trustworthy sewing machine for years!)
- Matching thread
- Shirring elastic (like this one here)
- Fabric shears
- Pattern making paper or card stock
- Pencil, glue, paper scissors
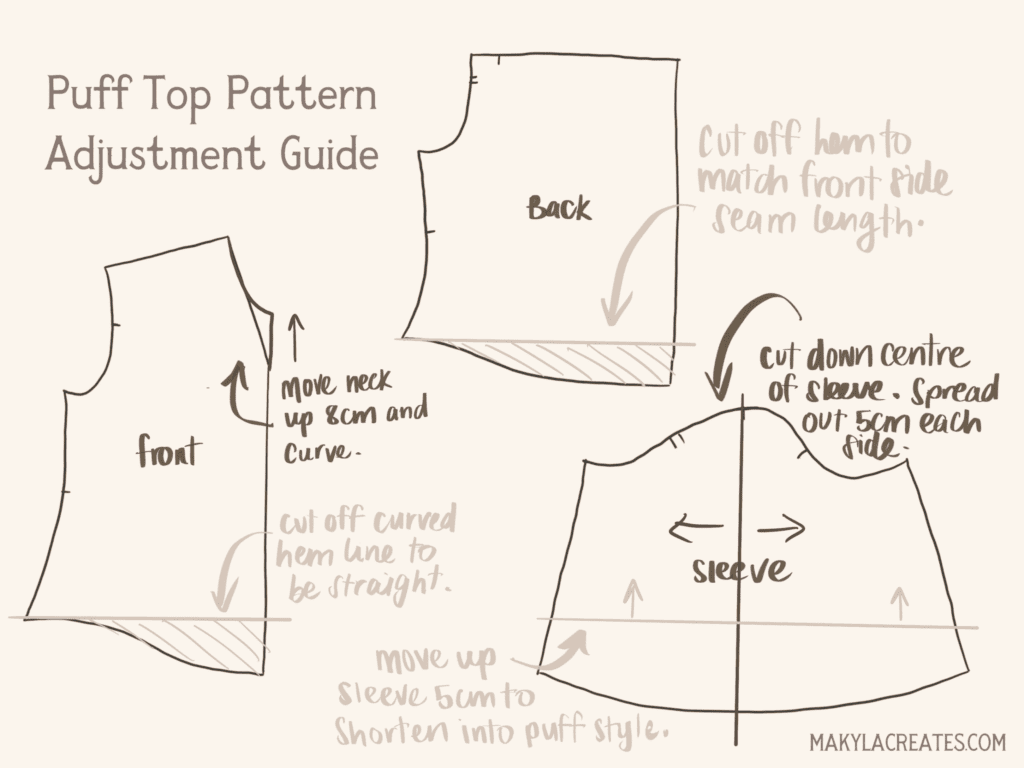
PUFF SLEEVE TOP PATTERN ADJUSTMENTS:
To begin we will need to modify the Blouse One pattern.
- Change the V-neck to a round neckline.
- Reducing top length and removing curved hemline.
- Adding fullness to the sleeve to create more puffy goodness.
- Shortening sleeve length to sit above the elbow.
To begin these pattern adjustments trace around the front, back and sleeve pattern pieces in your appropriate size.
Next, measure up 8cm from the bottom point of the neck edge on the front pattern piece. Draw a 90 degree line at 1.5cm long from the 8cm point back towards the neckline then start to curve up. Blend the curve into the existing neck edge.
Shorten the front by coming straight across from the side seam to the centre front. This will be the new hemline of the top.
Repeat this step for the back piece. Place the front on top of the back side seam to ensure they are the same length at the side seam.
Now to add volume to the sleeves. Draw a line down from the top sleeve notch to the bottom of the sleeve. Cut in half and draw a straight line onto another piece of paper.
Measure out 5cm from each side of the line and place each side of the sleeve on the 5cm lines. This will add a total of 10cm into the sleeve.
To shorten the sleeve cut about 10cm up from the bottom and measure up 5cm, glue the sleeve to the new line. Straighten up the side seams by lining up your ruler at the underarm point down the the bottom point.
Don’t worry about any excess thats being cut off this is normal.
CUTTING GUIDE
Before you start sewing cut out all the pattern pieces as listed in the Blouse One sewing pattern instructions. You should have all the pieces as listed below:
- Front x1
- Back x1
- Sleeve x2
- Back Yoke x2
- Neck bias binding x1
Start sewing your puff sleeve top
Let begin sewing the puff top together AKA the fun part!!!
As this is a pattern hack tutorial you will have to sewing instructions for this pattern already but I will guide you through the adjusted steps below. You can also sew along with me in my video tutorial above.
Follow step 1, 3, 5, 6, 7.
When you get upto the neck binding (step 8) the construction will be a lot easier as this top have a curved neckline now not a v-neck. You will attach the binding as the instructions only ignoring the v-neck construction.
Follow step 9 and then we will start to sew the new sleeves.
Right sides together, join the sleeve side seams with a 1cm seam allowance and neaten the edges.
Fold the bottom of the sleeves up 1cm and again another 1cm, pin in place. Edge stitch to hem.
Using the shirring elastic hand wind a new bobbin until full. Tip: Try to keep the tension loose as you don’t want to pull the elastic too tight.
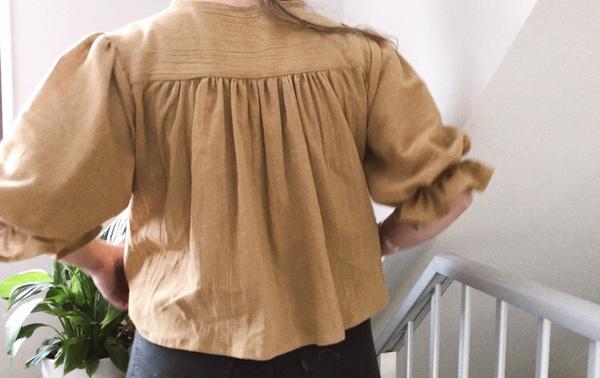
Place the bobbin into the machine and leave the top thread as is. Begin to sew a row of shirring 5cm up for the sleeve hem. Sew another row of shirring 5mm above the first row. Then again for a 3rd row. Knot off the elastic together. Repeat for the other sleeve.
On the right side of the sleeve steam the shirring with your iron or garment steamer to allow the elastic to shrink and create a tighter gather.
Continue onto step 11 and 12. Step 12 is for a curved hemline. This top has a straight hemline making it easier to sew but the hem allowance is the same.
You do not need to follow step 13.
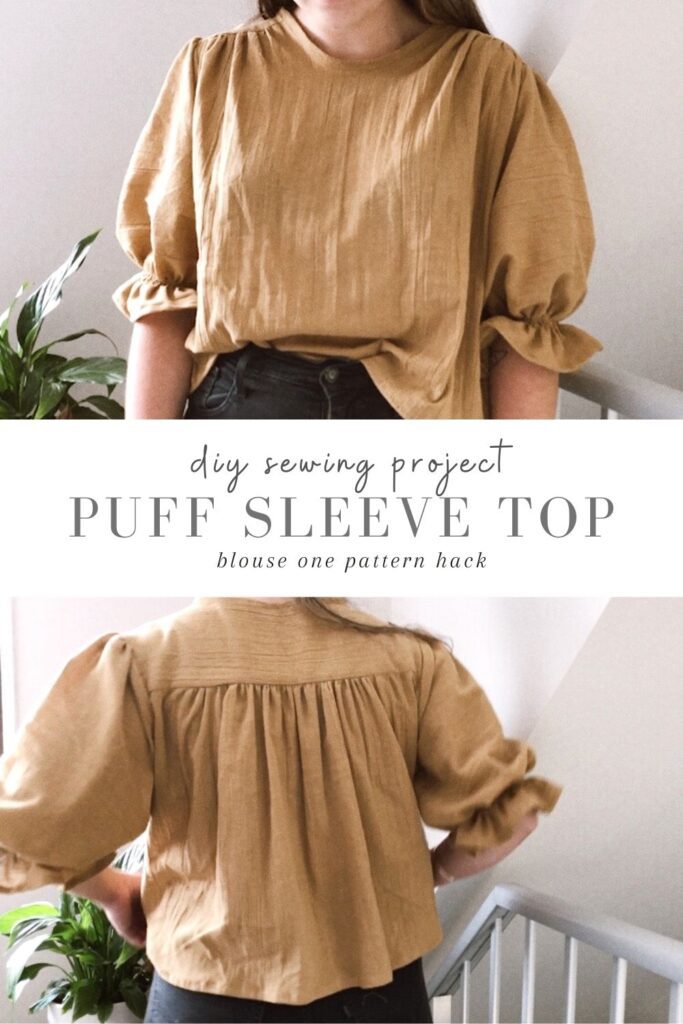
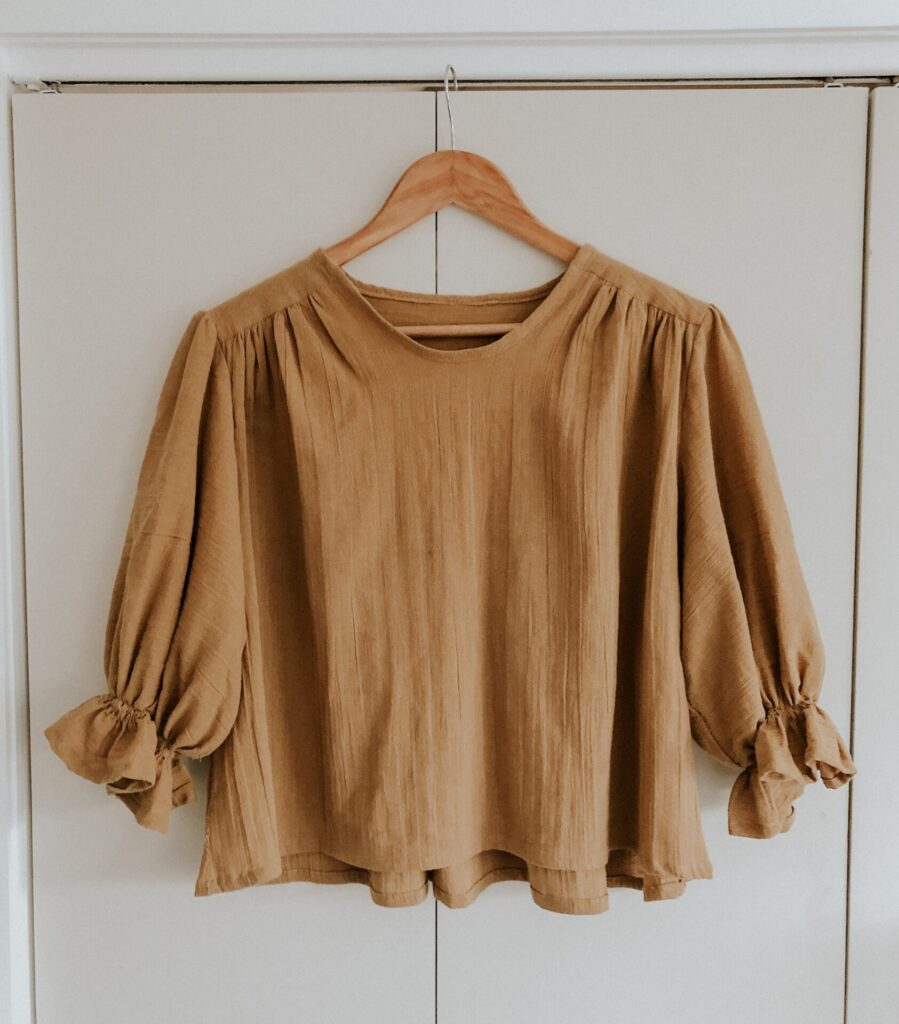
That it you have finished sewing yourself a very delightful puff sleeve top!
If you have any questions about this DIY project please comment below.
If you would like to improve your sewing skills you can check out my FREE Beginner Sewing Series where I teach how to threading up a sewing machine, how to sew simple seams, how to sew simple hems and lots more!
Tag me over on Instagram @makylacreates with you Puff Sleeve Top!
How To Make A Puff Sleeve Top
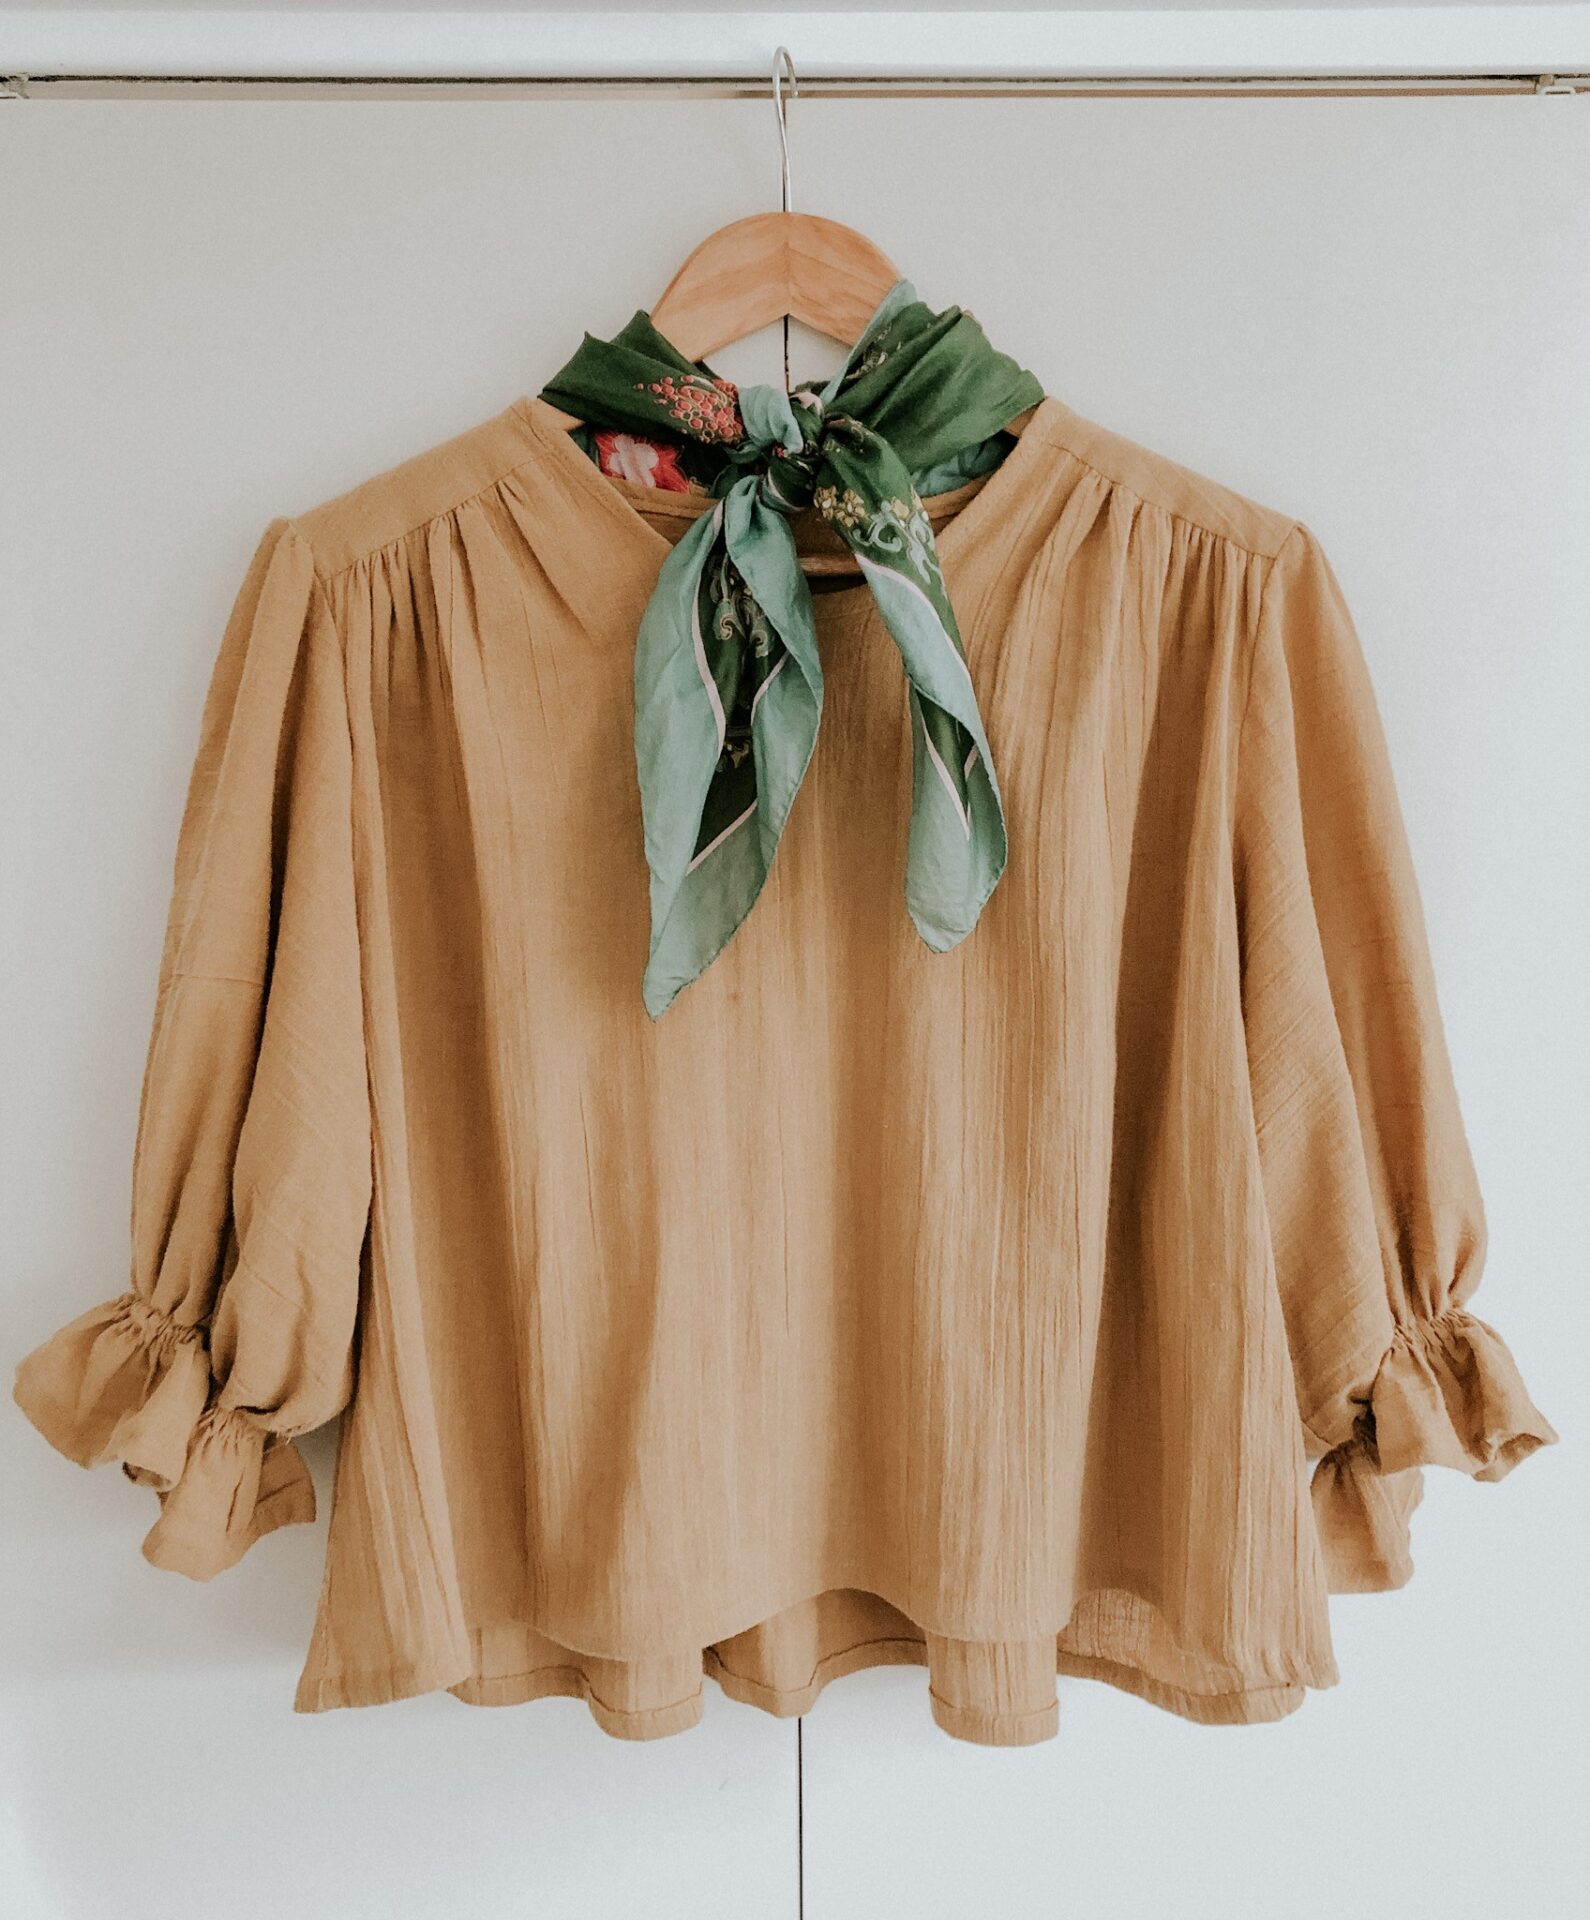
Sew yourself a lovely ruffled top with puff sleeves that is perfect to wear to any occasion. This is a beginner-friendly sewing project.
Materials
- Blouse sewing pattern
- 2m Cotton gauze
- Matching thread
- Shirring elastic
Tools
- Sewing machine
- Fabric shears
- Pattern making paper or card stock
- Pencil, glue, paper scissors
Instructions
- Pattern Adjustments:
Change the V-neck to a round neckline.
Reducing top length and removing curved hemline.
Adding fullness to the sleeve to create more puffy goodness.
Shortening sleeve length to sit above the elbow. - To begin these pattern adjustments trace around the front, back and sleeve pattern pieces in your appropriate size.
- Next, measure up 8cm from the bottom point of the neck edge on the front pattern piece. Draw a 90 degree line at 1.5cm long from the 8cm point back towards the neckline then start to curve up. Blend the curve into the existing neck edge.
- Shorten the front by coming straight across from the side seam to the centre front. This will be the new hemline of the top.
- Repeat this step for the back piece. Place the front on top of the back side seam to ensure they are the same length at the side seam.
- Now to add volume to the sleeves. Draw a line down from the top sleeve notch to the bottom of the sleeve. Cut in half and draw a straight line onto another piece of paper.
- Measure out 5cm from each side of the line and place each side of the sleeve on the 5cm lines. This will add a total of 10cm into the sleeve.
- To shorten the sleeve cut about 10cm up from the bottom and measure up 5cm, glue the sleeve to the new line. Straighten up the side seams by lining up your ruler at the underarm point down the the bottom point.
- Cut out the pattern pieces:
Front x1
Back x1
Sleeve x2
Back Yoke x2
Neck bias binding x1 - Follow step 1, 3, 5, 6, 7 in the sewing pattern instructions.
When you get up to the neck binding (step 8) the construction will be a lot easier as this top have a curved neckline now not a V-neck. You will attach the binding as the instructions only ignoring the V-neck construction. - Follow step 9 and then we will start to sew the new sleeves.
- Right sides together, join the sleeve side seams with a 1cm seam allowance and neaten the edges.
- Fold the bottom of the sleeves up 1cm and again another 1cm, pin in place. Edge stitch to hem.
- Using the shirring elastic hand wind a new bobbin until full. Tip: Try to keep the tension loose as you don’t want to pull the elastic too tight. Place the bobbin into the machine and leave the top thread as is. Begin to sew a row of shirring 5cm up for the sleeve hem. Sew another row of shirring 5mm above the first row. Then again for a 3rd row. Knot off the elastic together. Repeat for the other sleeve. On the right side of the sleeve steam the shirring with your iron or garment steamer to allow the elastic to shrink and create a tighter gather.
- Continue onto step 11 and 12. Step 12 is for a curved hemline. This top has a straight hemline making it easier to sew but the hem allowance is the same.
- You do not need to follow step 13.
Notes
Don't forget to tag me in your makes on Instagram @makylacreates