Make these simple, cheap but stylish pom poms in less than 10 minutes to use as an accessory or decoration in your home.
I remember making pom poms as a kid with my dad for fun. We would cut out cardboard recycling and wind many coloured yarns onto them to see how they would come out. With my easy step-by-step tutorial, you can learn how to make pom poms with yarn.
Why You Will Love These Pom Poms
- Quick to make in less than 10 minutes
- It only requires a few affordable craft supplies
- Fun afternoon project to make
- A cute accessory or home décor item
These pom poms are a fun craft project to make after work or on the weekends to relax and unwind. If you have kids, they will love making these with you.
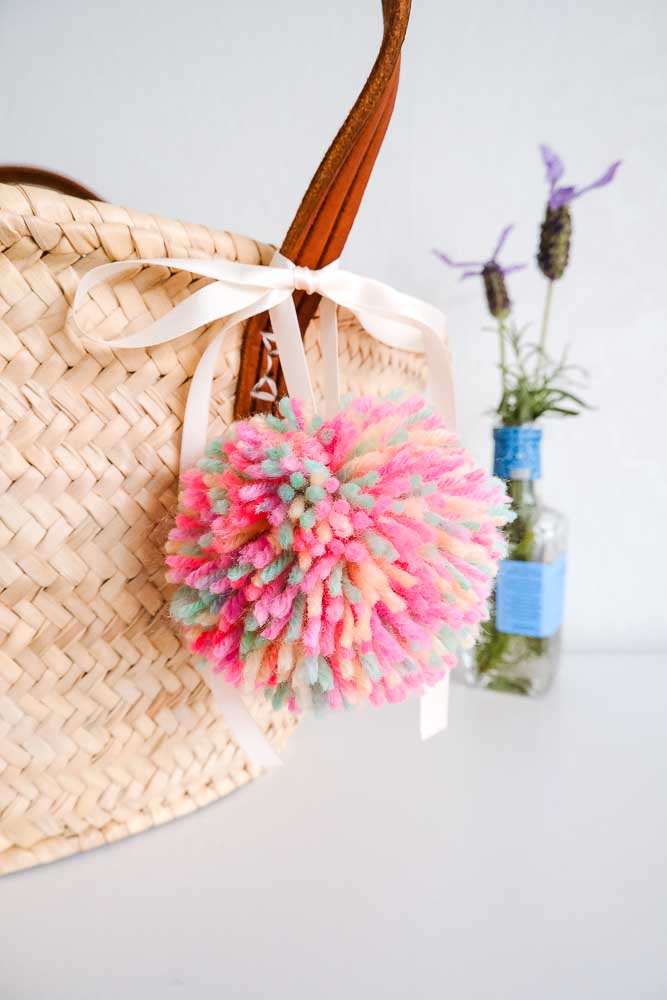
Play around with the colours by winding different colours onto one pom pom or use a multi-coloured yarn as I did.
As an Amazon Associate, I earn from qualifying purchases. Read my full disclosure here.

What can you use these pom poms for?
Pom poms can be used in so many fun ways. Here are some ideas.
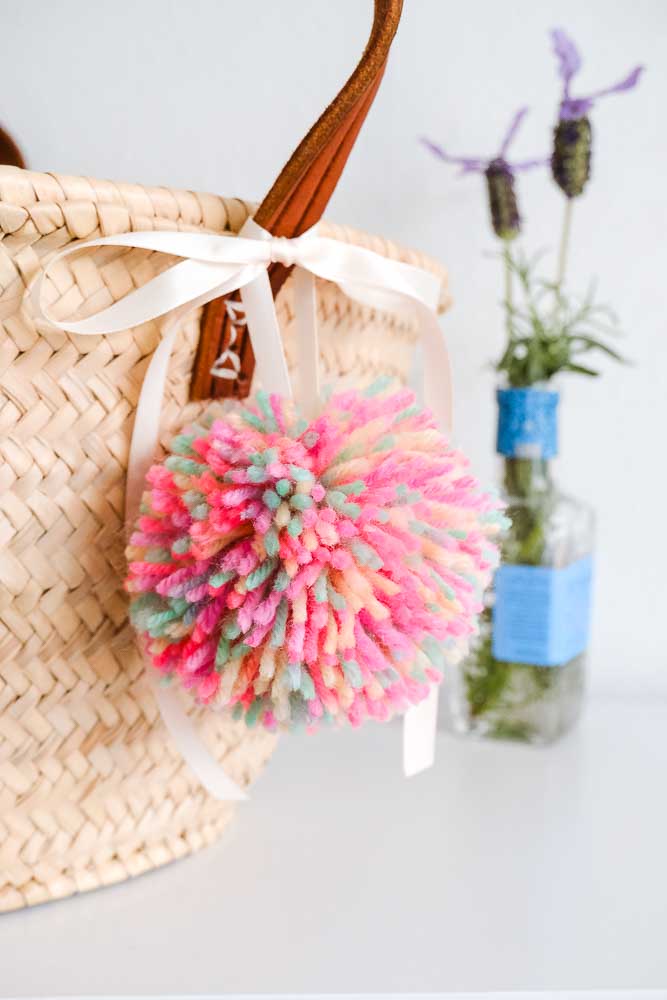
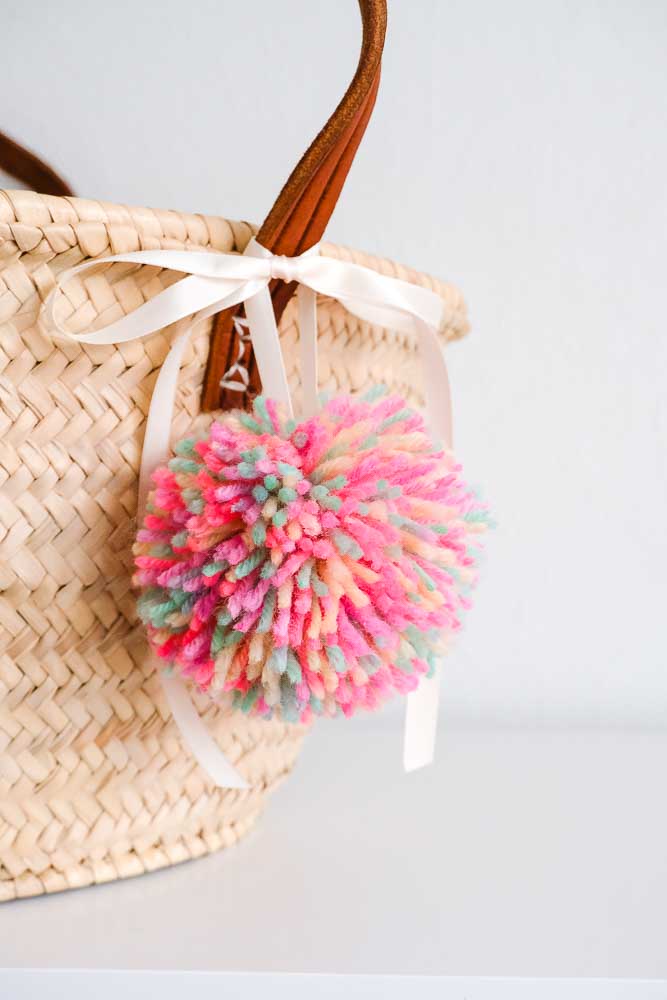
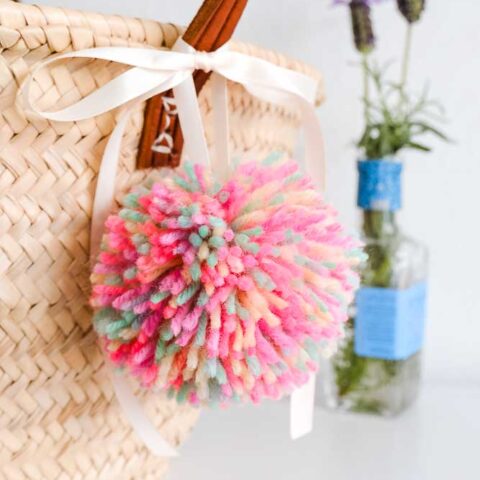
- As an accessory – Pom poms are adorable and are often found on keychains or handbags. I added a silk ribbon to mine to tie it onto the basket bag I take along to the farmers market with me. You could tie them onto school bags, a tote bag, a diaper bag, your keys, or your car rearview mirror.
- As a garland – If you are ambitious to make a bunch of these pom poms, you could make a pretty garland to hang in your home. They are an affordable way to decorate for festive occasions like Christmas and Easter.
- On Presents – Ditch the classic bows this year and add a playful pom pom instead. You can tie these onto gifts, gift bags or around bottles of wine.
- As decorations – Sick of your Christmas decorations this year? Try making a handful of these to hang on your Christmas tree. They are inexpensive, making them the perfect upgrade. If you want some more inspiration, check out my DIY Christmas decorations post.
How do you make yarn pom poms that don’t fall apart?
The trick to making pom poms that don’t fall apart is to tie them tightly with a string. Using the same yarn may not work because some are not strong enough. Try making a surgeon’s knot with the string to get it as tight as possible. The tighter you can tie it, the better your pom pom shape will be.
What yarn makes the best pom poms?
Acrylic yarn is better because it’s easy to wrap. It is also inexpensive and can be found anywhere craft supplies are sold. Acrylic yarn will work if you want to fluff up your pom poms.
Shop Yarn


How do I make fluffy pom poms?
To create fluffier pom poms, the trick is to brush the yarns. This will pull the yarn strands apart, making them fuller and soft. You can use a cat grooming brush often used for pets, as the bristles are finer.
Materials and Tools You Will Need:
Ball of yarn
Ribbon – enough to hang the pom pom with
10cm piece of string
A4 piece of cardboard
A round object to trace around (this will be the size of the pom poms)
Scissors
Pen
If you don’t want to make a cardboard template, you can buy pom pom makers instead. This is a good option if you’re planning to make a lot of them or you want a few sizes to save time.
How To Make Pom Poms with Yarn
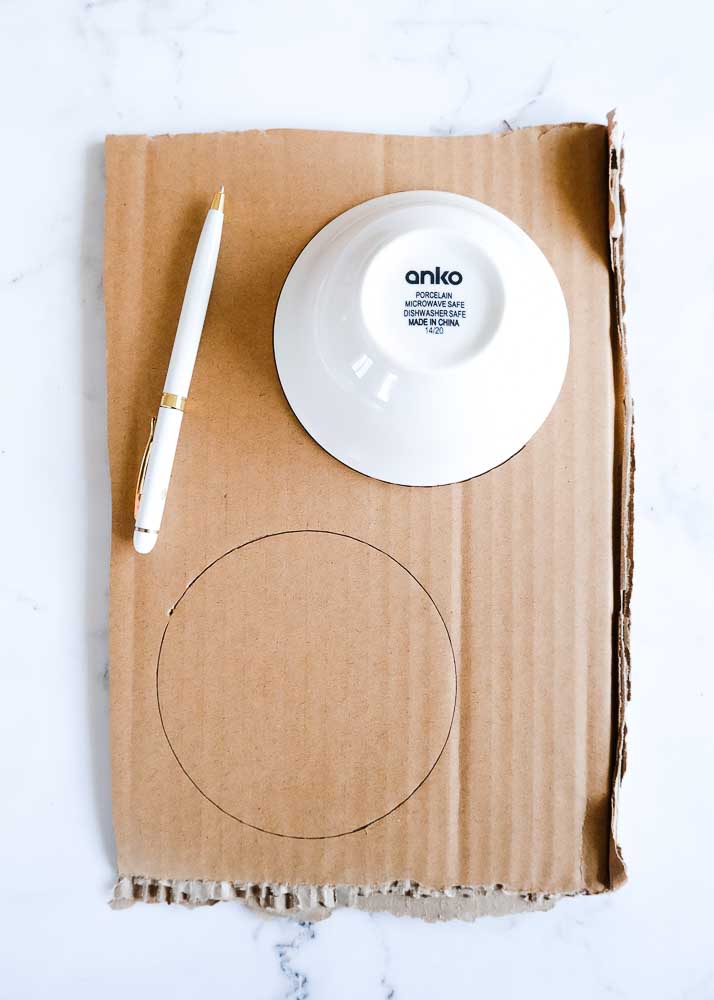
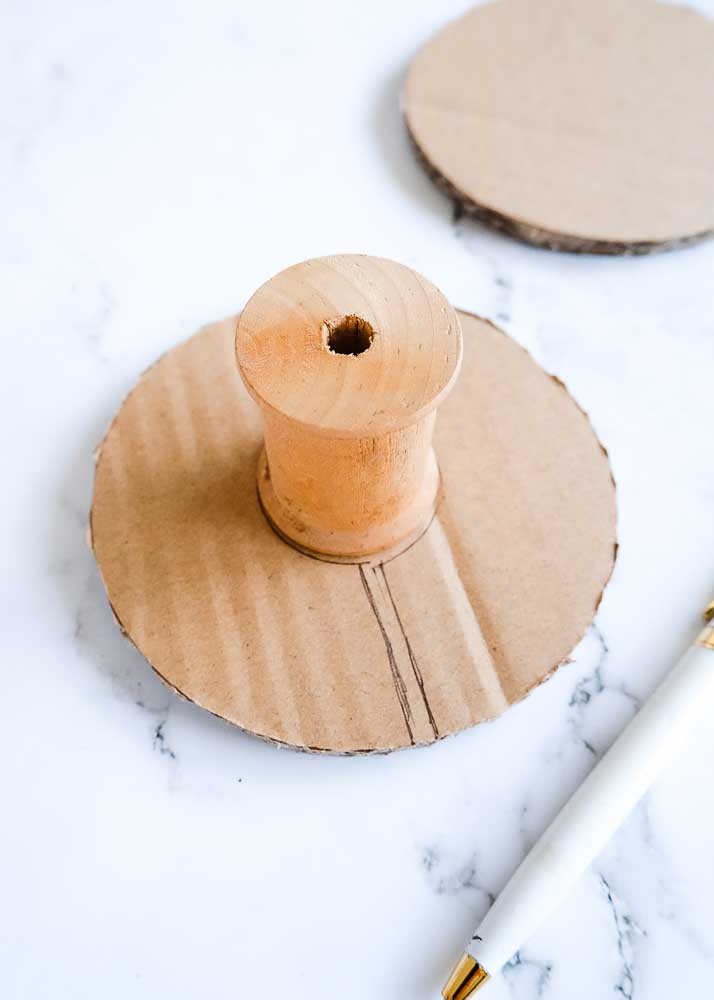
Step One: Cut out the template
Begin by tracing around a round object onto cardboard twice – this object will be the size of your pom poms.
I made a larger size, but I recommend making these smaller for decorations or a garland.
Draw a small circle in the centre of the two circles and two lines to cut open the circles. Cut out the circle templates.
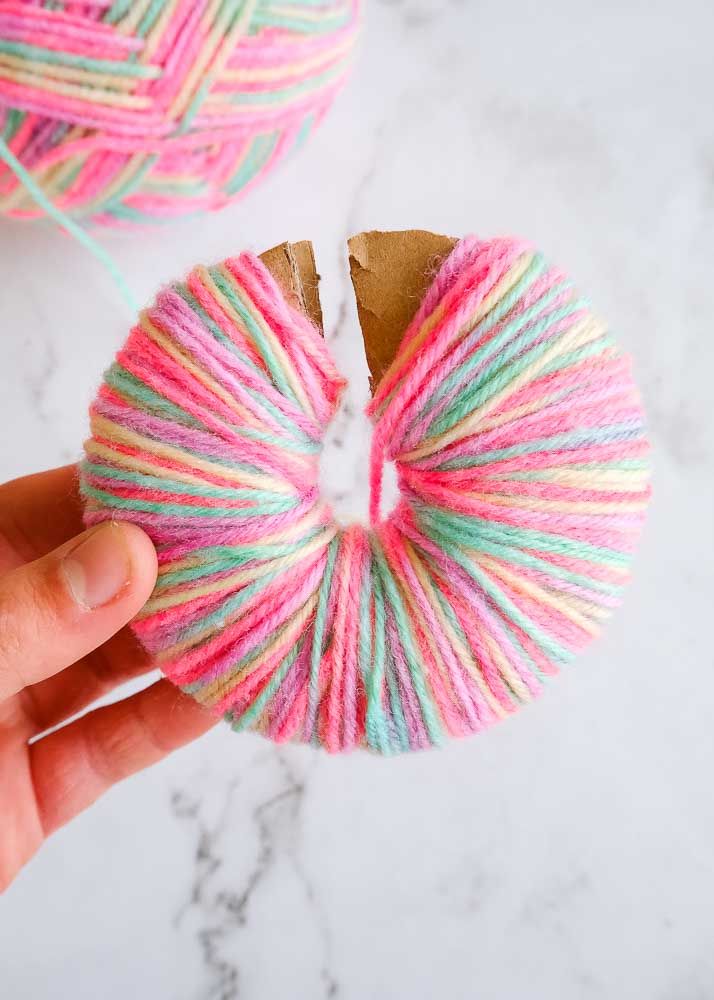
Step Two: Wind the yarn around the cardboard
Start winding the yarn on one end of the cardboard template, being careful not to start too close to the edge as the yarn will slip off.
Continue winding on the yarn until you reach the other end. Start rewinding the yarn the other way. Continue this until the yarn is thick and many yarn layers are wound around. The more layers you do, the fuller the pom pom will be.
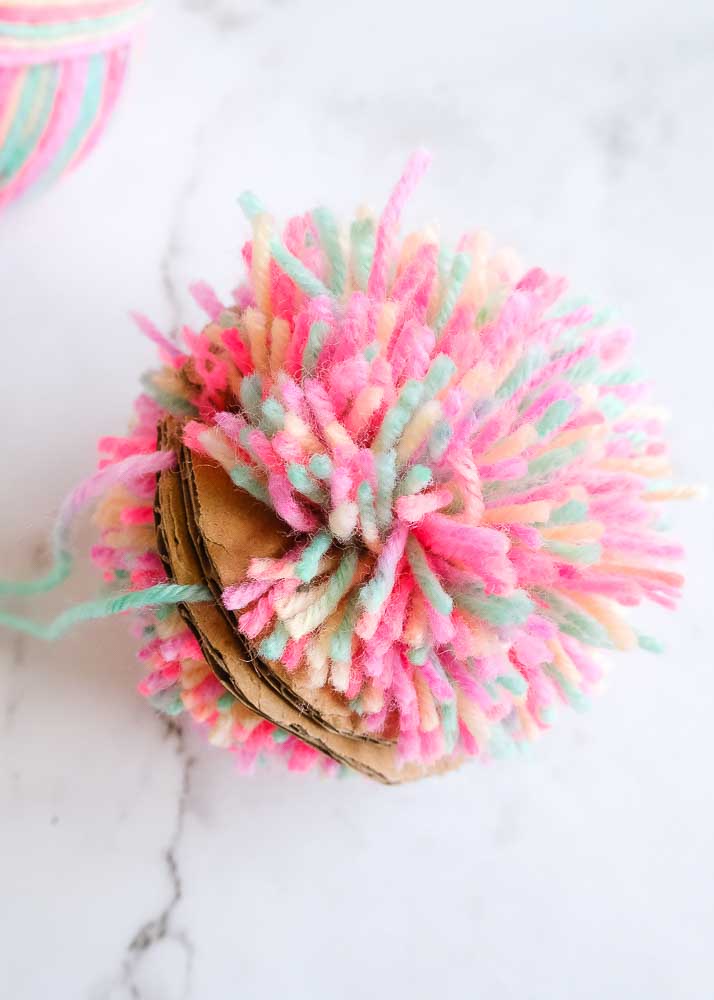
Step Three: Cut the yarn
When you are happy with the thickness, begin cutting the yarn around the edges between the two cardboard layers. Be careful not to move the yarns while cutting.
Start threading the string through the cardboard to hold the yarns in place as you cut around the pom pom.
Once you cut all the yarns, tie the string in a tight knot twice and trim the ends.
Step Four: Attach the ribbon
Thread a ribbon through the string to hang.
Step Five: Trim the pom pom
Now it’s time to give the pom pom a haircut. You may find it a bit lopsided. Trim any longer bits off to make it a nice round shape.
And that’s it!
More Craft Tutorials to Try:
- Simple Christmas Stocking With Pattern & Tutorial
- Reusable Paper Towels DIY (Unpaper Towels)
- How to Make Pot Holders with No Pattern
- How to Make a Drawstring Bag
- DIY Homemade Coffee Scrub
How to Make Pom Poms with Yarn
Make these simple, cheap but stylish pom poms in less than 10 minutes to use as an accessory or decoration in your home. With my easy step-by-step tutorial, you can learn how to make pom poms with yarn.
Materials
- Ball of yarn
- Ribbon - enough to hang the pom pom with
- 10cm piece of string
- A4 piece of cardboard
Tools
- A round object to trace around (this will be the size of the pom poms)
- Scissors
- Pen
Instructions
- Cut out the template
Begin by tracing around a round object onto cardboard twice - this object will be the size of your pom poms. I made a larger size, but I recommend making these smaller for decorations or a garland. Draw a small circle in the centre of the two circles and two lines to cut open the circles. Cut out the circle templates. - Wind the yarn around the cardboard
Start winding the yarn on one end of the cardboard template, being careful not to start too close to the edge as the yarn will slip off. Continue winding on the yarn until you reach the other end. Start rewinding the yarn the other way. Continue this until the yarn is thick and many yarn layers are wound around. The more layers you do, the fuller the pom pom will be. - Cut the yarn
When you are happy with the thickness, begin cutting the yarn around the edges between the two cardboard layers. Be careful not to move the yarns while cutting. Start threading the string through the cardboard to hold the yarns in place as you cut around the pom pom. Once you cut all the yarns, tie the string in a tight knot twice and trim the ends. - Attach the ribbon
Thread a ribbon through the string to hang. - Trim the pom pom
Now it’s time to give the pom pom a haircut. You may find it a bit lopsided. Trim any longer bits off to make it a nice round shape.
Notes
- If you don’t want to make a cardboard template, you can buy pom pom makers instead. This is a good option if you’re planning to make a lot of them or you want a few sizes to save time.
- How do you make yarn pom poms that don't fall apart? The trick to making pom poms that don’t fall apart is to tie them tightly with a string. Using the same yarn may not work because some are not strong enough. Try making a surgeon's knot with the string to get it as tight as possible. The tighter you can tie it, the better your pom pom shape will be.
- What yarn makes the best pom poms? Acrylic yarn is better because it's easy to wrap. It is also inexpensive and can be found anywhere craft supplies are sold. Acrylic yarn will work if you want to fluff up your pom poms.
- How do I make fluffy pom poms? To create fluffier pom poms, the trick is to brush the yarns. This will pull the yarn strands apart, making them fuller and soft. You can use a comb or brush often used for pets, as the bristles are finer.
Recommended Products
As an Amazon Associate and member of other affiliate programs, I earn from qualifying purchases.


