Learn how to make soy milk for natural dyeing. Soy milk is not classed as a mordant but more of a binder. It allows natural dyes to bind to fibres such as linen, cotton and silk better creating richer colours.
I have been researching natural dyeing for a long time now. But alas I’m excited to share that I am starting my natural dye journey. I am no saint when it comes to my textile purchases and I am forever feeling guilty knowing I can do better.
Going forward I would like to find an organic fabric wholesaler for my natural fabrics that I can naturally dye into a magical amount of colours. I think this will be a labour of love but I think it will be an enjoyable journey. I recently purchased a book Botanical Colour at you Fingertips, which has really helped me understand more about natural dyeing.
Please note this post contains affiliate links, which means I make a small commission at no extra cost to you. You can read the full disclosure here.
This is more of a journal entry rather than a how-to post. I want to document my processes as I start to learn how to scour, mordant and dye my fabrics. I hope that these posts will inspire you to give natural dyeing a go as well.
When I studied fashion I found textiles to be a fascinating part of my studies. In all honesty, it was quite upsetting. A dream of mine is to create naturally dyed clothing from responsibly sourced fabrics for Makyla Creates alongside my patterns.
WHY SHOULD YOU SOAK YOUR FABRICS IN SOY MILK?
After much research, I have discovered that soy milk is used to achieve bright, bold colours. It can also help natural dyes stick to the fabric better. Some people call soy milk a mordant but others refer to it as a binder. Some chemical mordants like alum acetate and alum sulphate can cause the texture of fabrics to change where soy milk doesn’t.
HOW I MADE SOY MILK
To start this process off I purchased a 10-litre stainless steel pot and some wooden spoons. I’m hoping to go to the thrift stores once Auckland is out of lockdown and find some second-hand aluminium pots. I washed my fibres in the washing machine with a natural washing powder by Eco Store.
Then I made a visit to my local Chinese grocer and bulk bought some soybeans. These were quite cheap about $4 for 500grams. You could also buy them online if you don’t mind waiting. While researching where to purchase these I discovered the main supermarket chains don’t sell soybeans.
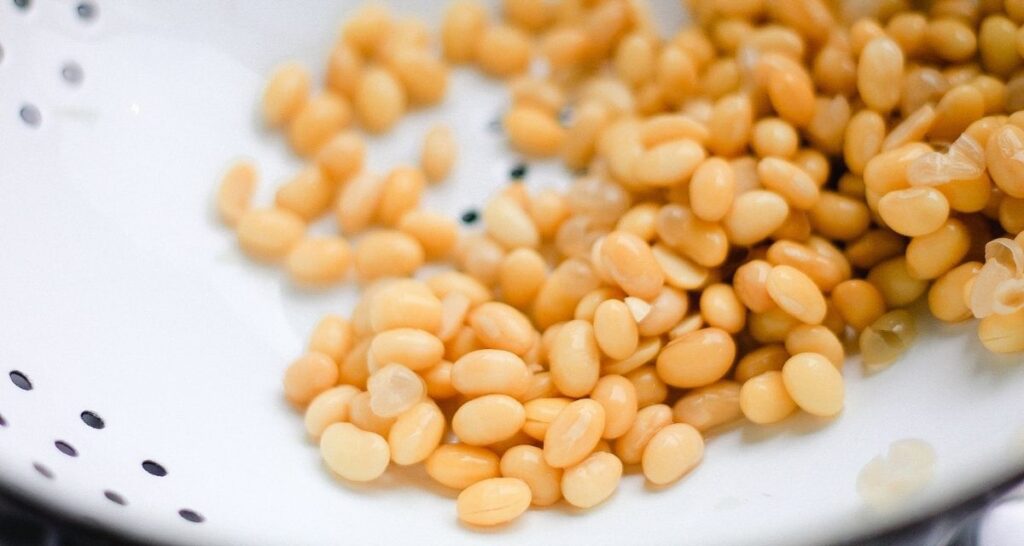
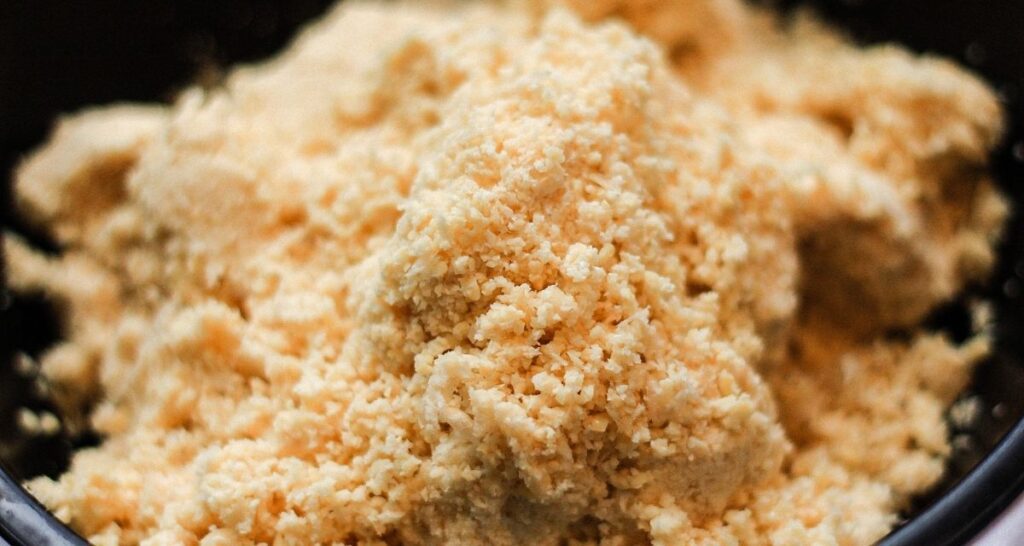
Following a video lesson by Billynou on youtube, I soaked 1/2kg of soybeans in some water for 24 hours so they were nice and soft. Then I drained and rinsed them off. Using my blender I put 1 cup of soybeans into my blender along with 3 cups of tap water and blended this all up into a milky paste.
From here I had my pot and a piece of muslin fabric ready to strain the soybean milk. This step was quite tedious but I did enjoy the slow-paced nature of making my own soy milk.
When I went to the supermarket I found ready-made soy milk and discovered it has lots of additives. I think making my own is really the best option. After repeating this process about 10 times I found I had good soymilk to fibre ratio.
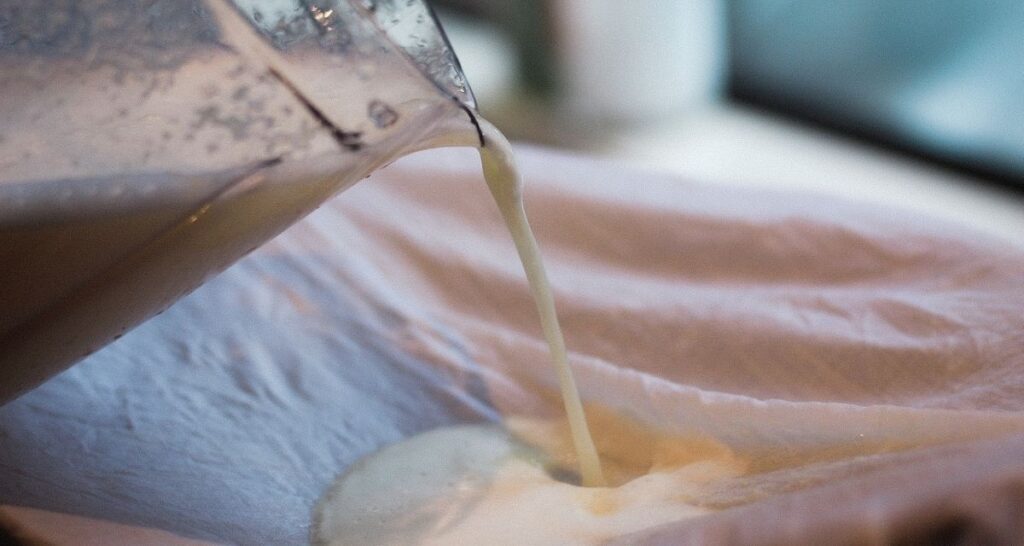

I wanted to use as much of the soybeans as possible. I reblend the pulp once more to get a greater yield of milk. Once I finished with the pulp I sprinkled it into my compost bin.
I sadly forgot to take some photos of my fibres soaking in the soy milk, sorry! The fibres I soaked were linen and cotton muslin. I had a bunch of off cuts which I am going to cut for future colour testing plus a few yards of each fibre.
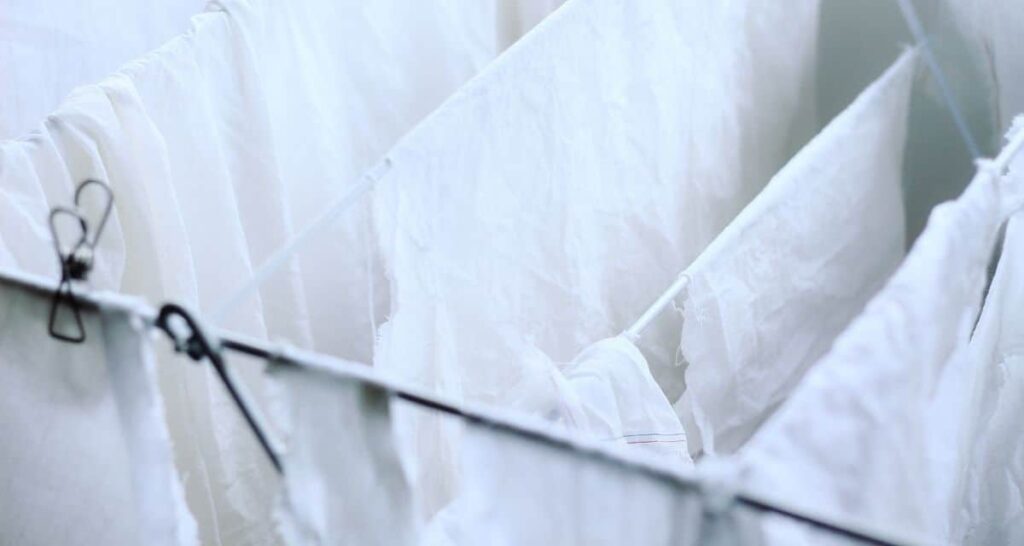
I left my fibres soaking in the milk for about 30 hours making sure to stir it a few times. This is to help move any creases around to achieve an even soak. Be careful of the milk getting warm and curdling. I put mine in a cool spot. Then I squeezed the excess liquid out of the fibres and put them on a spin cycle in my washing machine. Once that was finished I hung them onto my clothing line to air dry.
Now I will place these aside for a week or so to help the soy cure into the fibres while I plan my first dyeing experiment!