With this easy, beginner sewing tutorial, you’ll learn how to sew scrunchies! These three quick methods will show you how to sew scrunchies using your sewing machine or hand stitching.

Scrunchies are a great afternoon sewing project to make using leftover pieces of fabric from other projects. The simplicity of these scrunchies will have you sewing matching scrunchies for all of your DIY outfits in no time.
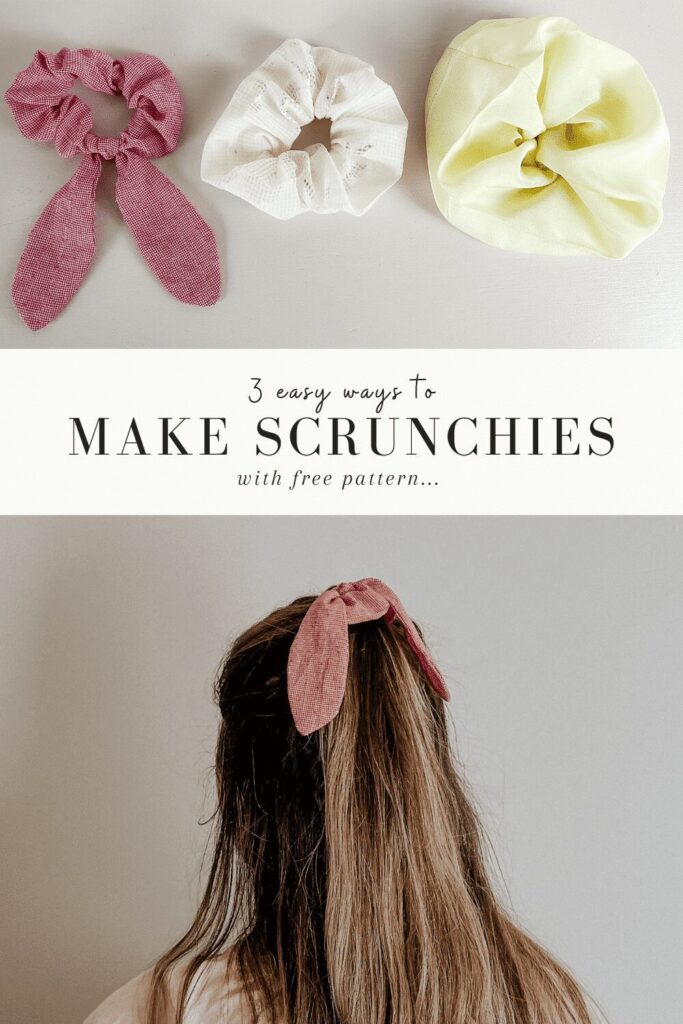
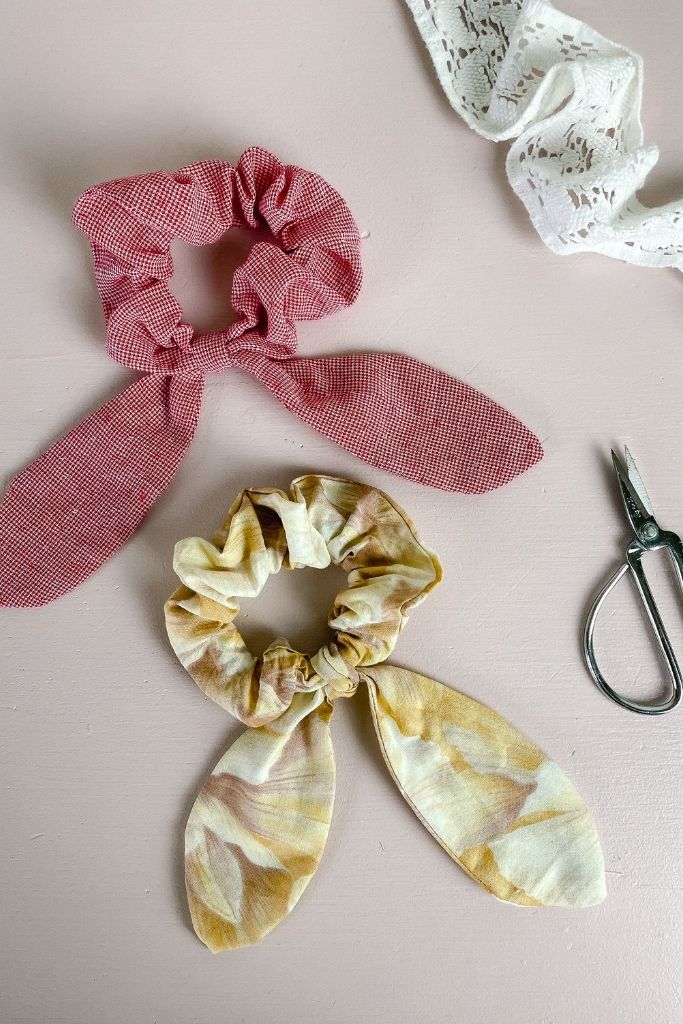
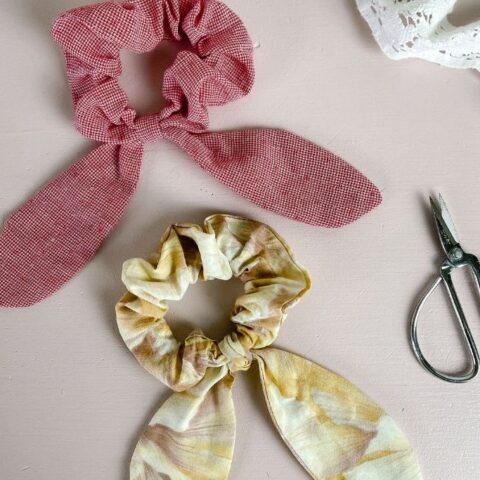
There are three types of scrunchies I have made, each with a different finishing. Learn how to sew a bow tie scrunchie, a normal scrunchie, and an oversized scrunchie.
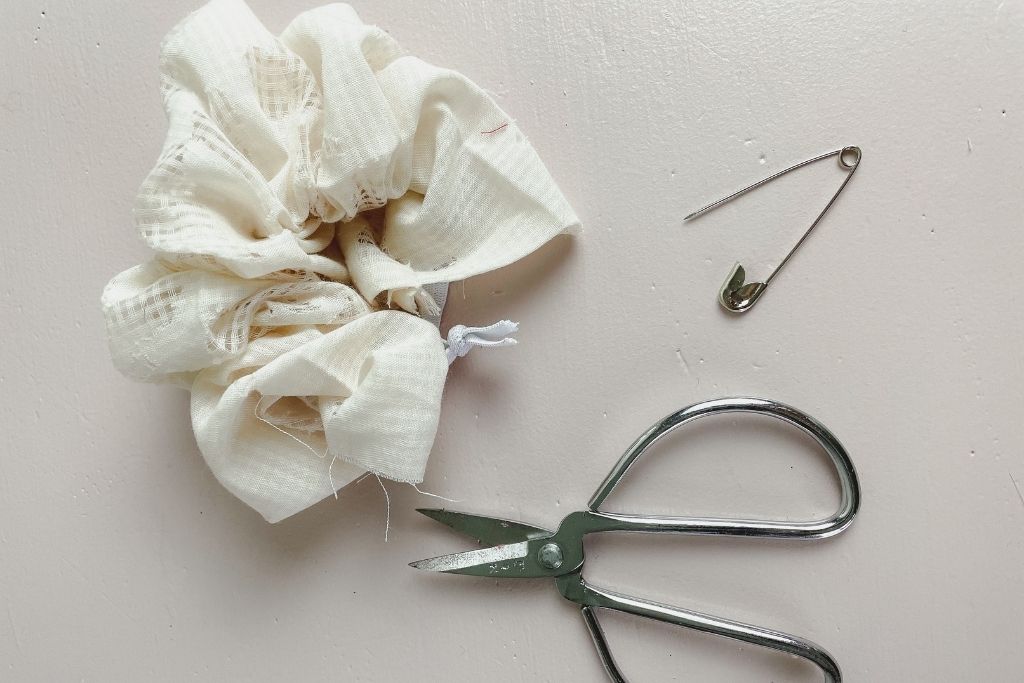
Supplies List
- Pieces of fabric
- 5-6 inches thin elastic per scrunchie
- Scrunchie pattern for bow tie style
- A safety pin
- Hand sewing needle
- Sewing machine – this is my favourite sewing machine
- Thread
Please note this post contains affiliate links, which means I make a small commission at no extra cost to you. You can read the full disclosure here.
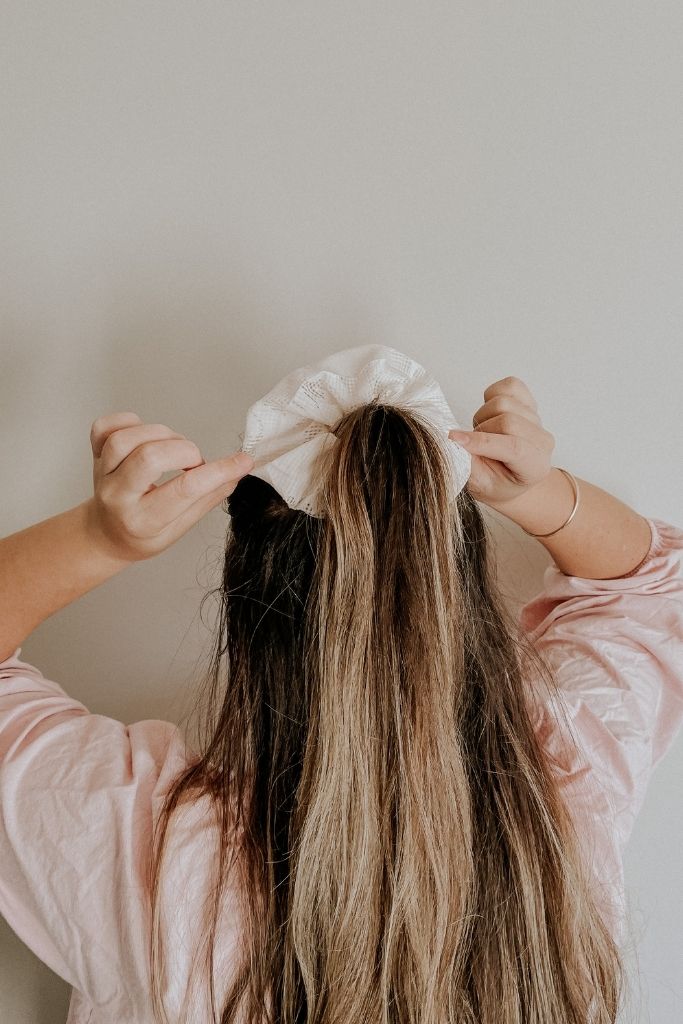
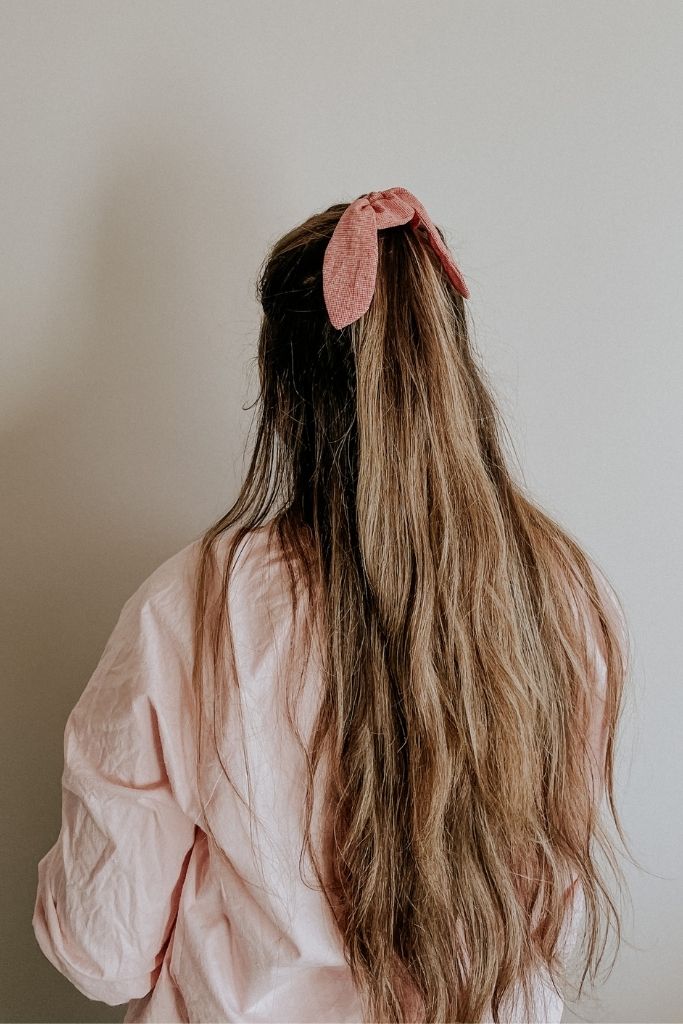
I like the bow tie because it’s so sweet and slightly different from what I usually wear.
Download the pattern here.
Sewing Tips
- My oversized scrunchie method will help you make scrunchies quickly.
- Fabrics with more structure, such as linen, cotton, and rayon, tend to sit better.
- You should use a skinny elastic that will stay in your hair when you wear it.
- Thrift stores are handy for finding vintage fabrics in pretty colours and prints.
Bow Tie Scrunchie
This scrunchie is closed by simply sewing the tube closed and stitching over the elastic. The bow tie conceals the seam.
- The first step is to cut out the pattern for the scrunchie. I like to use my rotary cutter for smaller projects because it’s quicker. 1 x scrunchie piece and 2 x bow ties should be cut out.
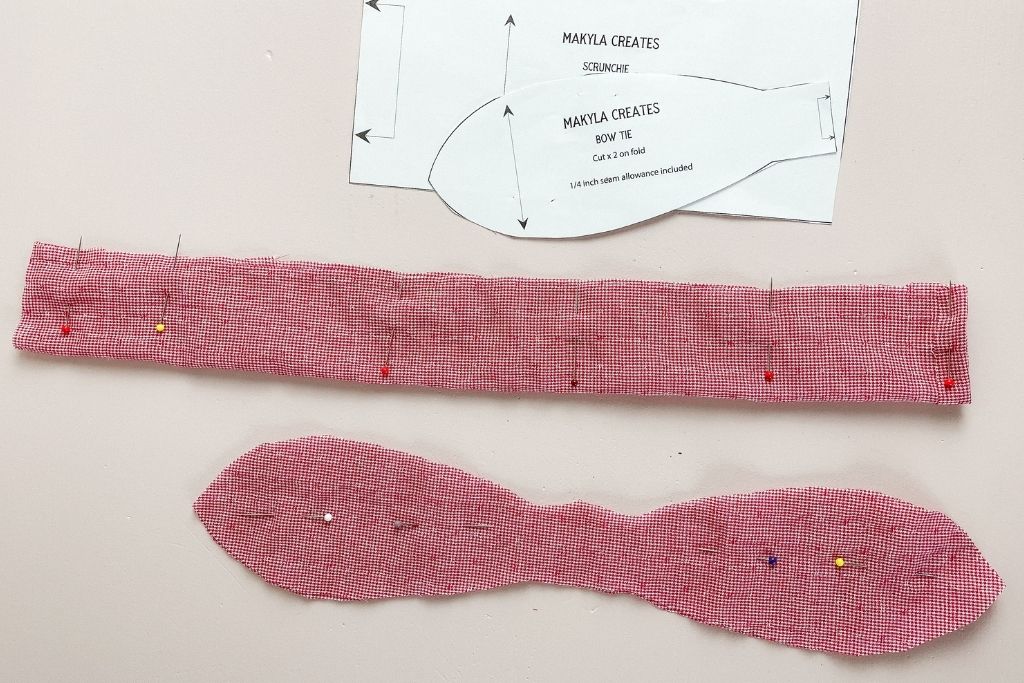
2. Place the bow tie pieces right sides together and sew around the bow tie with a 1/4 inch seam allowance. Leaving a small opening to turn the bow tie out to the right sides.
3. Cut some small triangular nicks around the bow tie edges (being careful not to cut into the seam allowance) to help the curves sit flatter when turned out to the right sides.
4. Turn the bow tie through the small opening in the seam to the right sides and press flat. Use your sewing machine to stitch up the small opening.
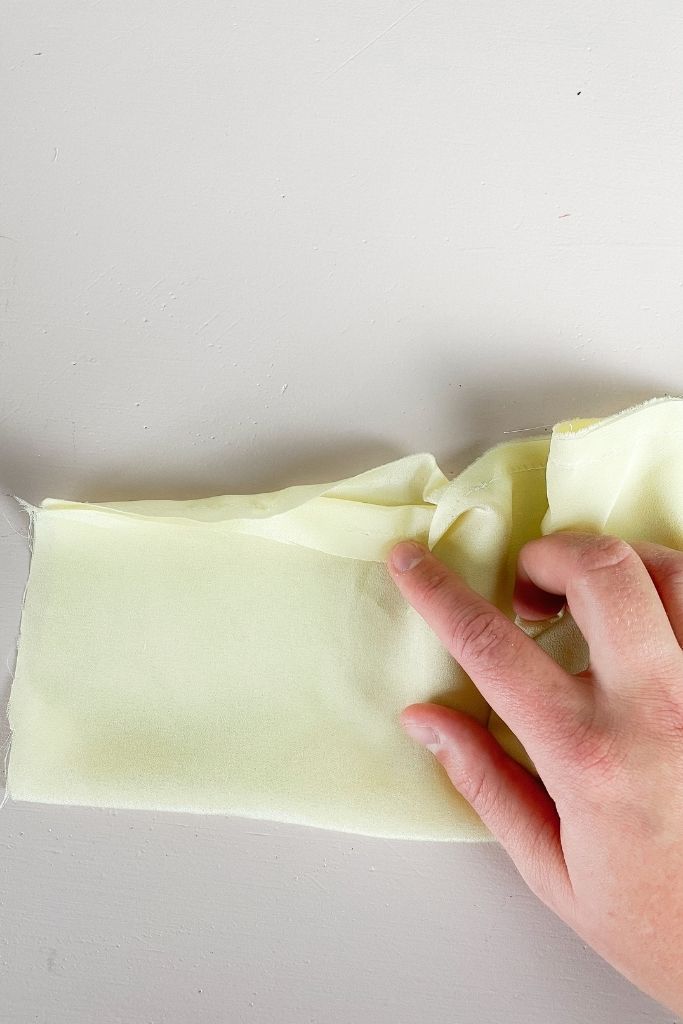
5. Now working with the scrunchie piece wrong side up, fold back 1/4 inch on one of the shorter ends (to help close the scrunchie soon).
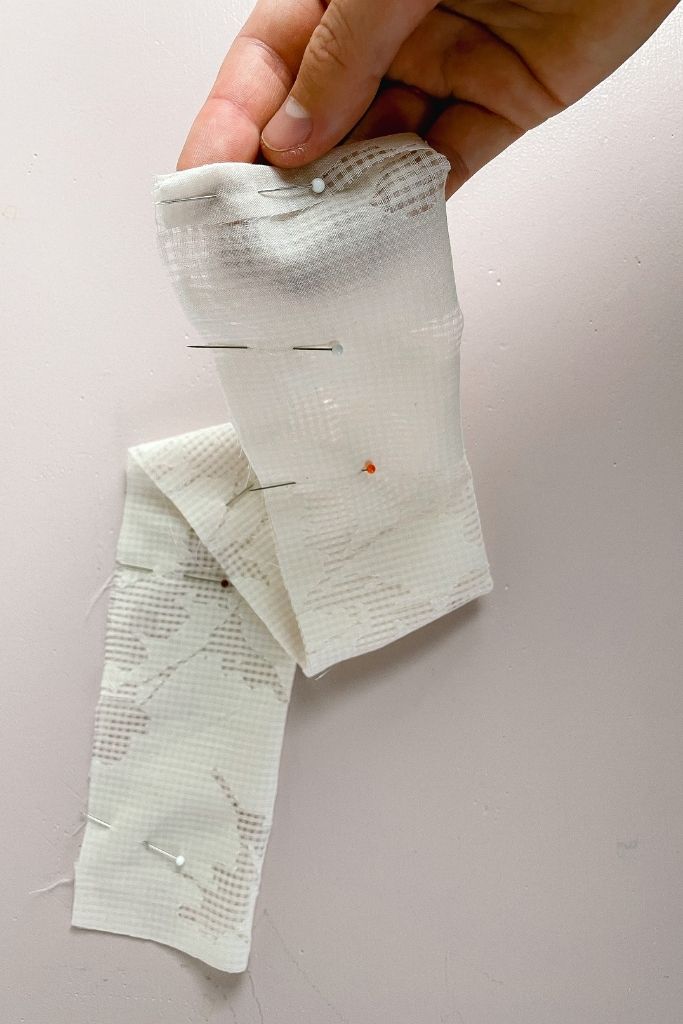
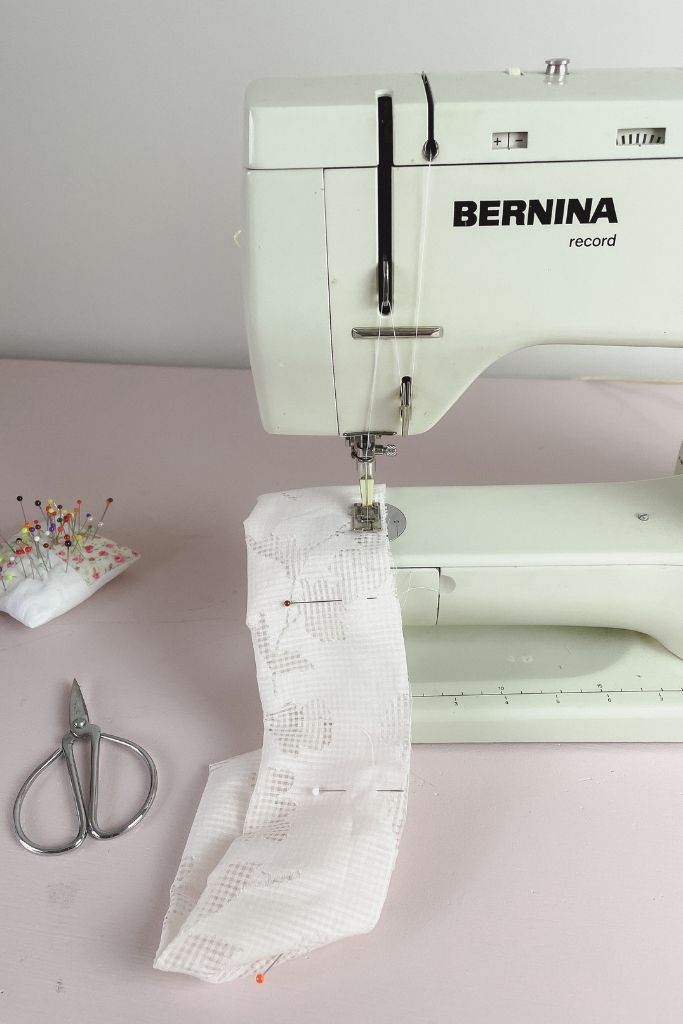
6. Fold the scrunchie piece in half lengthwise. Pin along the long edge to hold it in place for sewing. Sew together with a 1/4 inch seam allowance.
7. Attach a safety pin to one end of the scrunchie and turn it through to the right side.
8. Thread the elastic through the scrunchie, holding both ends so it begins to gather up the fabric. Pin both ends of the elastic together. Sew these together with a few rows of stitching to secure in place.
9. To close the scrunchie, wiggle the unfolded end of the scrunchie tube into the folded end and pin. Sew across the fabric and through the elastic to close the tube.
10. Tie the bow around the seam to hide the stitching and you are finished!
Normal Size Scrunchie
This scrunchie is closed by hand sewing the seam closed.
1. Cut out a rectangle of fabric 20″ x 6″ (51cm x 15cm)
2. Place the scrunchie piece wrong side up, and fold back 1/4 inch on one of the shorter ends (to help with closing the scrunchie soon).
3. Fold the scrunchie piece in half lengthwise. Pin along the long edge to hold it in place for sewing. Sew together with a 1/4 inch seam allowance to create a tube.
4. Attach a safety pin to one end of the scrunchie and turn it through to the right side.
5. Thread the elastic through the scrunchie, holding both ends so it begins to gather up the fabric. Pin both ends of the elastic together. Sew these together with a few rows of stitching to secure in place or tie them into a knot.
6. To close the scrunchie, wiggle the unfolded end of the scrunchie tube into the folded end and pin.
7. Hand stitch the opening closed with a slip stitch.
Oversized Scrunchie
This scrunchie is made using a simple turning-through method.
1. Cut out a rectangle of fabric 20″ x 10″ (51cm x 26cm).
2. Fold the scrunchie piece in half lengthwise. Pin along the long edge to hold it in place for sewing.
3. Sew along the pinned edge 3″ (8cm) with a 1/4 inch seam allowance. Stop and backstitch the seam. Measure a gap in the seam of 2″ (5cm) wide and begin sewing again until the end of the tube. This will leave a gap in the seam for later.
4. Attach a safety pin to one end of the scrunchie and turn it through to the right side.
5. Fold the fabric in half and pin to hold in place. Sew along the pinned edge 3″ (8cm)with a 1/4 inch seam allowance then stop sewing and leave a small opening about 2″ (5cm) wide.
These next two steps can seem confusing so watch my video tutorial for clear visual instructions.
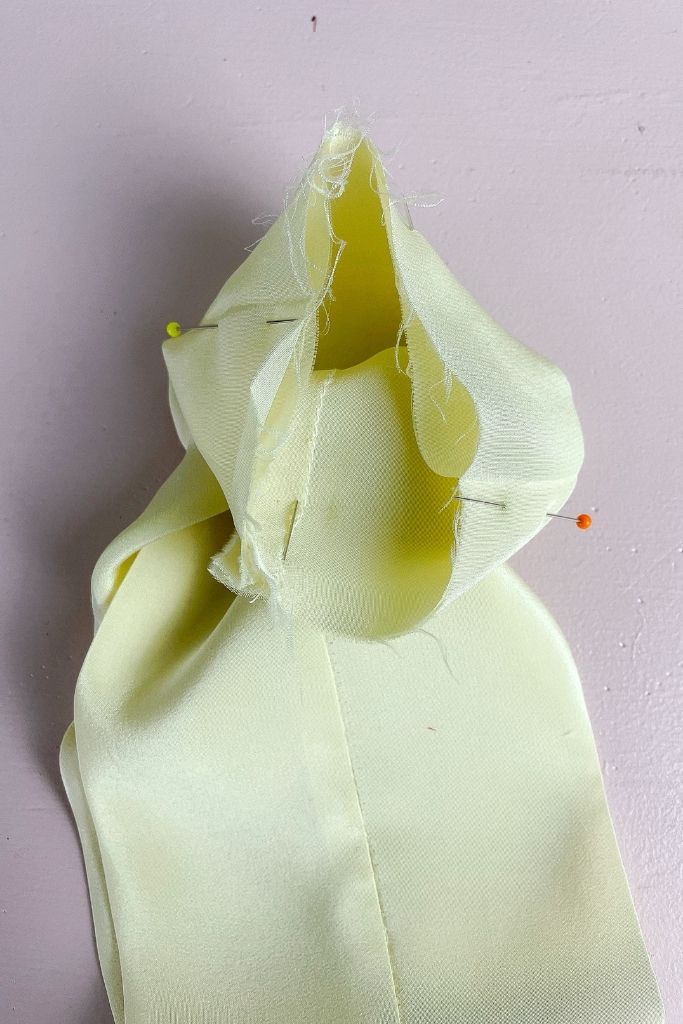
6. Turn the short end (8cm side) of the scrunchie through the seam opening so the wrong sides are showing.
7. Pull the longer scrunchie end through the seam opening and up inside the 8cm end. The tube ends should now be facing right sides together.
8. Pin the scrunchie ends into place to sew.
9. Sew around the ends with a 1/4 inch seam allowance, unpin and pull through to the right sides. The end seams will be cleanly enclosed in the scrunchie.
10. Place elastic around your wrist or cut as measurements above. Thread the elastic through the opening in the seam and tie off with a knot.
11. Sew the small seam opening closed with your sewing machine.
How to Sew Scrunchies – 3 Ways with Free Pattern
With this easy, beginner sewing tutorial, you’ll learn how to sew scrunchies! These three quick methods will show you how to sew scrunchies using your sewing machine or hand stitching.
Materials
- Pieces of fabric
- 5-6 inches thin elastic per scrunchie
- Scrunchie pattern for bow tie style
Tools
- Safety pin
- Hand sewing needle
- Sewing machine
- Matching thread
- Pins
- Fabric shears
Instructions
BOW TIE SCRUNCHIE
Cut out the pattern for the scrunchie. I like to use my rotary cutter for smaller projects because it’s quicker. 1 x scrunchie piece and 2 x bow ties should be cut out.
Place the bow tie pieces right sides together and sew around the bow tie with a 1/4 inch seam allowance. Leaving a small opening to turn the bow tie out to the right sides.
Cut some small triangular nicks around the bow tie edges (being careful not to cut into the seam allowance) to help the curves sit flatter when turned out to the right sides.
Turn the bow tie through the small opening in the seam to the right sides and press flat. Use your sewing machine to stitch up the small opening.
Now working with the scrunchie piece wrong side up, fold back 1/4 inch on one of the shorter ends (to help with closing the scrunchie soon).
Fold the scrunchie piece in half lengthwise. Pin along the long edge to hold it in place for sewing. Sew together with a 1/4 inch seam allowance.
Attach a safety pin to one end of the scrunchie and turn it through to the right side.
Thread the elastic through the scrunchie, holding both ends so it begins to gather up the fabric. Pin both ends of the elastic together. Sew these together with a few rows of stitching to secure on place.
To close the scrunchie wiggle the unfolded end of the scrunchie tube into the folded end and pin. Sew across the fabric and through the elastic to close the tube.
Tie the bow around the seam to hide the stitching and you are finished!
MEDIUM-SIZED SCRUNCHIE
Cut out a rectangle of fabric 20″ x 6″ (51cm x 15cm)
Place the scrunchie piece wrong side up, fold back 1/4 inch on one of the shorter ends (to help with closing the scrunchie soon).
Fold the scrunchie piece in half lengthwise. Pin along the long edge to hold it in place for sewing. Sew together with a 1/4 inch seam allowance to create a tube.
Attach a safety pin to one end of the scrunchie and turn it through to the right side
Thread the elastic through the scrunchie, holding both ends so it begins to gather up the fabric. Pin both ends of the elastic together. Sew these together with a few rows of stitching to secure on place or tie into a knot.
To close the scrunchie wiggle the unfolded end of the scrunchie tube into the folded end and pin.
Hand stitch the opening closed with a slip stitch.
OVERSIZED SCRUNCHIE
Cut out a rectangle of fabric 20" x 10" (51cm x 26cm).
Fold the scrunchie piece in half lengthwise. Pin along the long edge to hold it in place for sewing.
Sew along the pinned edge 3" (8cm) with a 1/4 inch seam allowance. Stop and backstitch the seam. Measure a gap in the seam of 2" (5cm) wide and begin sewing again until the end of the tube. This will leave a gap in the seam for later.
Attach a safety pin to one end of the scrunchie and turn it through to the right side.
Fold the fabric in half and pin to hold in place. Sew along the pinned edge 3" (8cm)with a 1/4 inch seam allowance then stop sewing and leave a small opening about 2" (5cm) wide.
These next two steps can seem confusing so watch my video tutorial for clear visual instructions.
Turn the short end (8cm side) of the scrunchie through the seam opening so the wrong sides are showing.
Pull the longer scrunchie end through the seam opening and up inside the 8cm end. The tube ends should now be facing right sides together.
Pin the scrunchie ends into place to sew.
Notes
Download the pattern from my subscriber-only library. Become a member of my mailing list and you'll get access to this pattern and lots more.