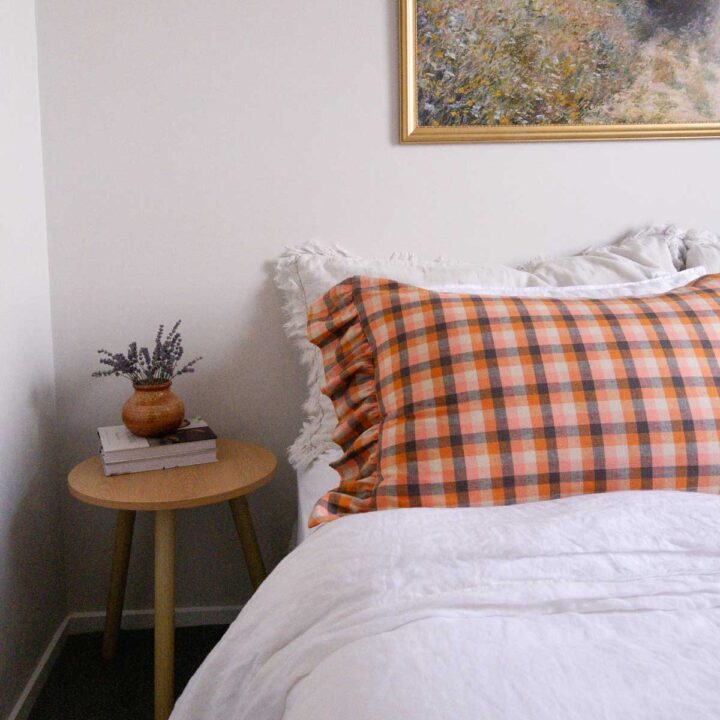
With this quick, easy sewing tutorial, you can learn how to sew a pair of simple, charming pillowcases with ruffles in less than one hour.
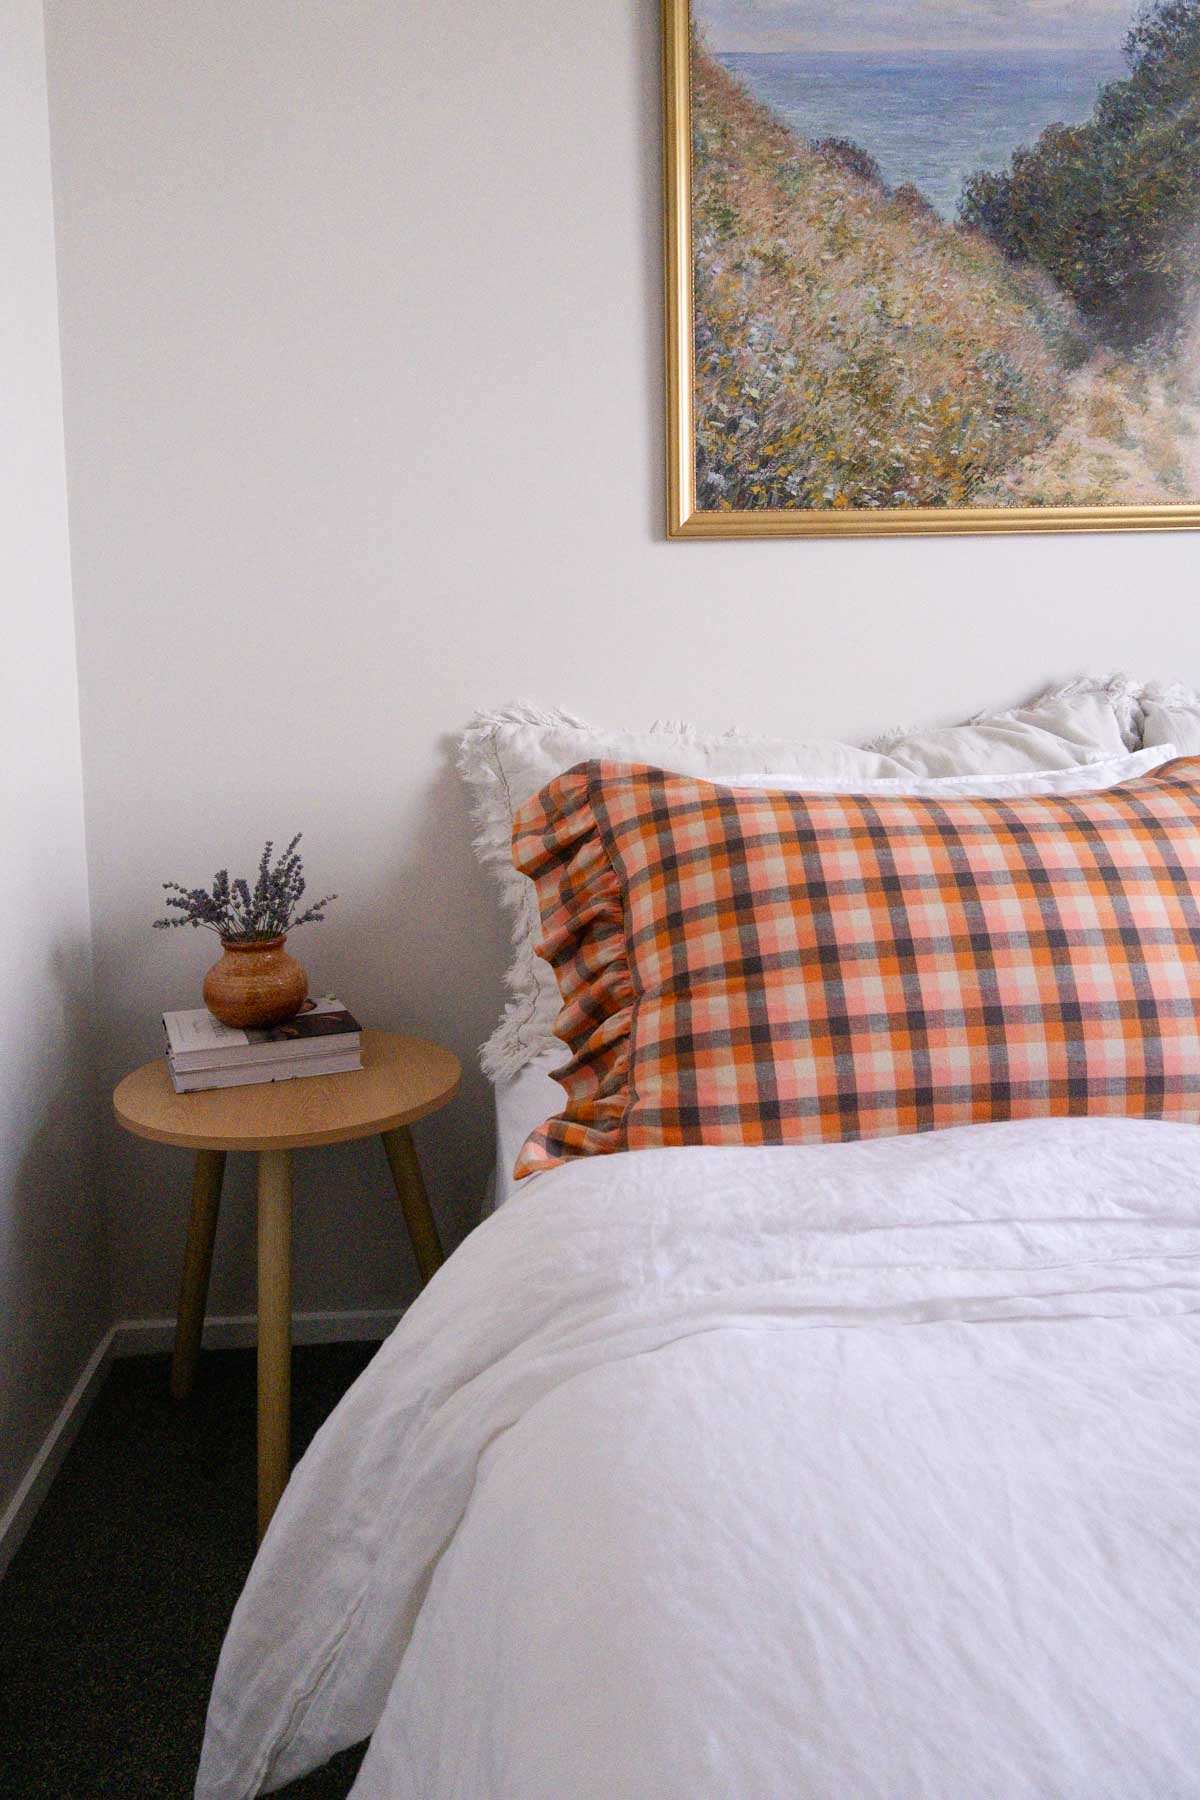
There’s something quite satisfying about simple home sewing projects like making a set of pillowcases. It’s so joyful to create something with my hands and feel the following sense of accomplishment and I hope you can experience this too!
It’s also liberating not to rely on consumerism for everything you need. Part of being a frugal homemaker is being creative and resourceful in repairing and making things.
Handmaking beautiful one-of-a-kind pieces brings a special touch to our homes that store-bought pieces just don’t bring. Instead of spending hours searching online for something, you can make exactly what you want.

It’s amazing to think that a few pieces of fabric and some thread can turn into a beautiful and functional item I can use daily. Of course, the best part is enjoying a nice hot cup of tea while I work.
If you enjoy sewing cushions and pillowcases for your home, you’ll love my easy ruffle cushion cover tutorial and this simple envelope cushion tutorial, too!
As an Amazon Associate, I earn from qualifying purchases. Read my full disclosure here.
Sewing Tips
- Practise gather stitching before starting this project so you feel confident.
- Use pretty tablecloths or vintage linens.
- Serge or zigzag stitch the seams to stop fraying.
- Sew these together using French seams for a clean finish.

Materials & Tools You Will Need
- 1.5 metres (1.5 yards) fabric (cotton or linen)
- Tape measure
- Chalk
- Pins
- Fabric shears
- Thread
- Sewing machine
- Iron
My Favourite Sewing Tools
 Buy Now →
  Buy Now →
  Buy Now →
 How to Sew Pillowcases With Ruffles
Each finished pillowcase is 51cm x 76cm (20″ x 30″ inches), a queen-size pillowcase. Note: this doesn’t include the ruffle, just the pillowcase size.
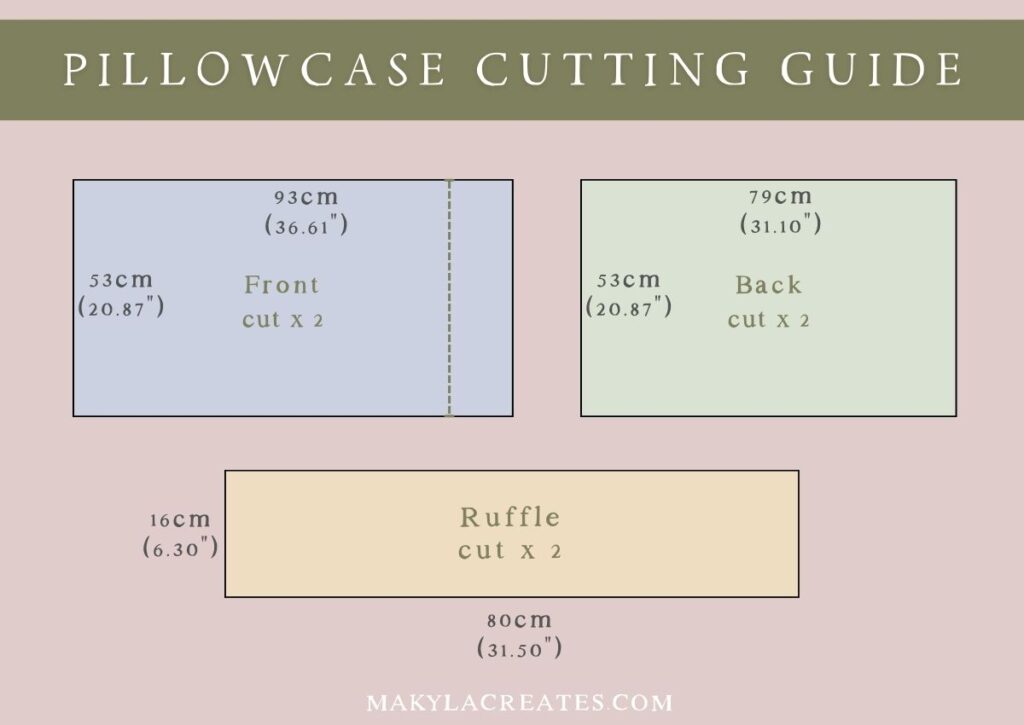
1. Cut out the pillowcase pieces. The cut list below is to make a pair of pillowcases. Cut out your fabric to the measurements below:
- Front, cut x 2, 53cm x 93cm (20.87″ x 36.61″).
- Back, cut x 2, 53cm x 79cm (20.87″ x 31.10″).
- Ruffles, cut x 2, 16cm x 80cm (6.30″ x 31.50″).
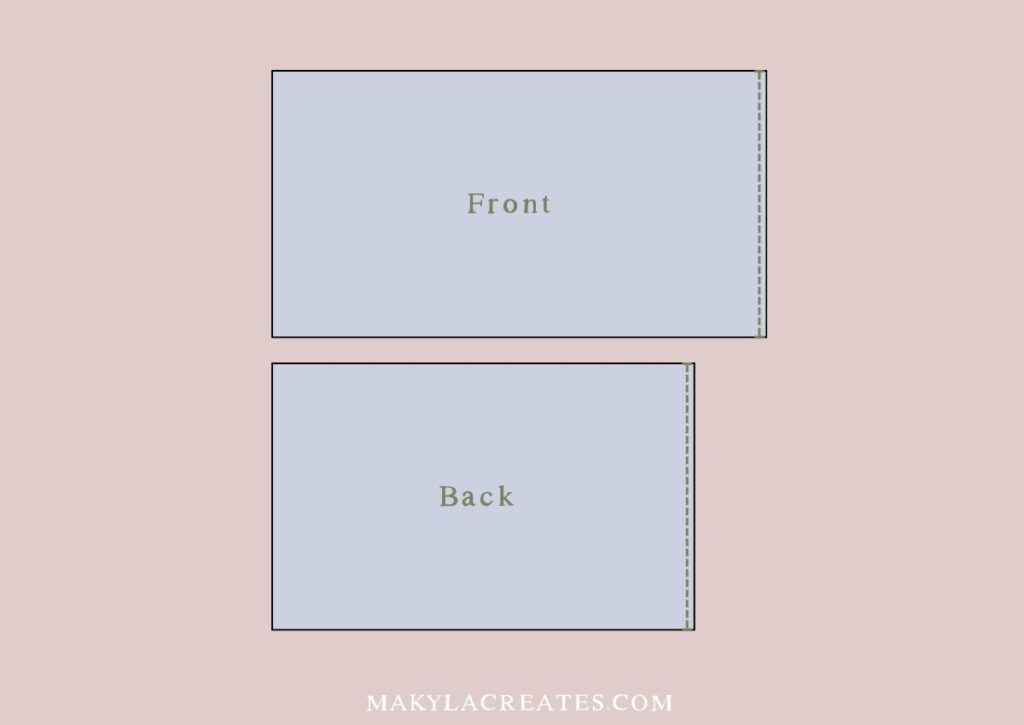
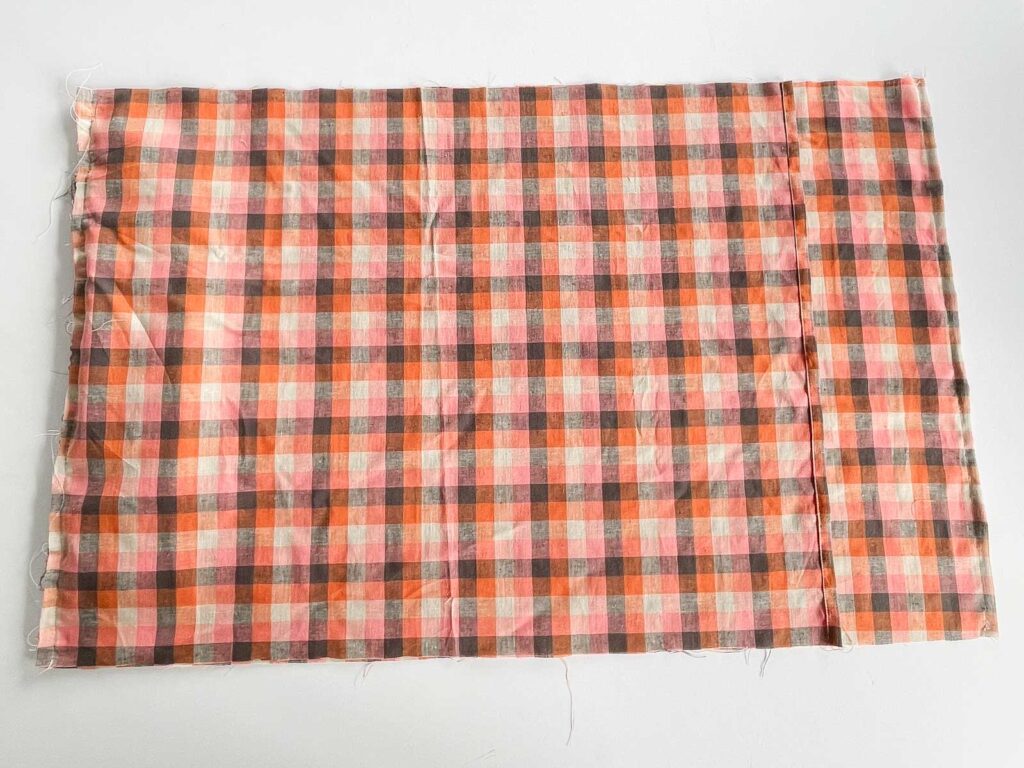
2. Hem the pillowcase ends. Place the front and back pieces right sides together to create a pair of pillowcases.
Following the diagram below, fold the front and back ends to the wrong sides of the fabric 1cm (3/8 inch), then another 1cm (3/8 inch) to create a double-folded hem. Pin and edgestitch each seam in place. Repeat for the other pillowcase.

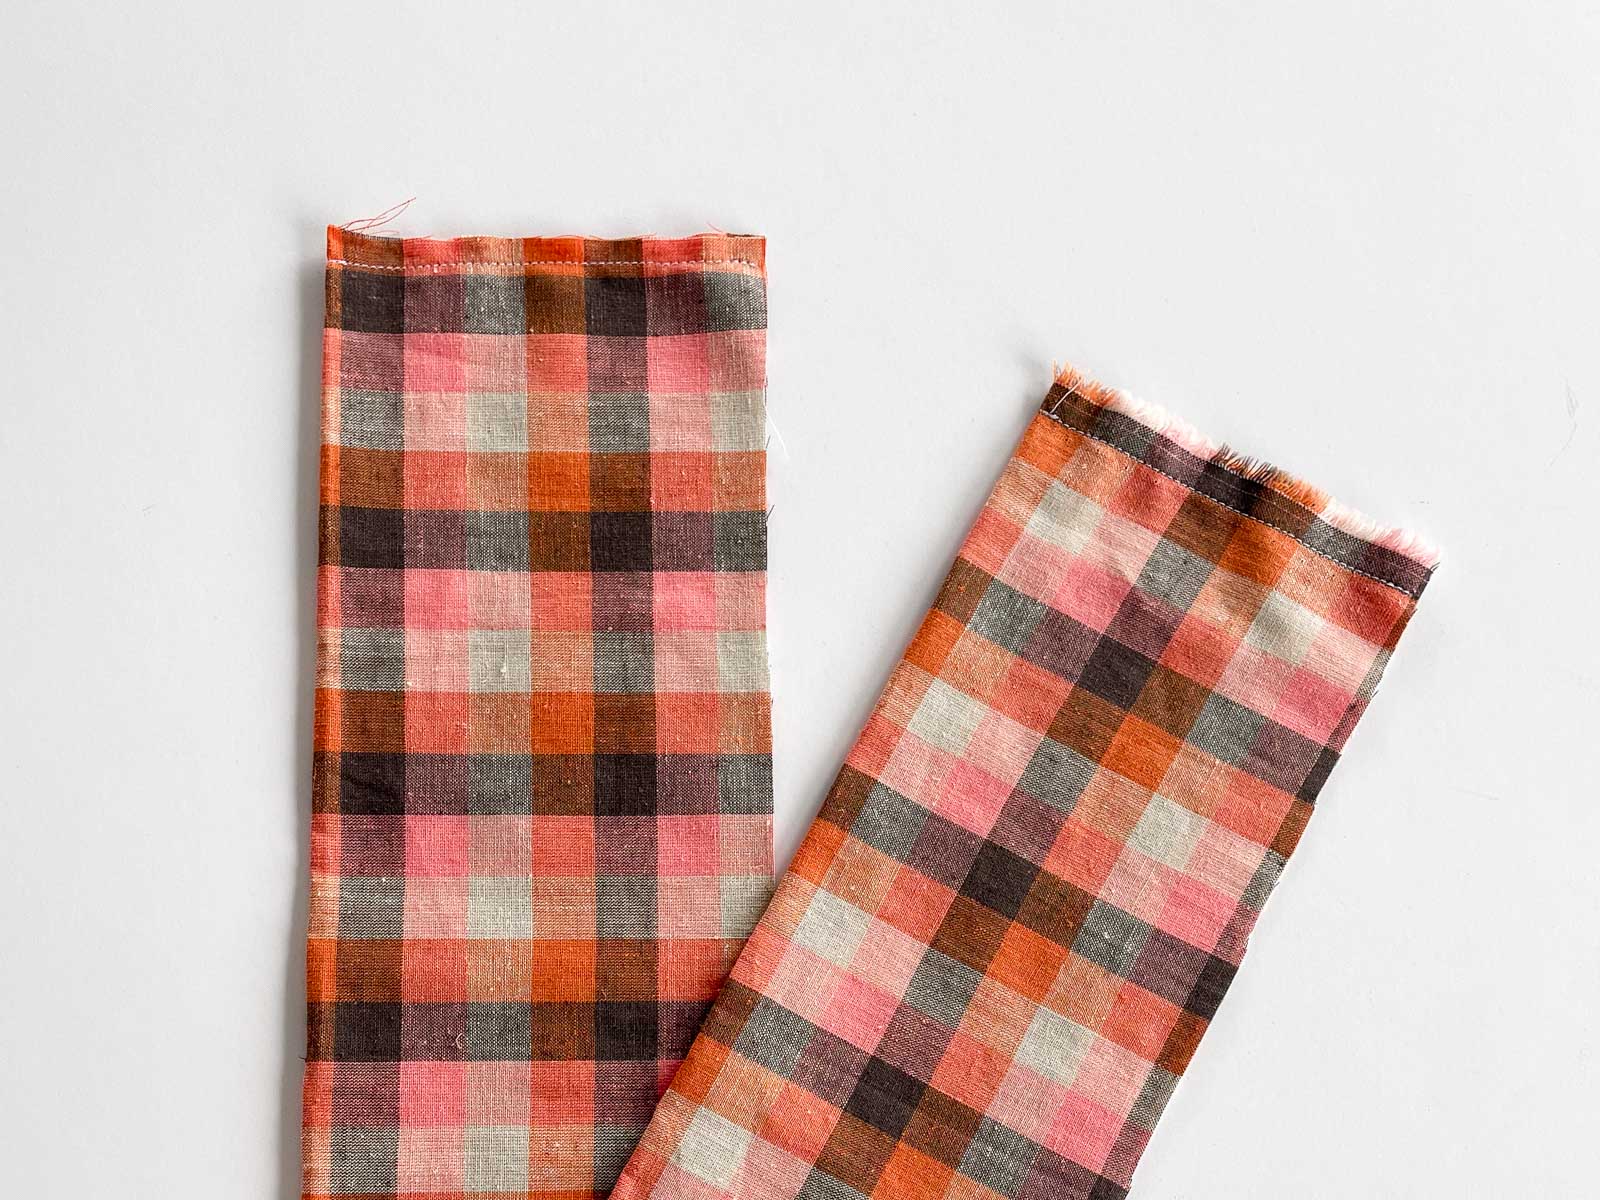
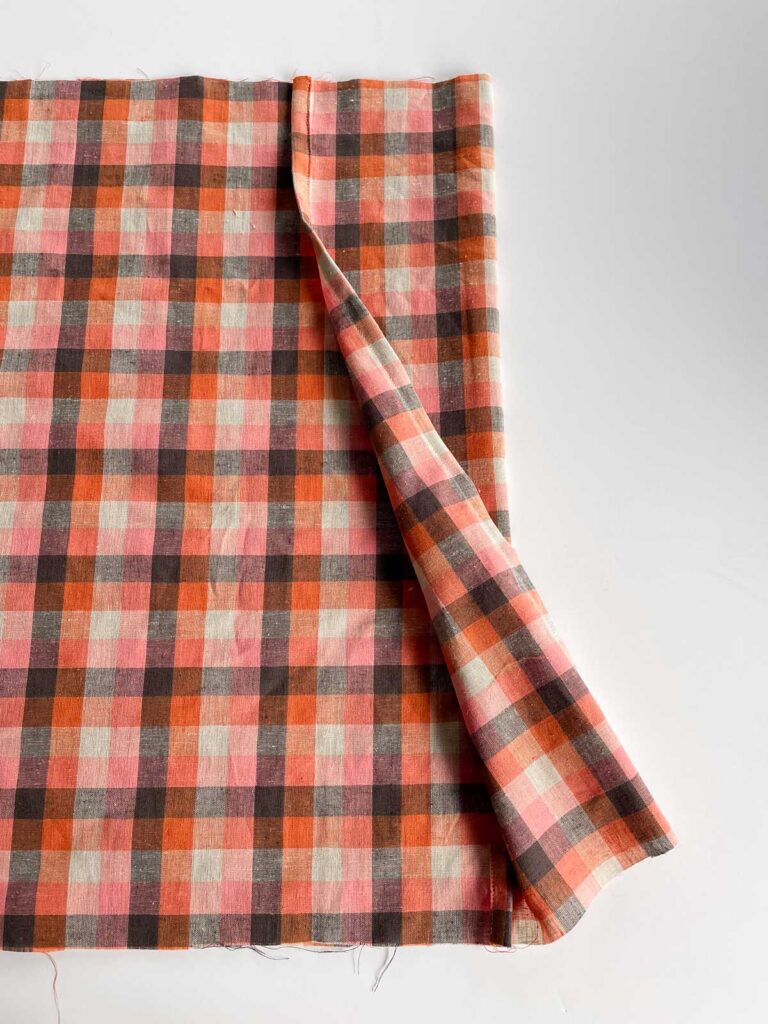
3. Sew the ruffles together. Fold each ruffle in half lengthwise, right sides together, and press with an iron to crease the fabric fold. Then, sew each end with a 1cm (3/8 inch) seam allowance. Trim the corners of the seam allowance off. Turn the ruffles to the right sides and press.
Change the sewing machine stitch length to 4 or longer. Then, on each ruffle, sew a row of gathered stitching 5mm (1/4 inch) from the raw edge and a second row 5mm (1/4 inch) from the stitching line.
Need help? Follow this guide on gathering stitches to make ruffles.

4. Attach the ruffles. With the right side facing up on the front pillowcase, place a ruffle on the unhemmed side and gather it to be 2cm (3/4 inch) smaller than the side. Pin the ruffle 1cm (3/8 inch) below the top edge of the pillowcase. Continue to the bottom edge; the ruffle should sit 1cm (3/8 inch) above the bottom edge of the pillowcase. Repeat for the other pillowcase.

Place the back pillowcase piece on top of the front and right sides together. Pin the ruffle side first. The ruffle will be between the front and back pieces. Repeat for the other pillowcase.
Pull back the longer hemmed end on the front piece over the top of the back piece. Align the fold to the back hem and pin in place along the sides. Continue to pin around the entire pillowcase. Repeat for the other pillowcase.
5. Sew the pillowcase together. Sew around the edges except for the folded end with a 1cm (3/8 inch) seam allowance. Then, finish off the seams with a zigzag stitch or serger. Turn through to the right sides, and you’re finished! Repeat for the other pillowcase.
More Home Sewing Tutorials:
- How to Make Pot Holders
- Reusable Paper Towels
- How to Make an Apron
- How to Make a Placemat
- How To Cover a Lampshade
How to Sew Pillowcases with Ruffles
With this quick, easy sewing tutorial, you can learn how to sew a pair of simple, charming pillowcases with ruffles in less than one hour.
Materials
- 1.5 metres (1.5 yards) of cotton or linen fabric
- Matching thread
Tools
- Sewing machine
- Tape measure
- Chalk
- Fabric shears
- Pins
- Iron
Instructions
- Each finished pillowcase is 51cm x 76cm (20" x 30" inches), a queen-size pillowcase. Note: this doesn't include the ruffle, just the pillowcase size.
- Cut out the pillowcase pieces. The cut list below is to make a pair of pillowcases. Cut out your fabric to the measurements below:
Front, cut x 2, 53cm x 93cm (20.87" x 36.61").
Back, cut x 2, 53cm x 79cm (20.87" x 31.10").
Ruffles, cut x 2, 16cm x 80cm (6.30" x 31.50").
- Hem the pillowcase ends. Place the front and back pieces right sides together to create a pair of pillowcases. Following the diagram below, fold the front and back ends to the wrong sides of the fabric 1cm (3/8 inch), then another 1cm (3/8 inch) to create a double-folded hem. Pin and edgestitch each seam in place. Repeat for the other pillowcase.
- Sew the ruffles together. Fold each ruffle in half lengthwise, right sides together, and press with an iron to crease the fabric fold. Then, sew each end with a 1cm (3/8 inch) seam allowance. Trim the corners of the seam allowance off. Turn the ruffles to the right sides and press.
Change the sewing machine stitch length to 4 or longer. Then, on each ruffle, sew a row of gathered stitching 5mm from the raw edge and a second row 5mm from the stitching line. - Attach the ruffles. With the right side facing up on the front pillowcase, place a ruffle on the unhemmed side and gather it to be 2cm (3/4 inch) smaller than the side. Pin the ruffle 1cm below the top edge of the pillowcase. Continue to the bottom edge; the ruffle should sit 1cm (3/8 inch) above the bottom edge of the pillowcase. Repeat for the other pillowcase.
Place the back pillowcase piece on top of the front and right sides together. Pin the ruffle side first. The ruffle will be between the front and back pieces. Repeat for the other pillowcase. Pull back the longer hemmed end on the front piece over the top of the back piece. Align the fold to the back hem and pin in place along the sides. Continue to pin around the entire pillowcase. Repeat for the other pillowcase. - Sew the pillowcase together. Sew around the edges except for the folded end with a 1cm (3/8 inch) seam allowance. Then, finish off the seams with a zigzag stitch or serger. Turn through to the right sides, and you're finished! Repeat for the other pillowcase.


Can you give sizes in inches? I have no idea what these sizes are.
Hi Connie, thanks for your comment. I have updated the blog post with inch measurements. I hope this helps! Thanks, Makyla