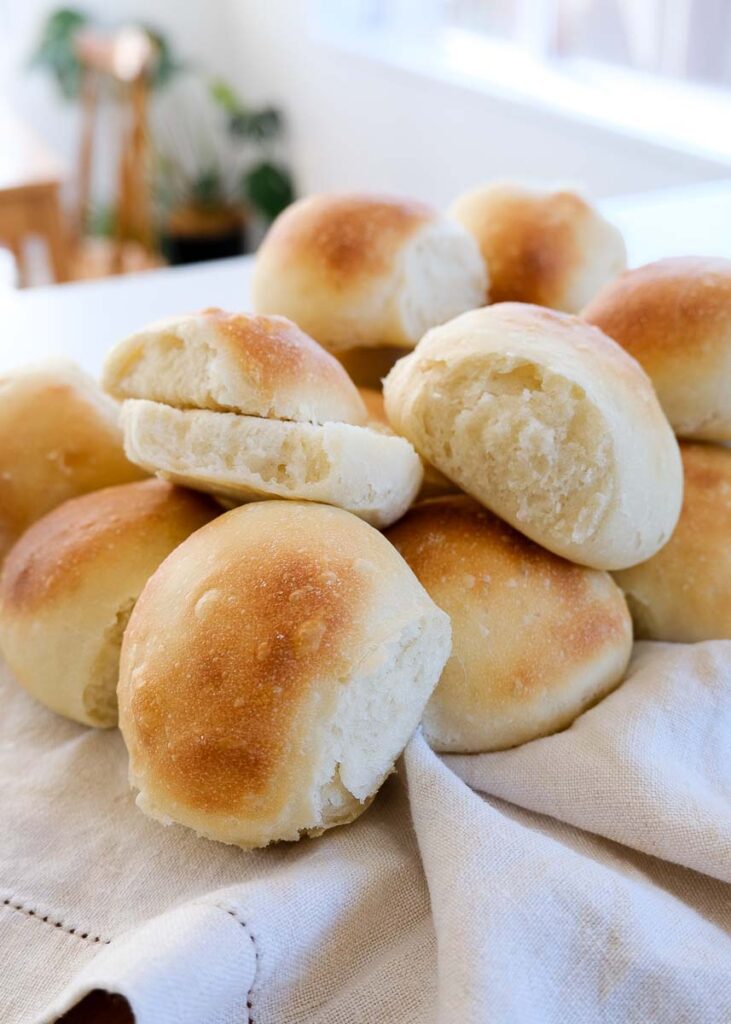
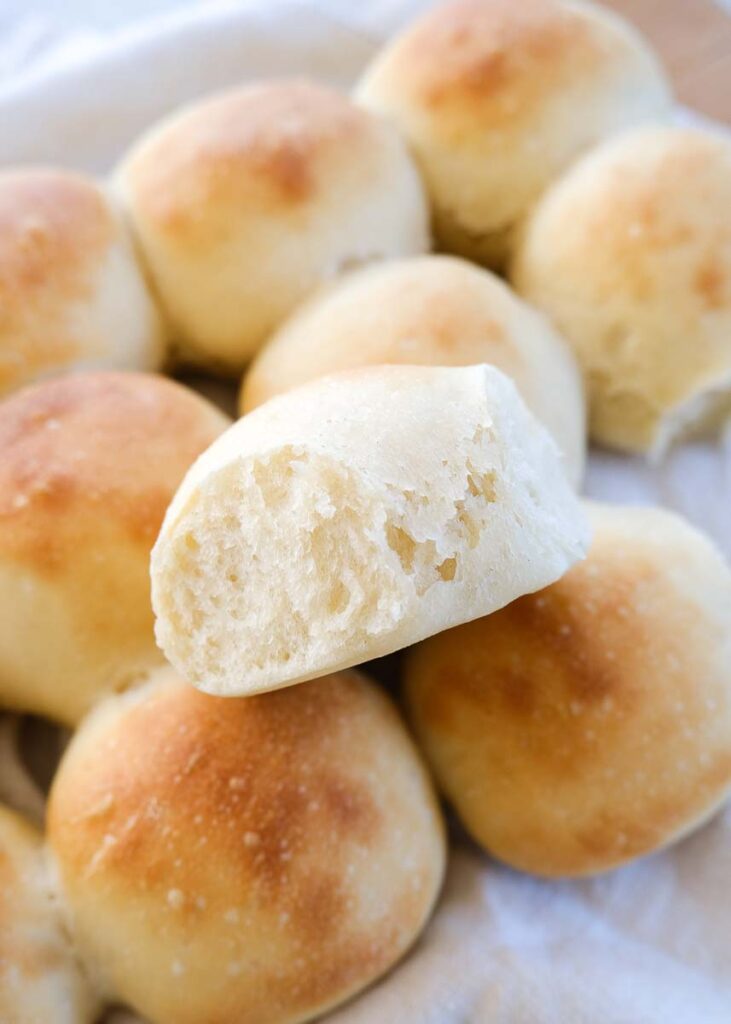
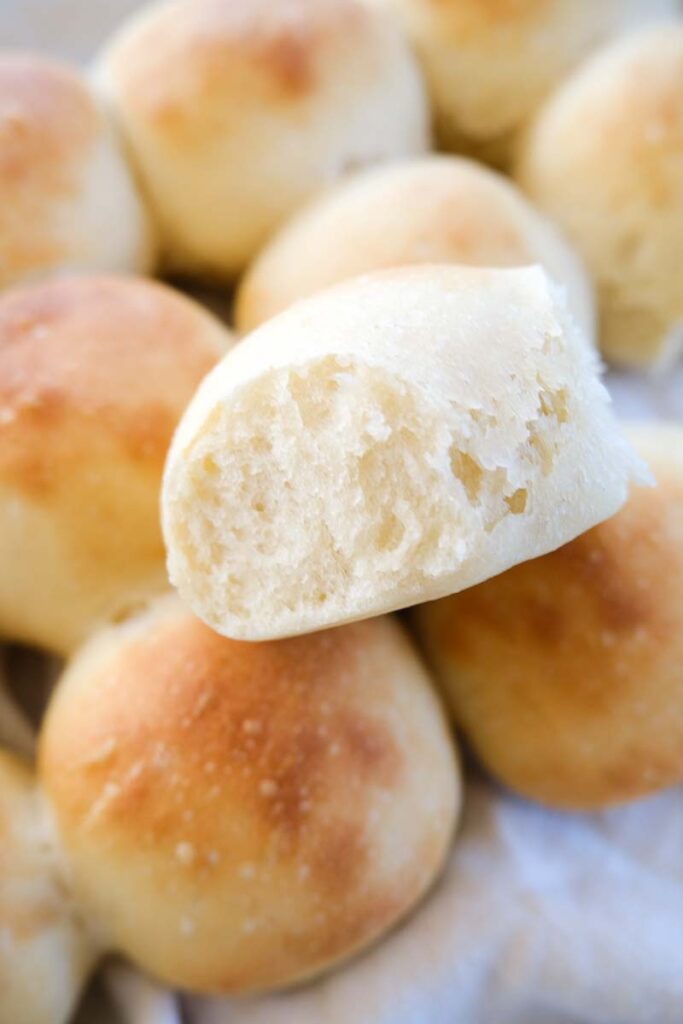
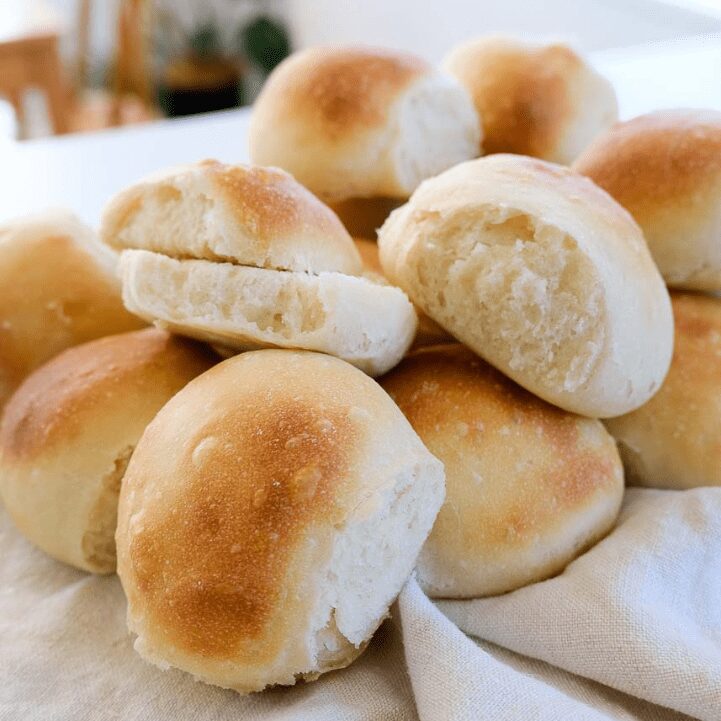
These old fashioned yeast dinner rolls are soft, light, and fluffy, and they are the perfect accompaniment to any meal. Soaked in soup or slathered with butter, these dinner rolls are perfectly delicious. The best part is they aren’t difficult to make. If I can make these, anyone can!
Some time ago I decided to learn how to bake bread for the first time. A recipe that I could make weekly, enjoy making, and that also tasted good was what I wanted. Since then, I have shared my go-to farmhouse white bread recipe, which is the best bread to make BLTs or cheese toasties with.
I felt so confident that I tried other types of bread recipes, including these simple but delicious yeast dinner rolls. You don’t need any fancy equipment like a bread machine or stand mixer to make these but they do help.
These old fashioned dinner rolls are perfect for freezing and adding to dinners that need an extra something. We like ours with salad, marinated chicken, and roasted vegetables. Delicious, healthy, filling, and yummy, too!
These are sometimes cut in half and topped with butter and fresh garlic to make mini garlic bread.
In the long run, making your own bread rolls is cheaper and healthier because it does not contain lots of sugar, preservatives, or other extras that extend its shelf life.
Why You Will Love these Old Fashioned Yeast Dinner Rolls
- Easy to make and suitable for beginners
- Super cheap, especially if you are on a budget
- There is no need for fancy equipment
- The best rolls to have on hand for lunch or dinners
Old Fashioned Yeast Dinner Roll Ingredients
This is an overview of the ingredients. Below is a printable recipe card with all the required measurements.
Baker’s flour – This is not to be confused with plain flour. In high-grade or baker’s flour, the protein content is higher. This results in better bread being created since the gluten content is higher.
Yeast – I use active dry yeast that can be purchased in good-sized quantities.
Sugar – White sugar is used to help activate the yeast. It feeds on sugar, so I wouldn’t recommend changing this out for something healthier because you may not be able to get the same results.
Salt – Good quality salt is important for a good loaf of bread. I use Himalayan pink salt, but sea salt will be fine too.
Warm water – Warm water is crucial as anything too hot will kill the yeast. I like to pop my finger into the water to check that it’s not too hot. The water should be 43°C (110°F).
Butter – Grass-fed butter acts as a preservative and gives the rolls a softer texture.
Yeast Dinner Roll FAQs
Is baker’s flour the same as plain flour?
No, plain all-purpose flour is not as high in protein as high-grade flour or baker’s flour, which is why they are different.
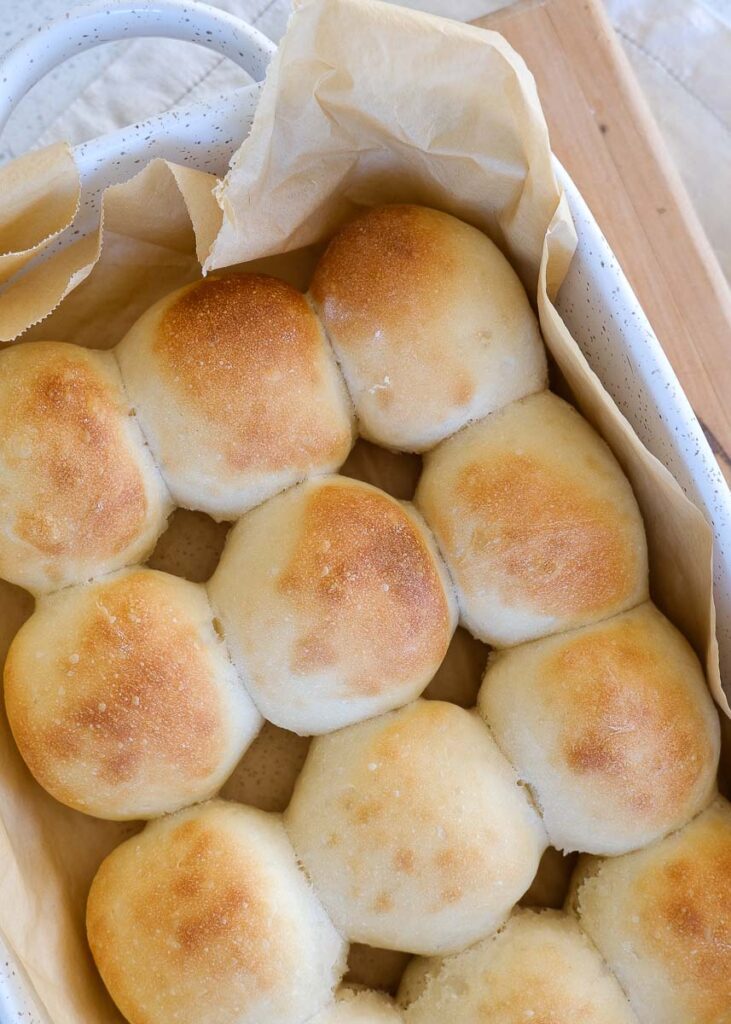
How do you get the rolls to pull apart after baking?
The trick is to place the rolls close together before the second rise. If you want the dinner rolls to rise close together, space them about 2-3cm apart so that when they bake, they will bake together and can be pulled apart when they are done.
Tips For Dinner Roll Baking Success
- To get consistent results with your bread baking, you must always measure your ingredients by weight.
- Many beginners make the mistake of not kneading their dough enough. I have found that my best dinner rolls were kneaded for a good 10 to 15 minutes and I have a heavy hand.
- Be diligent with the moisture of your bread rolls. You don’t want it to be too dry or too wet. In my experience, the best results have been when the dough is slightly sticky just after combining the wet and dry ingredients. This results in a soft, smooth dough after kneading.
- Spray or brush your rising bowl with olive oil to prevent the dough from sticking.
Old Fashioned Yeast Dinner Rolls Recipe
1. Activate the yeast. Mix the warm water and sugar in a bowl and stir until the sugar is dissolved. Add the yeast after the sugar has dissolved. Allow it to activate for about 10-15 minutes without mixing it. It will become frothy when it is activated.
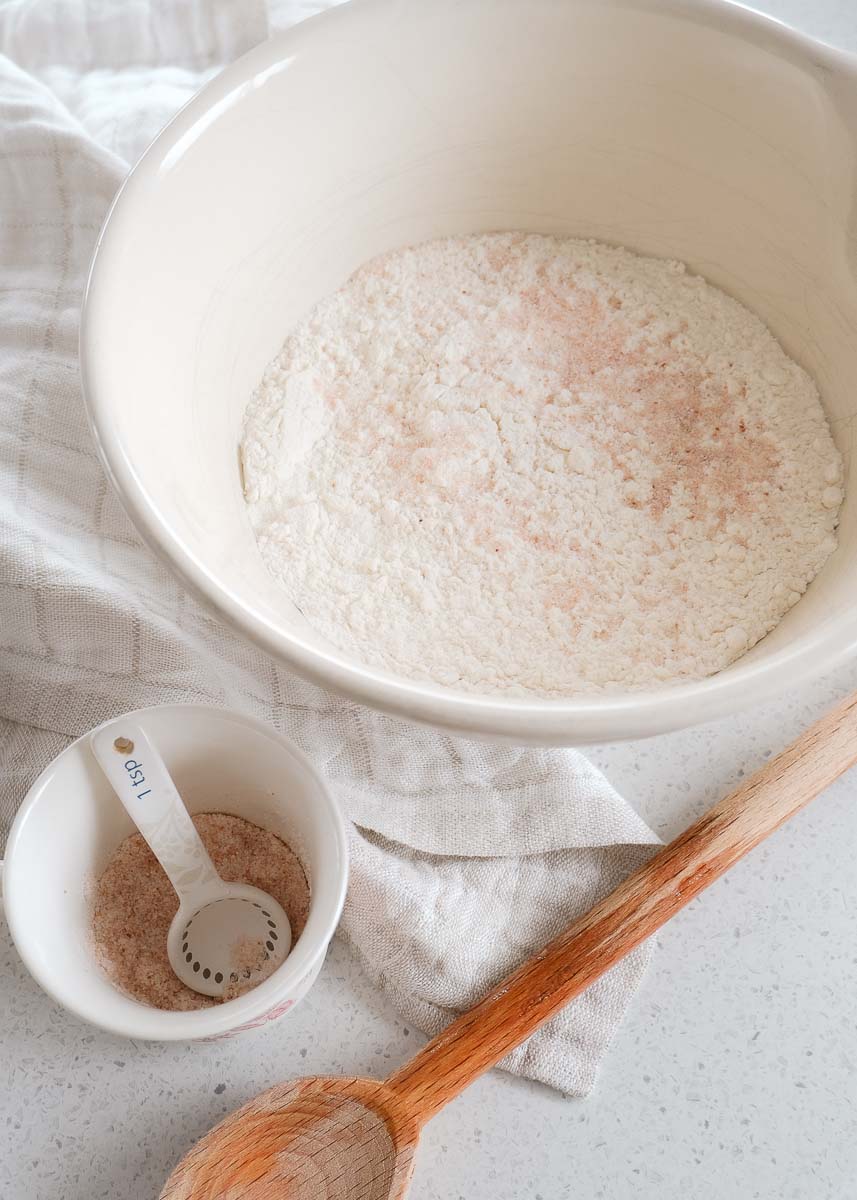
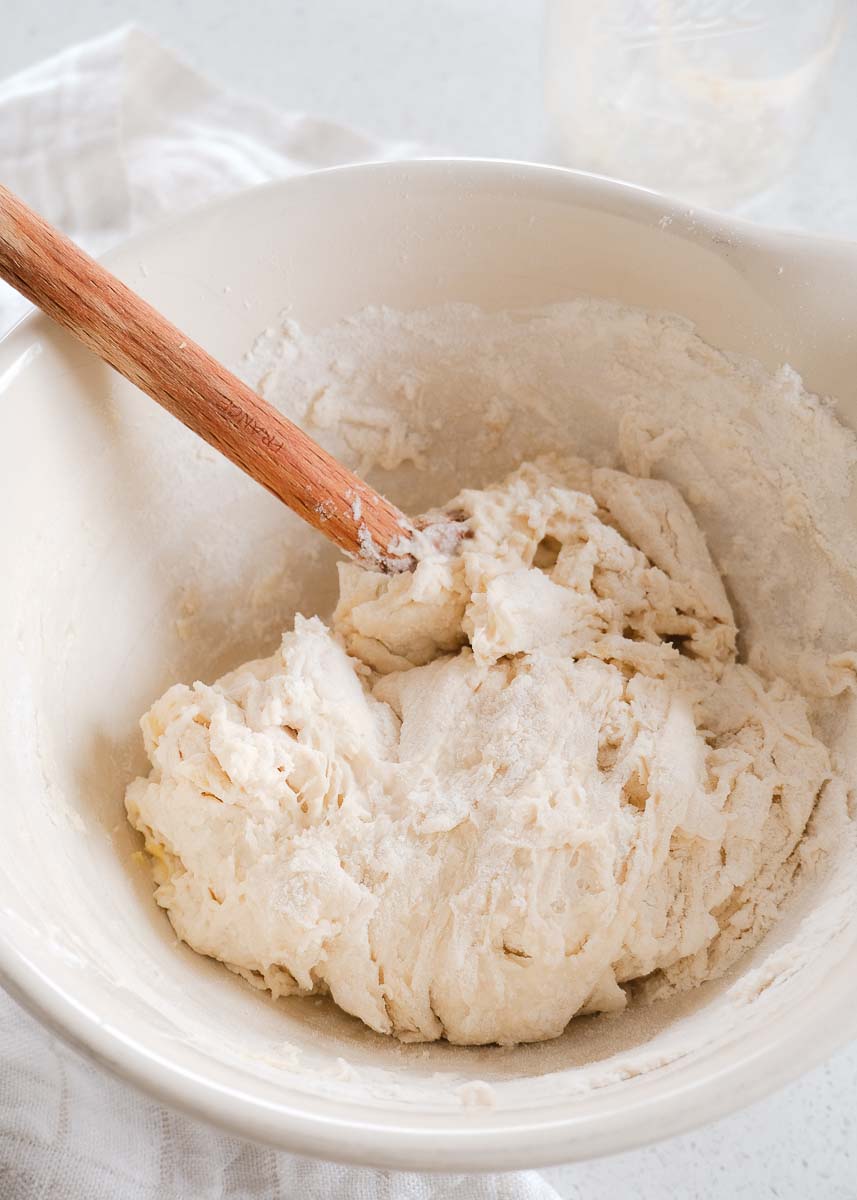
2. Mix together. In a large bowl mix the flour and salt together. Create a well in the centre and pour the yeast and butter into it. Mix this together with a wooden spoon until a dough begins to form. Now you can begin mixing the remaining flour into the dough with your hands.
Check the dough is not too wet. If it is sticking to your hands or to the bowl, you may need to add a little bit more flour. Dough that is crumbly indicates that too much flour has been added. Add a tablespoon of warm water at a time until it becomes easier to work with.

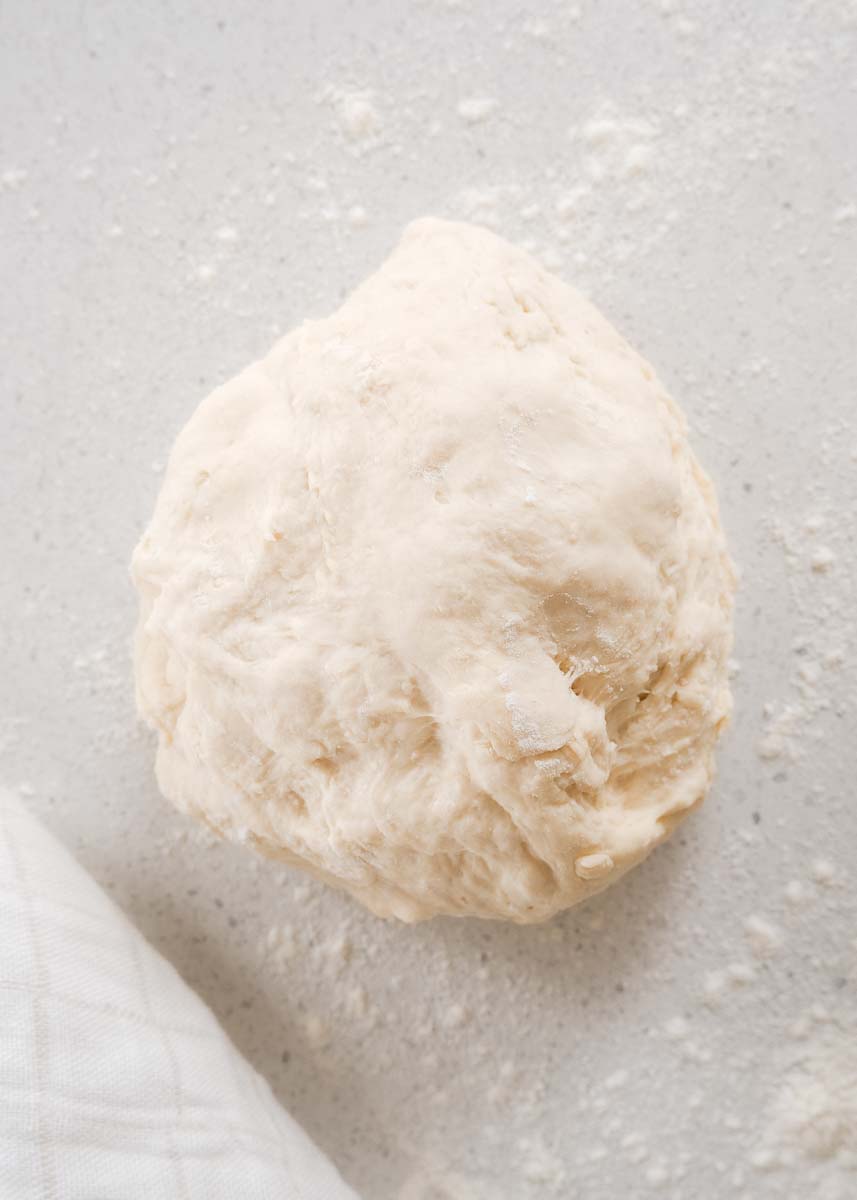
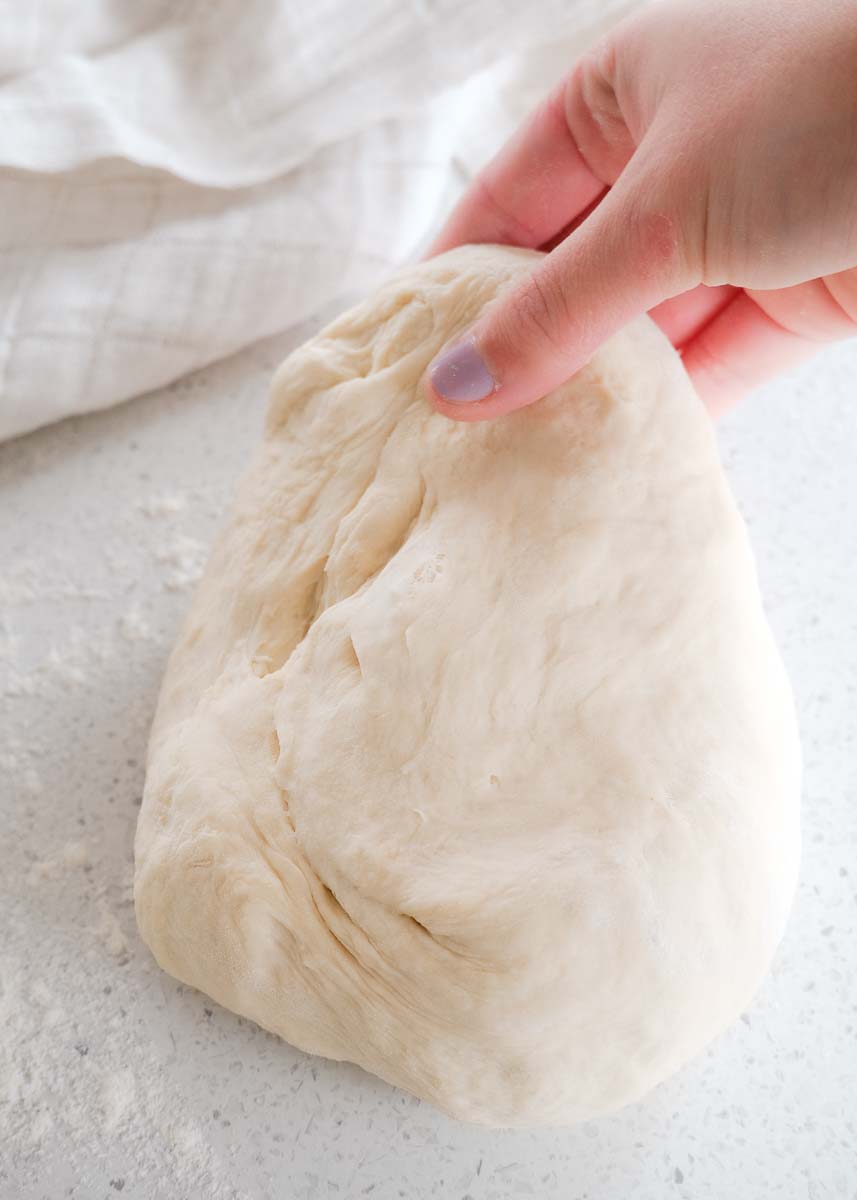
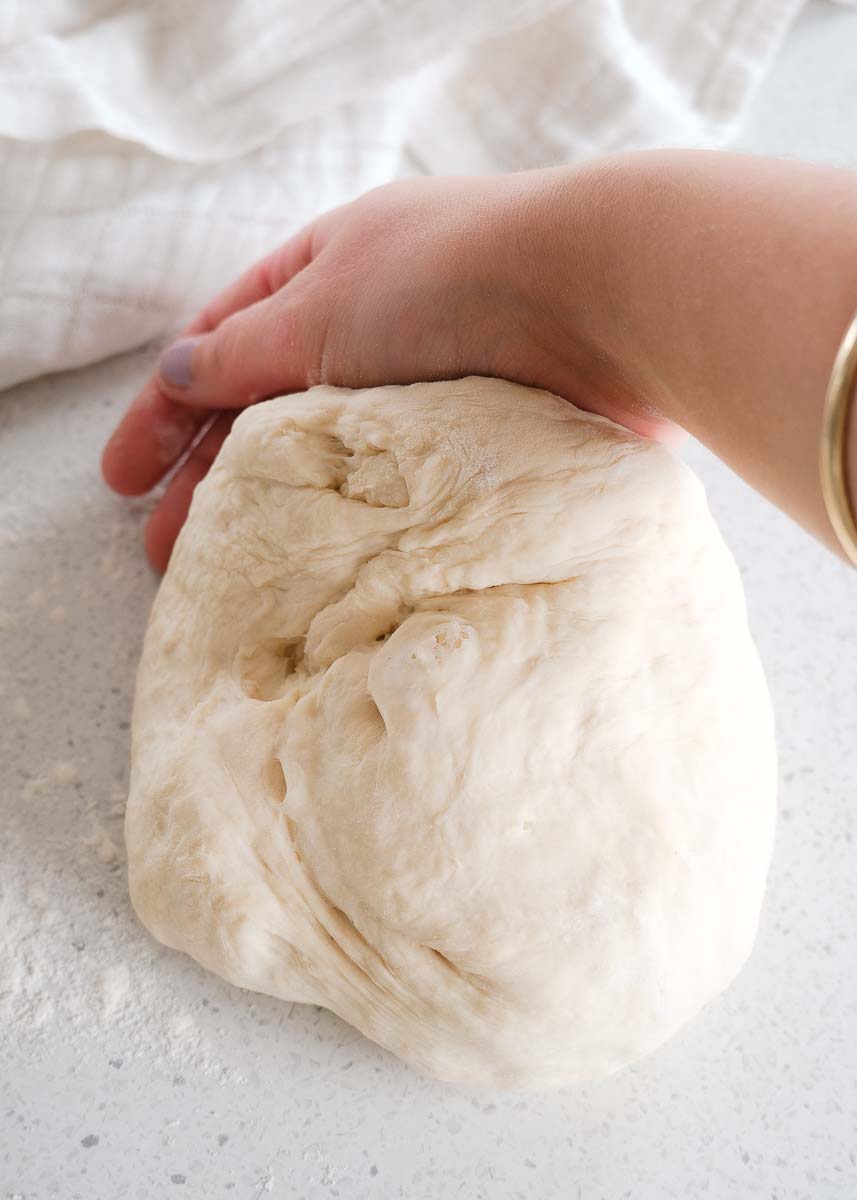
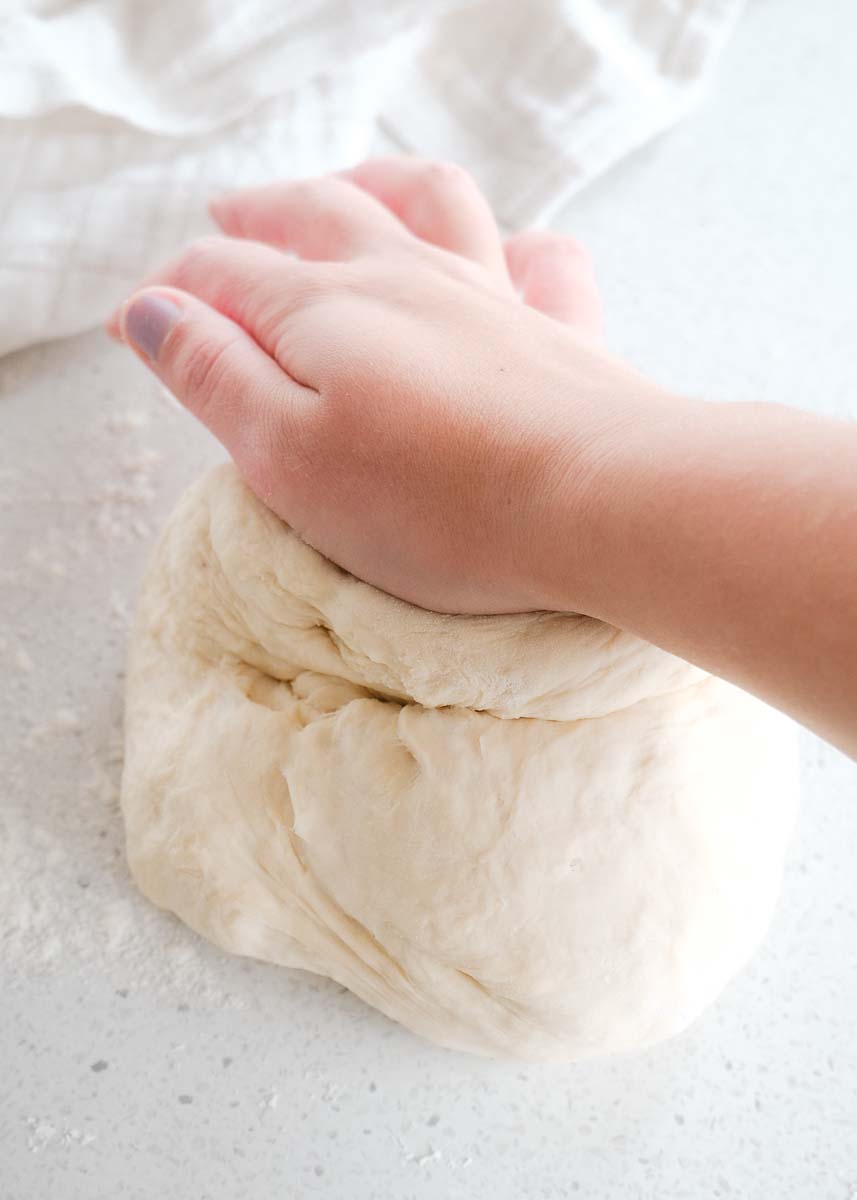
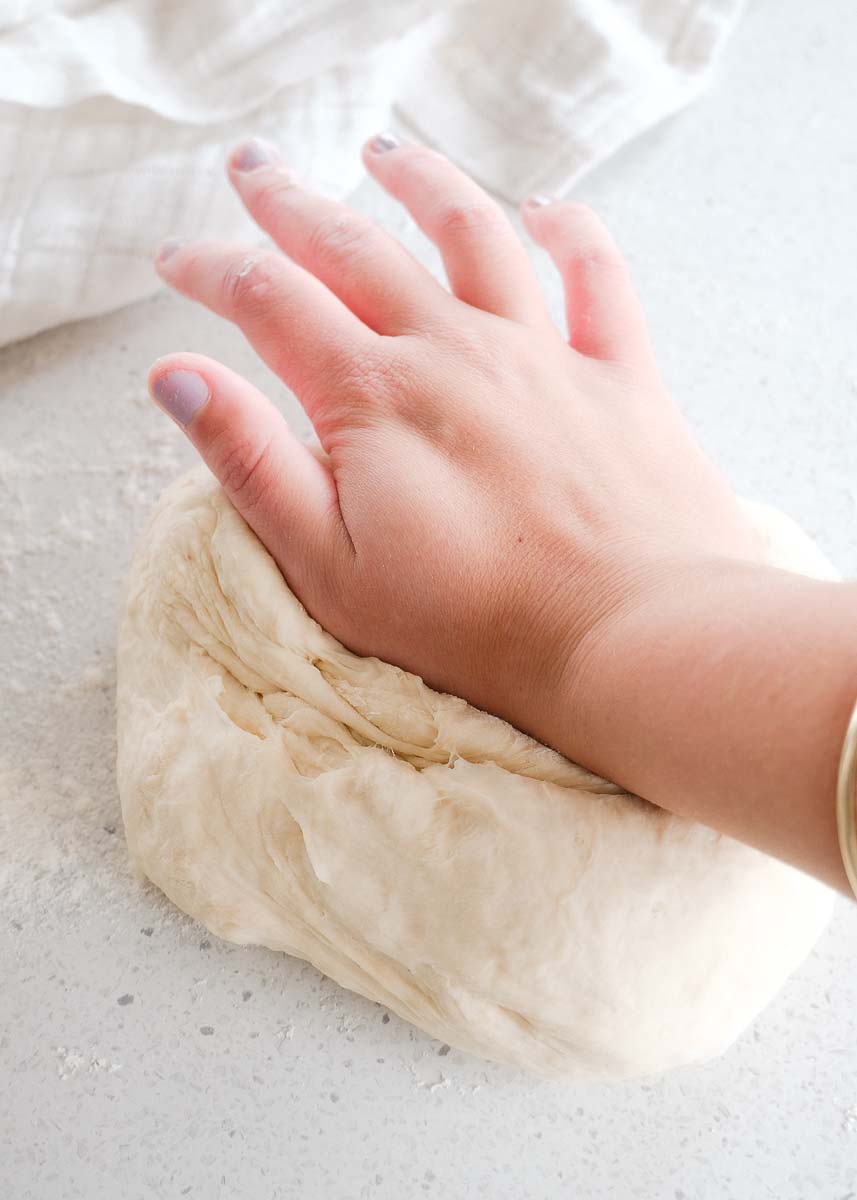
3. Knead the dough. Now that you have your dough mixture ready, it is time to knead it. Dust a clean benchtop or hard surface lightly with flour. Place the dough on the surface. Begin kneading the dough to develop the gluten.
Kneading is done by pushing the dough away from you with the heel of your hand, then folding the top back over like an envelope, quarter-turning and repeating. Knead the dough for 10 minutes or until it is smooth, soft, and silky. Pop your finger into the dough and if it springs out nicely, this is when you know the dough is ready.
4. The First Rise. It’s time to let the dough rise for the first time. Lightly grease a large bowl and place the ball of dough in, smooth side up. Cover the bowl with a clean, wet tea towel or cling wrap and let it sit in a warm place for at least an hour or two until it’s doubled in size. It may take longer if you are in a cold area or shorter in a hot area.
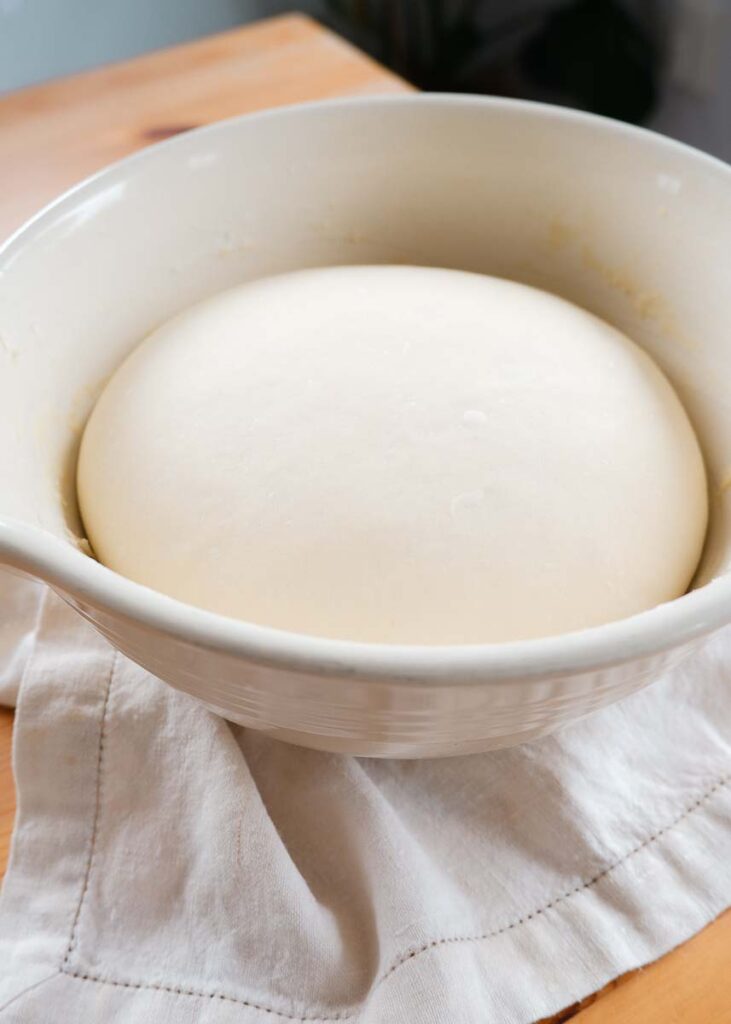
5. Shape the dinner rolls. Once the dough has doubled in size, turn it out onto a lightly floured surface and divide it into 18 equal portions. I like to weigh the dough then divide this into 18 and weigh each individual dough ball.
Once divided into equal pieces for even baking begin shaping the portions into round roll shapes. You can do this by turning the edges of the dough under and pinching them together into a smooth ball shape.
Place the rolls onto a lined baking sheet with the seams down. Place them around 2-3cm apart in rows of 3. Cover and place in a warm spot to rise again. This could take about 45 minutes to an hour, but you want it to double in size again.
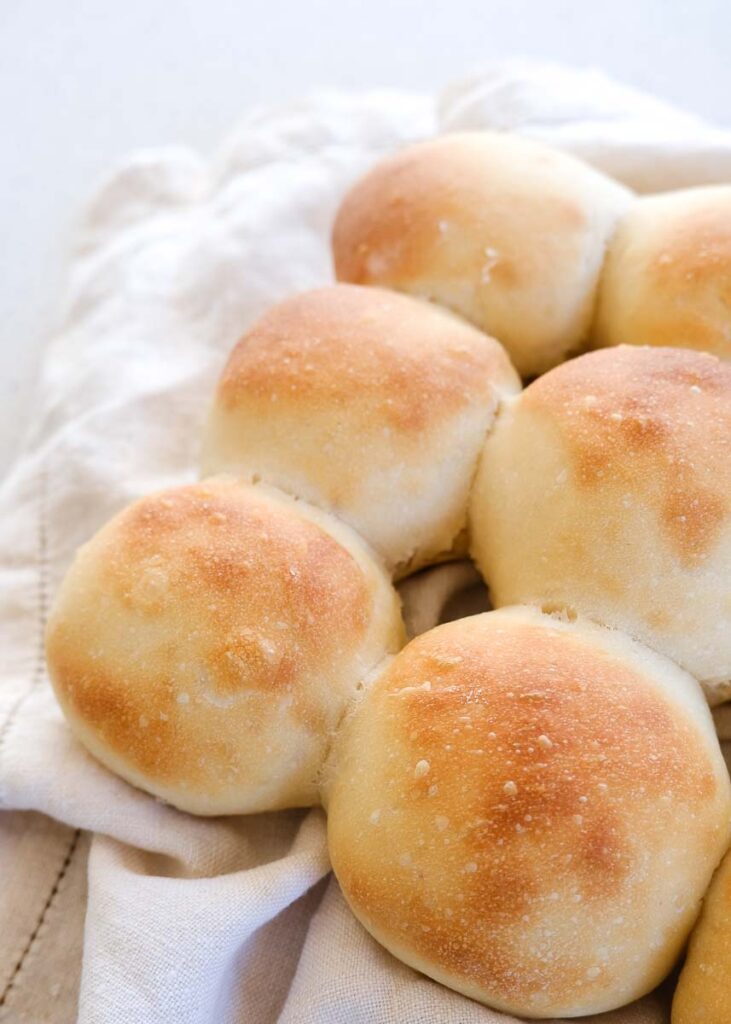
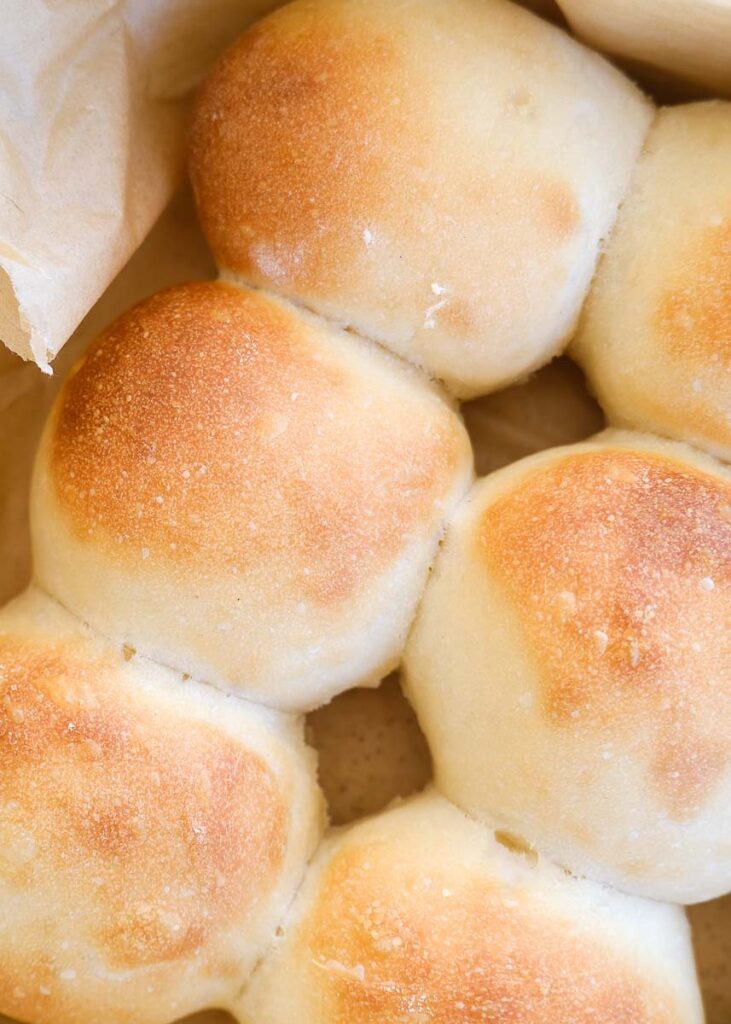
6. Bake. Preheat the oven to 210°C (410°F) fan bake or conventional is fine. Remove the cover and bake for 15-20 minutes or until the rolls are golden brown on top.
Cool on a wire rack then enjoy.
How to Store Dinner Rolls
I like to freeze extra rolls in zip lock bags so these can be enjoyed throughout the week if we decide to have soups or easy meals that need a bit more carbs. They will store in a zip lock bag or airtight container for 2 days.
Looking For More easy bread recipes? Try these!
- Farmhouse White Bread
- Soft Homemade Sandwich Bread
- Soft Bread Machine Cheese Rolls
- Easy Hot Cross Buns
Old Fashioned Yeast Dinner Rolls Recipe
These old fashioned yeast dinner rolls are soft, light, and fluffy, and they are the perfect accompaniment to any meal. Soaked in soup or slathered with butter, these dinner rolls are perfectly delicious. The best part is they aren’t difficult to make if I can make these anyone can!
Ingredients
- 2 tsp white granulated sugar
- 445ml warm water
- 2 tsp active dry yeast
- 640g white bread flour
- 2 tsp salt
- 2 tbsp butter, softened
Instructions
- ACTIVATE YEAST
Mix the warm water and sugar in a bowl and stir until the sugar is dissolved. Add the yeast after the sugar has dissolved. Allow it to activate for about 10-15 minutes without mixing it. It will become frothy when it is activated. - PREPARE DOUGH
In a large bowl mix the flour and salt together. Create a well in the centre and pour the yeast and butter into it. Mix this together with a wooden spoon until a dough begins to form. Now you can begin mixing the remaining flour into the dough with your hands.
Check the dough is not too wet. If it is sticking to your hands or to the bowl, you may need to add a little bit more flour. Dough that is crumbly indicates that too much flour has been added. Add a tablespoon of warm water at a time until it becomes easier to work with. - KNEAD THE DOUGH
Now that you have your dough mixture ready, it is time to knead it. Dust a clean benchtop or hard surface lightly with flour. Place the dough on the surface. Begin kneading the dough to develop the gluten.
Kneading is done by pushing the dough away from you with the heel of your hand, then folding the top back over like an envelope, quarter-turning and repeating. Knead the dough for 10 minutes or until it is smooth, soft, and silky. Pop your finger into the dough and if it springs out nicely this is when you know the dough is ready. - THE FIRST RISE
It's time to let the dough rise for the first time. Lightly grease a large bowl and place the ball of dough in, smooth side up. Cover the bowl with a clean, wet tea towel or cling wrap and let it sit in a warm place for at least an hour or two until it's doubled in size. It may take longer if you are in a cold area or shorter in a hot area. - SHAPING THE DINNER ROLLS AND THE SECOND RISE
Once the dough has doubled in size, turn it out onto a lightly floured surface and divide it into 18 equal portions. I like to weigh the dough then divide this into 18 and weigh each individual dough ball.
Once divided into equal pieces for even baking begin shaping the portions into round roll shapes. You can do this by turning the edges of the dough under and pinching them together until a smooth ball shapes.
Place the rolls onto a lined baking sheet with the seams down. Place them around 2-3cm apart in rows of 3. Cover and place in a warm spot to rise again. This could take about 45 minutes to an hour, but you want it to double in size again. - BAKE THE BREAD
Preheat the oven to 210°C(410°F) fan bake or conventional is fine. Remove the cover and bake for 15-20 minutes or until the rolls are golden brown on top.
Cool on a wire rack then enjoy.
Notes
I like to freeze extra rolls in zip lock bags so these can be enjoyed throughout the week if we decide to have soups or easy meals that need a bit more carbs. They will store in a zip lock bag or airtight container for 2 days.
To get consistent results with your bread baking, you must always measure your ingredients by weight.
Many beginners make the mistake of not kneading their dough enough. I have found that my best dinner rolls were kneaded for a good 10 to 15 minutes and I have a heavy hand.
Be diligent with the moisture of your bread rolls. You don’t want it to be too dry or too wet. In my experience, the best results have been when the dough is slightly sticky just after combining the wet and dry ingredients. This results in a soft, smooth dough after kneading.
Spray or brush your rising bowl with olive oil to prevent the dough from sticking.
Nutrition Information:
Yield:
18Serving Size:
1Amount Per Serving: Calories: 143Total Fat: 2gSaturated Fat: 1gTrans Fat: 0gUnsaturated Fat: 1gCholesterol: 3mgSodium: 270mgCarbohydrates: 26gFiber: 1gSugar: 1gProtein: 4g
Estimated nutrition information is provided as a courtesy and is not guaranteed.