Creamy Condensed Milk Ice Cream
This condensed milk ice cream is creamy, smooth, and rich. Every lick or spoonful melts in your mouth making this homemade no-churn ice cream worth the wait!
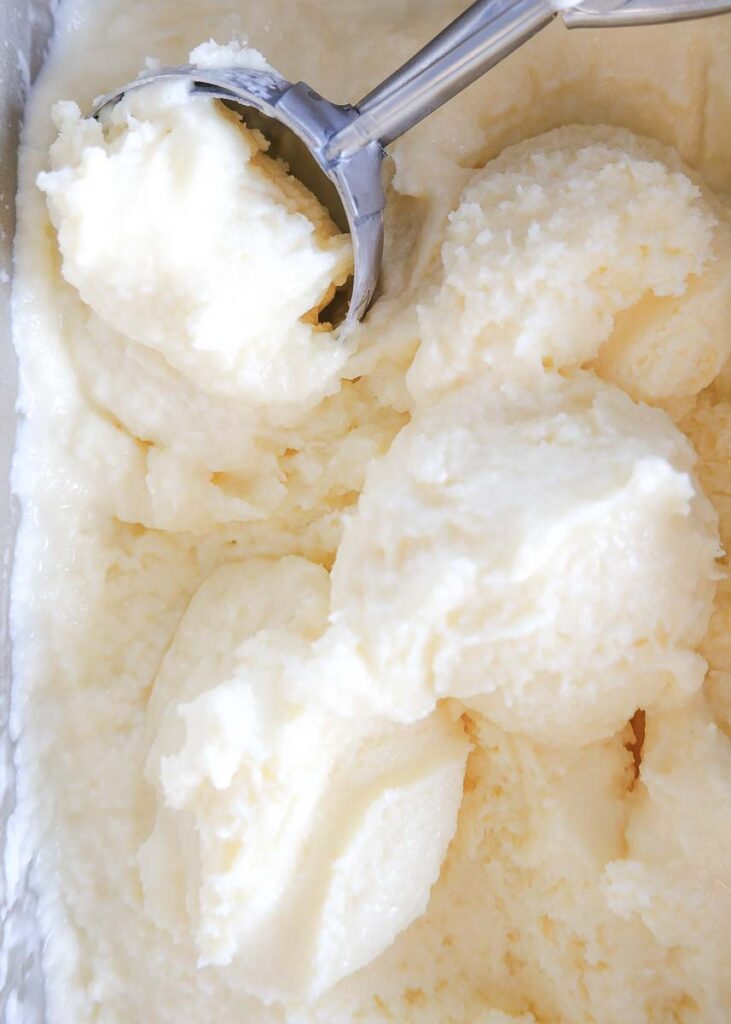
Nothing brings me more joy than a giant scoop of homemade vanilla ice cream on a warm, sunny day.
Ice cream scooped onto warm waffle cones reminds me of my childhood. Here in New Zealand, classic vanilla, cookies and cream, or real strawberry ice creams are summer classics.
In the colder months, we love making apple crumble. It’s our family’s signature dessert, and it’s always topped with a big scoop of vanilla ice cream!
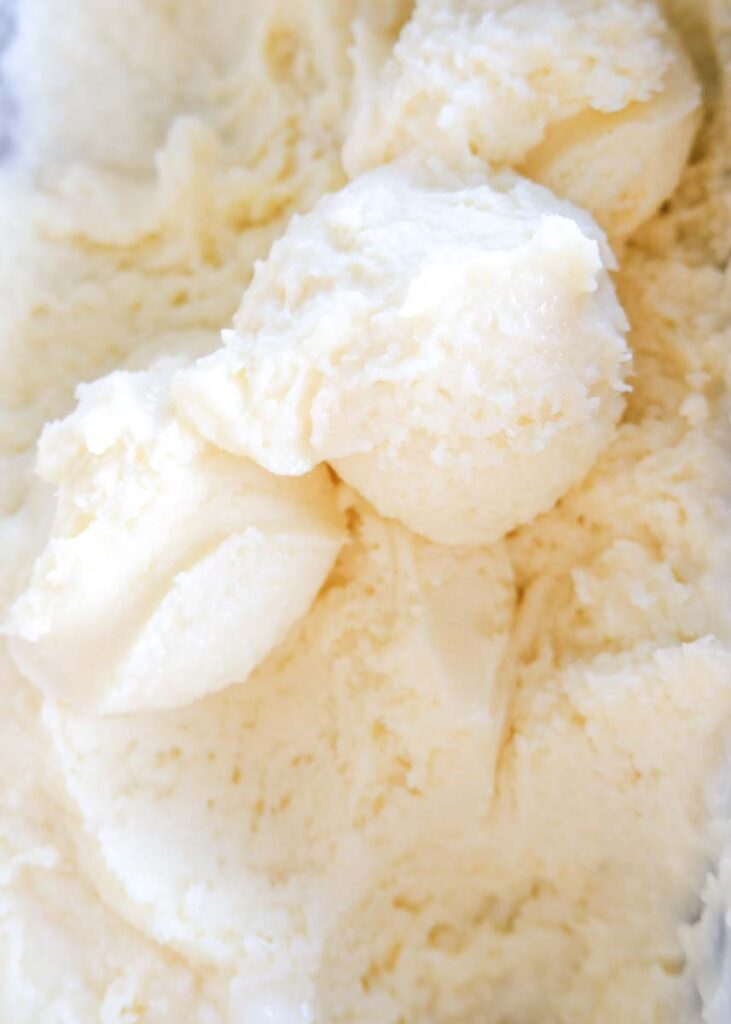
Like this raspberry white chocolate ice cream, dulce de leche ice cream and chocolate chip ice cream, this no-churn recipe doesn’t require an ice cream maker.
A key ingredient in no-churn ice cream is condensed milk. You can make condensed milk from scratch, and it’s easier than you think, cheaper than store-bought and tastes better (in my opinion, anyway).
As an Amazon Associate, I earn from qualifying purchases. Read my full disclosure here.
What Does Condensed Milk Do in Ice Cream?
Adding condensed milk will make the ice cream sweet and creamy but also softer as the milk and sugar content lowers the freezing point of the ice cream. The smaller the ice crystals the softer the ice cream consistency will be and the easier it is to scoop.
Why You Will Love This Condensed Milk Ice Cream
- Super simple to make
- Affordable
- Not commonly found in stores
- Homemade just can’t be matched. Creamy and sweet.
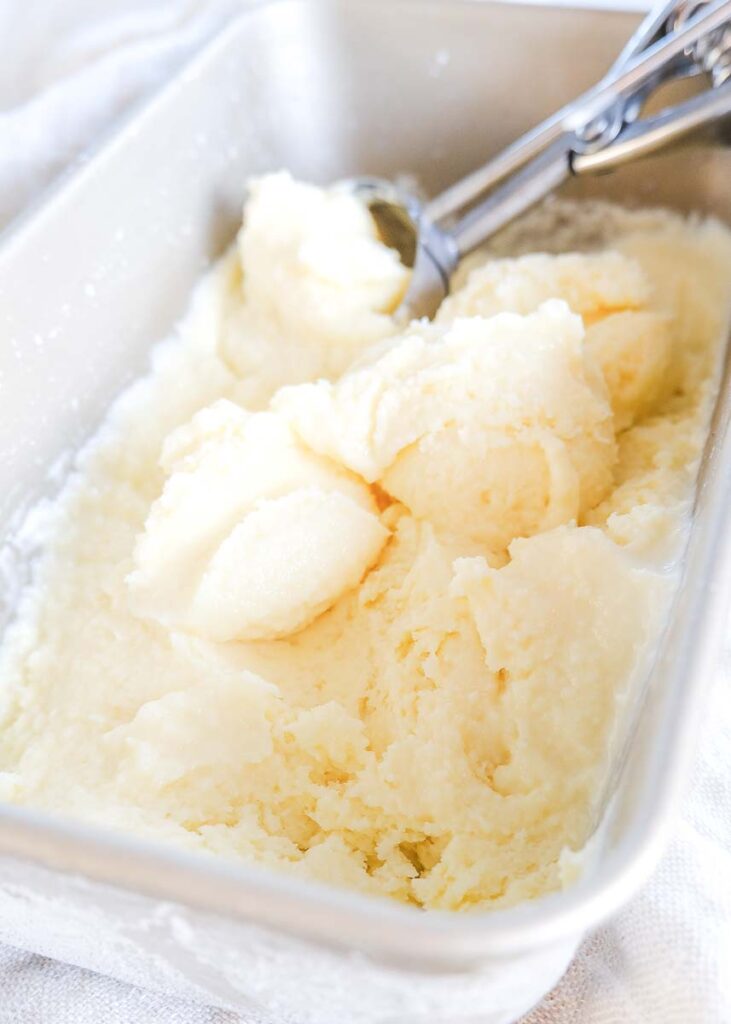
Ingredients For No-Churn Vanilla Ice Cream
Condensed milk – I make my own condensed milk, but you can also buy it in a can from the supermarket. It’s milk that’s had a percentage of the water evaporated then sugar added for sweetness.
Cream – Fresh, full-fat dairy cream.
Milk – Dairy milk.
Vanilla Extract or Pods – This is a vanilla ice cream so try adding in vanilla pod seeds or vanilla extract. Don’t add vanilla essence as it’s fake flavouring. Don’t go through the effort to make your own and use this!
Equipment You May Need
- Ice-cream machine
- Container with lid
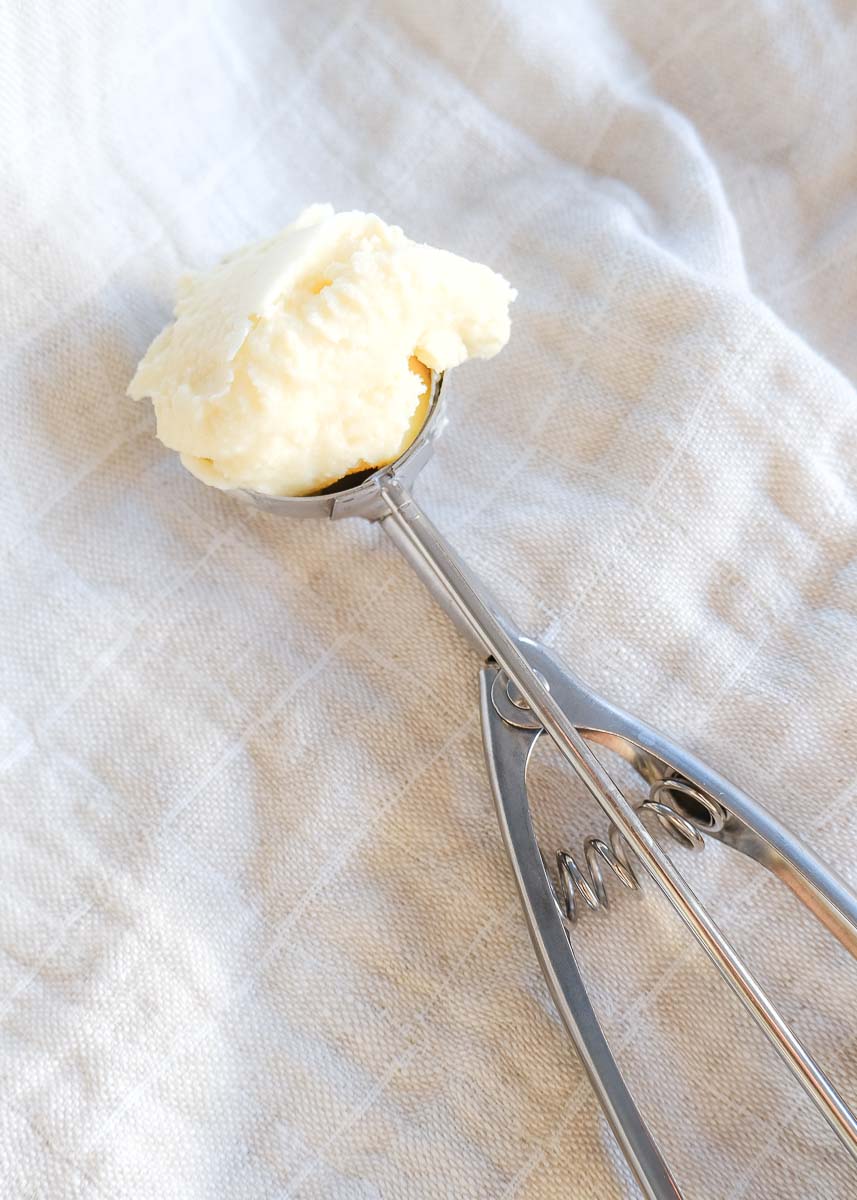
- Ice-cream scoop (these are super handy for cookies, too)
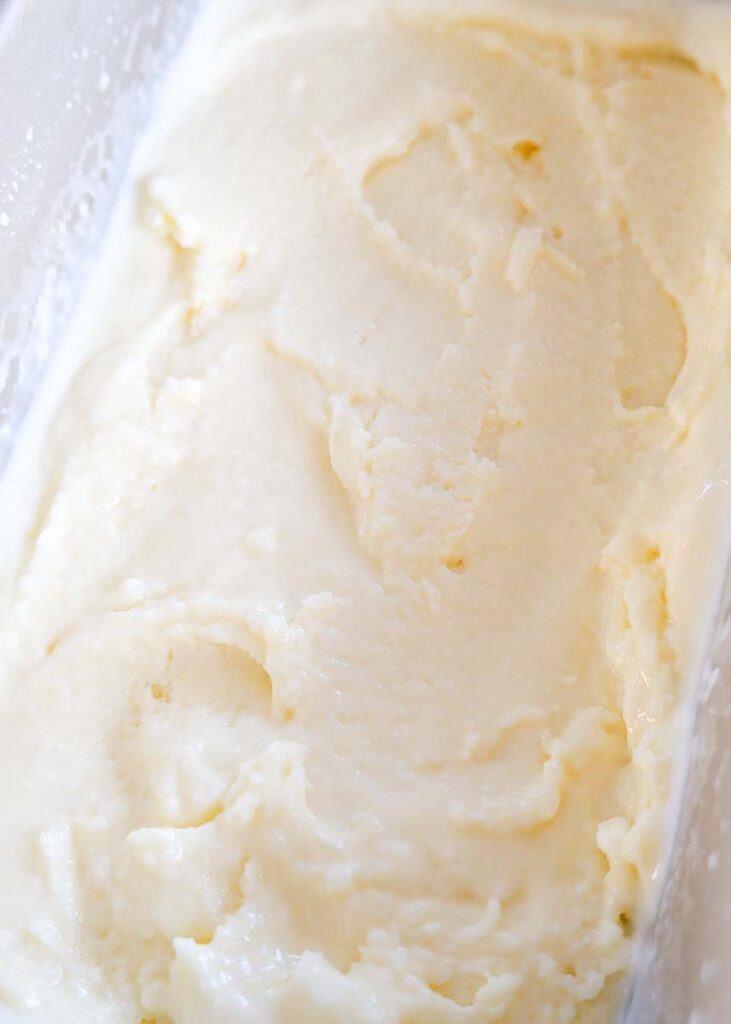
Condensed Milk Vanilla Ice Cream Recipe
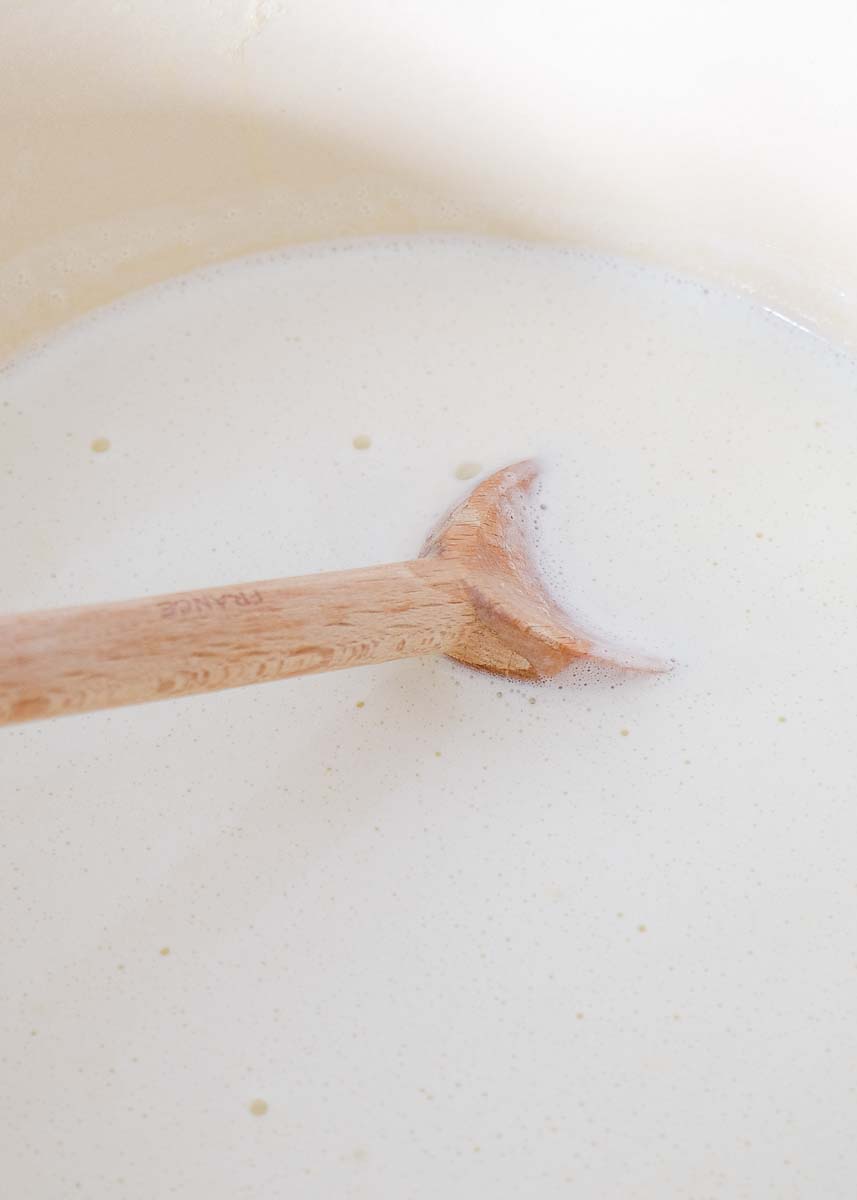
- Warm up a saucepan or Dutch oven on the stove. Pour in the milk and cream and warm through. Don’t let the mixture boil or get too hot.
- Once warm, add in the vanilla. Stir to combine.
- Bring to a boil then let this simmer for about 5 minutes. Mix occasionally to stop any sticking from occurring.
- Begin slowly pouring in the condensed milk, stirring as you pour to combine.
- Remove the saucepan from the heat and let the mixture cool.
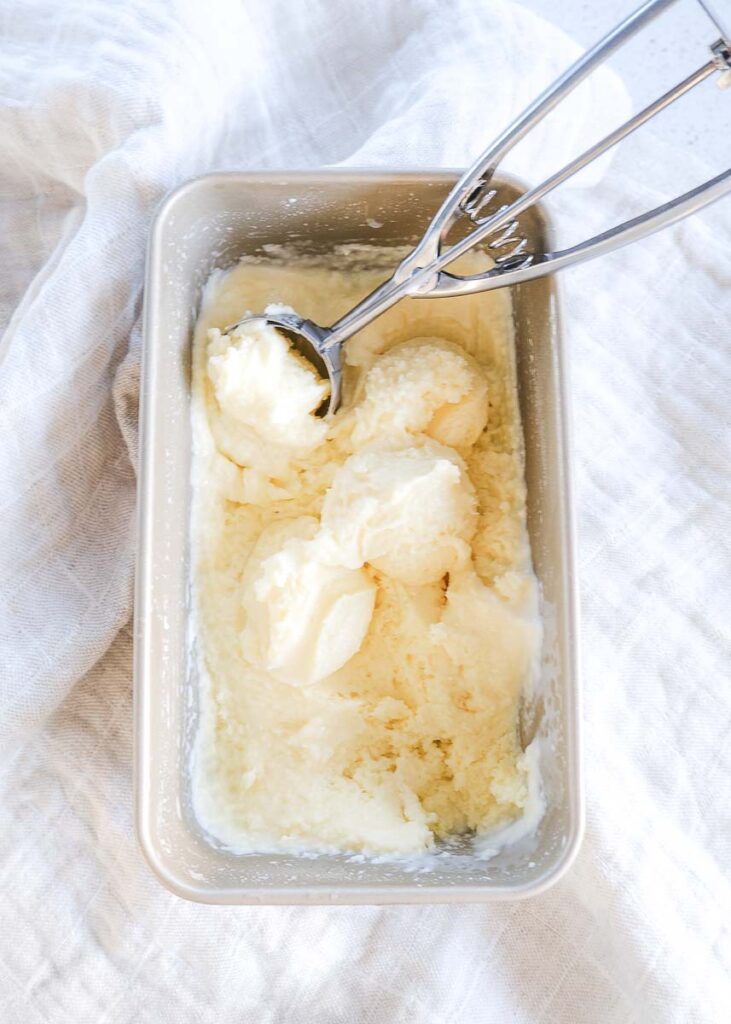
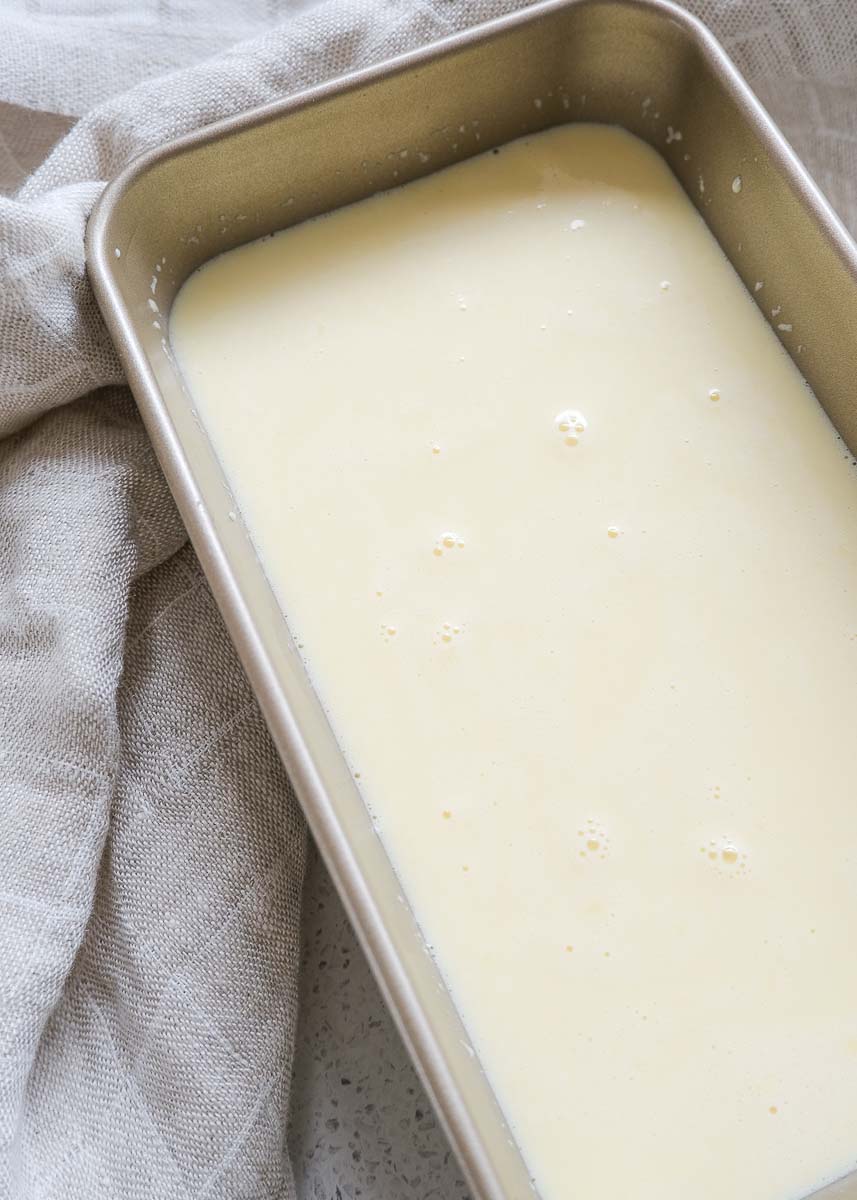
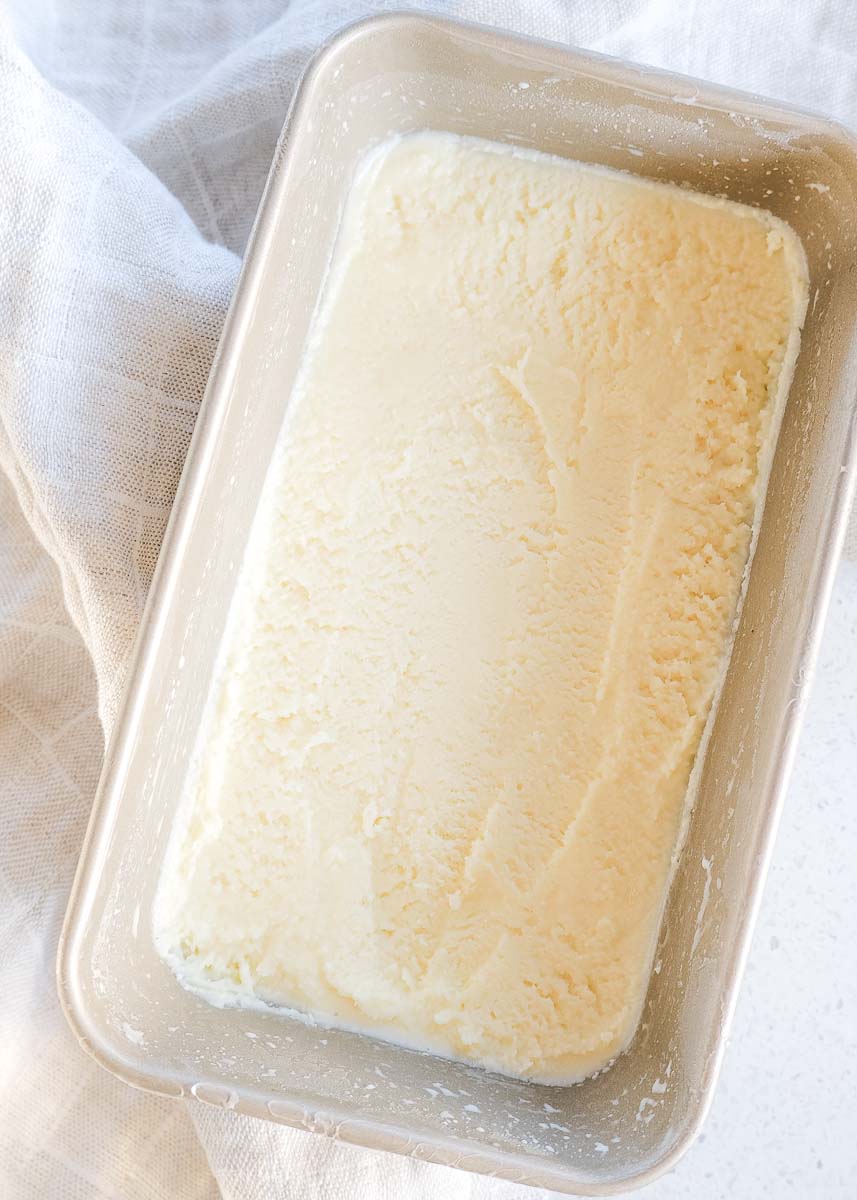
- Once completely cooled, pour it into a tin or container with a lid and place it in the freezer. I like to use a loaf tin with cling film on top.
- If you have an ice cream machine wait until crystals start forming before adding to the machine. If you don’t have one like me wait for the ice cream to start getting icy, then give it a gentle stir and pop it back into the freezer.
- After the first stir, wait an hour and stir again. It will become thicker and icier. Repeat this every hour until the ice cream is almost frozen. Once it is almost frozen solid you can pop it into a sealable container and smooth the ice cream out nicely.
- Leave for another hour or overnight, then scoop to serve.
More Mouth-Watering Ice Cream Recipes
If you made and enjoyed this ice cream recipe, I would appreciate you giving it 5 stars! Don’t forget to save this recipe to Pinterest for later!

Creamy Condensed Milk Vanilla Ice Cream
Equipment
Ingredients
- 1 can condensed milk 395g or 14oz
- 1 cup heavy cream cold
- 2 cups milk whole dairy
- 2 tablespoons vanilla extract or seeds from 2 pods
Instructions
- Warm up a saucepan or Dutch oven on the stove. Pour in the milk and cream and warm through. Don’t let the mixture boil or get too hot.
- Once warm, add in the vanilla. Stir to combine.
- Bring to a boil then let this simmer for about 5 minutes. Mix occasionally to stop any sticking from occurring.
- Begin slowly pouring in the condensed milk, stirring as you pour to combine.
- Remove the saucepan from the heat and let the mixture cool.
- Once completely cooled, pour it into a tin or container with a lid and place it in the freezer. I like to use a loaf tin with cling film on top.
- If you have an ice cream machine wait until crystals start forming before adding to the machine. If you don’t have one like me wait for the ice cream to start getting icy, then give it a gentle stir and pop it back into the freezer.
- After the first stir wait an hour and stir again. It will become thicker and icier. Repeat this every hour until the ice cream is almost frozen. Once it is almost frozen solid you can pop it into a sealable container and smooth the ice cream out nicely.
- Leave for another hour or overnight, then scoop to serve.


