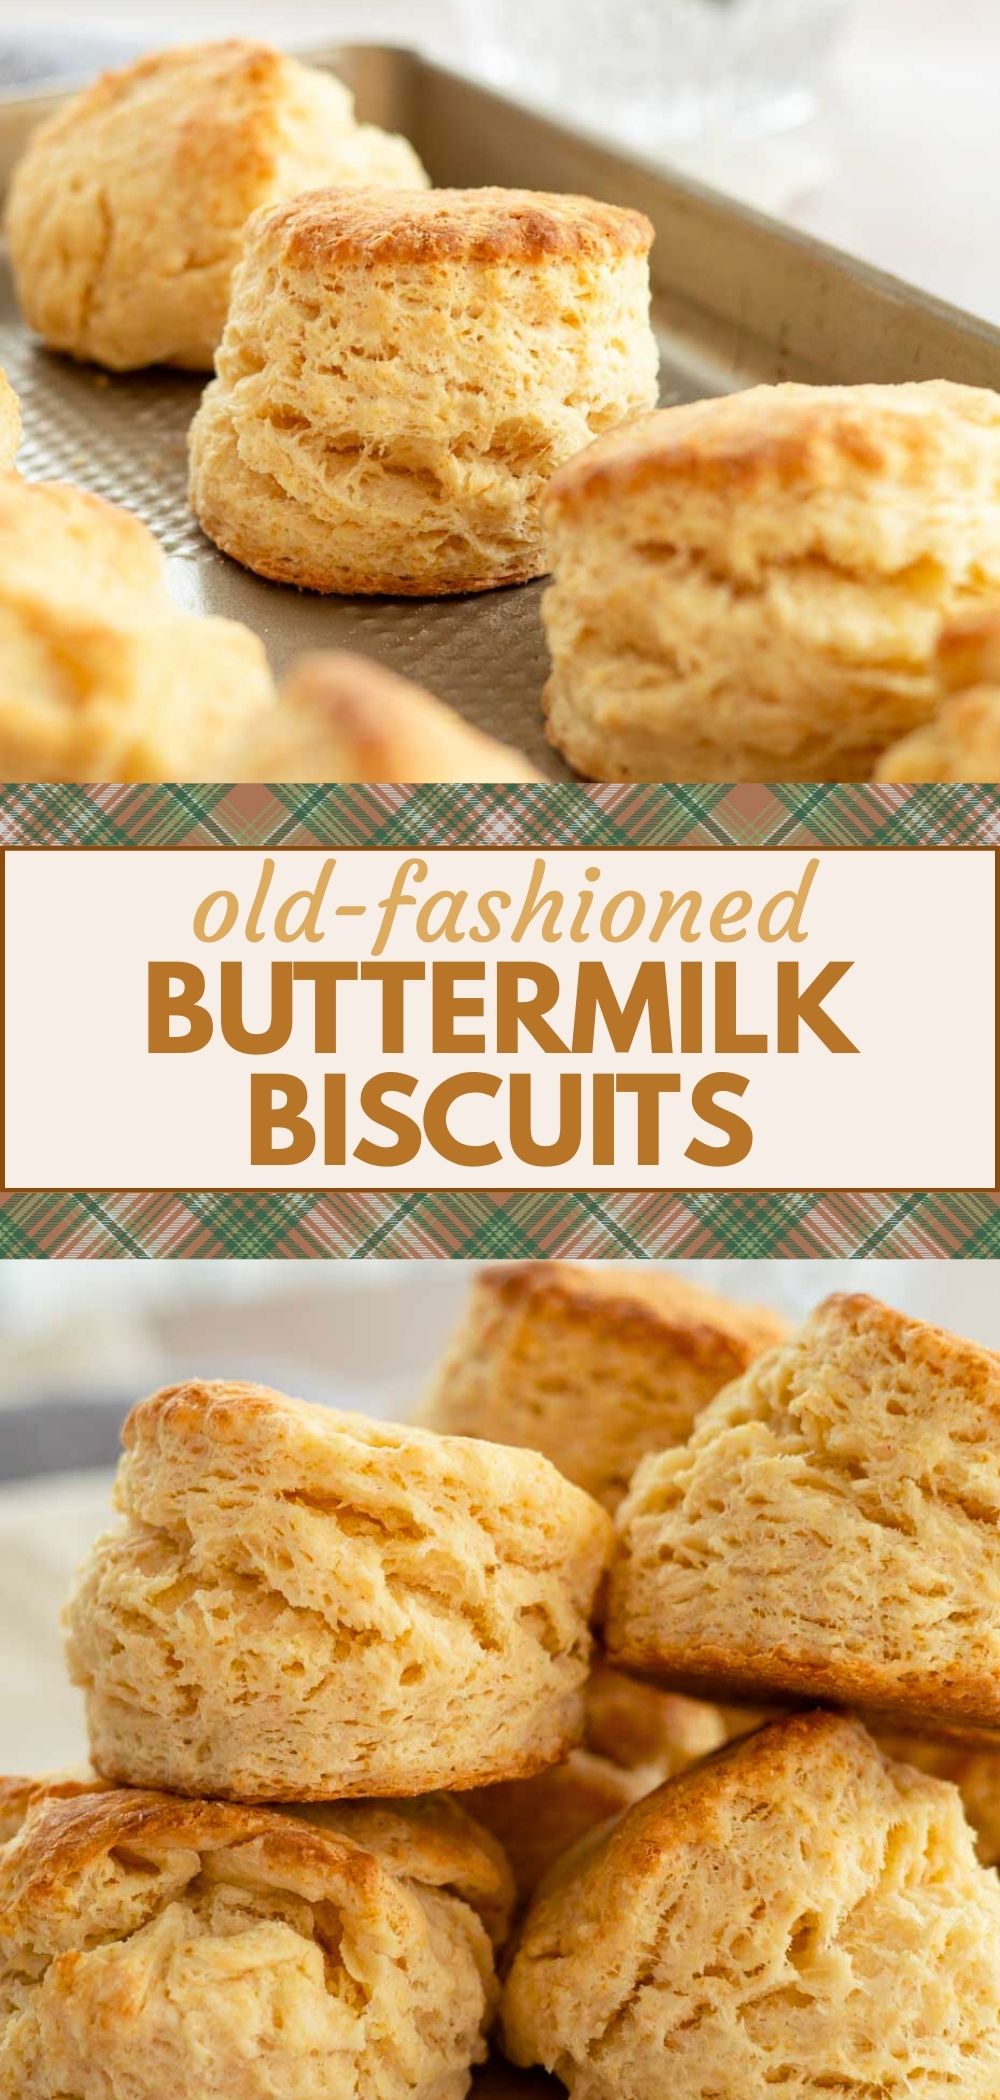
These old-fashioned buttermilk biscuits are buttery, tender, and flaky, perfect for serving warm on top of chicken pot pie or with a generous spread of butter or a dollop of jam.

I love how quick these buttermilk biscuits are to make, no waiting around for the dough to rise, and no fancy equipment needed. Just mix, shape, bake, and before you know it, you’ve got golden biscuits ready to enjoy.
They’re wonderful on top of chicken pot pie, alongside soups and stews, as a base for breakfast sandwiches, or simply as a treat fresh from the oven with jam.
This recipe is straightforward, forgiving, and absolutely delicious.

As an Amazon Associate, I earn from qualifying purchases. Read my full disclosure here.
Ingredients & Substitutions
The printable recipe card below has the full ingredients list and instructions.
- Cold butter: Use real butter for the best flavour. Avoid margarine as it won’t give the same texture.
- All-purpose flour: You can use self-raising flour and omit the baking powder and salt.
- Baking powder: Helps the biscuits rise and stay fluffy. Make sure it’s fresh, as old baking powder can lose its oomph.
- Buttermilk: Gives that lovely tang and tenderness. If you don’t have any, you can make your own by adding 1 tablespoon of vinegar or lemon juice to a measuring cup, then filling it with milk to ¾ cup and letting it sit for 5 minutes to curdle.
- Melted butter: For brushing the tops after baking for that beautiful golden finish.
- Salt

Recipe Tips
- Keep your butter as cold as possible, even pop it in the freezer for a few minutes before using if your kitchen is warm.
- Handle the dough gently and as little as possible to avoid tough biscuits. I like to use my food processor to mix the dough.
- For extra-tall biscuits, chill the cut dough for 10 minutes before baking.
- If you don’t have a biscuit cutter, a drinking glass with a thin rim works just fine.
- Serve them straight from the oven for the best flavour and texture.
Helpful Tools
 Buy Now →
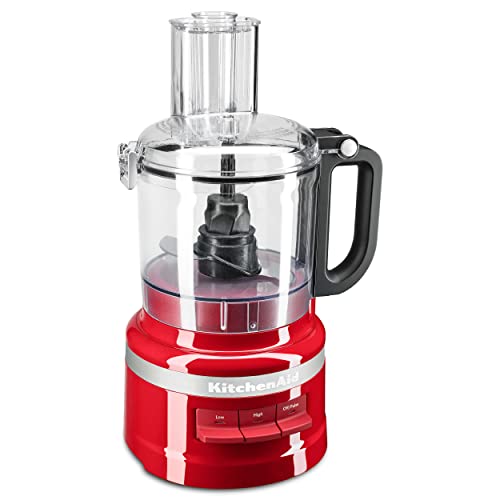
KitchenAid 7-Cup Food Processor
Buy Now → Buy Now →
 How to Make Buttermilk Biscuits
Step 1: Preheat your oven to 220°C (425°F) and line a baking tray with parchment paper. This means the biscuits can go straight into a hot oven, which helps them rise beautifully.

Step 2: In a large bowl, whisk together the flour, baking powder, and salt. This helps to evenly distribute the baking powder for a consistent rise.
Step 3: Add the cold, cubed butter to the flour mixture. Using your fingertips or a food processor, rub or cut the butter into the flour until it resembles coarse crumbs. A few larger bits of butter are fine. They’ll create lovely flaky layers.


Step 4: Pour in the buttermilk and gently stir with a fork until the dough just comes together. Don’t overmix!
Step 5: Turn the dough out onto a lightly floured surface. Gently fold it over itself 3–4 times. This helps create layers. Press or roll to about 2 cm (¾ inch) thick.


Step 6: Cut out biscuits with a floured cutter, pressing straight down without twisting. This ensures they rise evenly. Place them close together on the baking tray for soft sides, or spaced apart for crisper edges.


Step 7: Bake for 13 minutes or until golden.
Step 8: Brush with melted butter as soon as they come out of the oven. Serve warm and enjoy.

Serving Suggestions
These old-fashioned buttermilk biscuits are so versatile, you can enjoy them in different ways depending on the meal or the season:
- With chicken pot pie: Bake your biscuits on top of chicken pot pie. The flaky biscuits are perfect for soaking up that creamy filling.
- With beef stew: Tear them open and use them to mop up all that savoury gravy.
- With pumpkin soup: For a lighter meal, pair the biscuits with a pumpkin soup. They make a wonderful dipping bread.
- At breakfast with jam or honey: Split a warm biscuit in half and spread with homemade jam or drizzle with honey.
- As a sandwich: Tuck in a slice of ham, cheese, or even scrambled eggs for a quick biscuit sandwich. Perfect for brunch or a packed lunch.

Storage Instructions
Freshly baked biscuits are best enjoyed warm, but they’ll keep at room temperature in an airtight container for up to 2 days. If you want to keep them longer, pop them in the fridge for up to 5 days, just reheat in a warm oven before serving.
For freezing, place cooled biscuits in an airtight container or freezer bag and store for up to 3 months. When ready to enjoy, thaw at room temperature and warm in the oven to refresh them.
Did you make this recipe?
I’d love to see! Tag @makylacreates on Instagram and leave a comment below!

Old-Fashioned Buttermilk Biscuits Recipe
Ingredients
- 1/2 cup cold butter cubed (113g or 1 stick)
- 2 cups all-purpose flour
- 3 teaspoons baking powder
- 1 teaspoon salt
- 3/4 cup buttermilk
- 2 tablespoons melted butter
Instructions
- Preheat your oven to 220°C (425°F) and line a baking tray with parchment paper. This means the biscuits can go straight into a hot oven, which helps them rise beautifully.
- In a large bowl, whisk together the flour, baking powder, and salt. This helps to evenly distribute the baking powder for a consistent rise.
- Add the cold, cubed butter to the flour mixture. Using your fingertips or a food processor, rub or cut the butter into the flour until it resembles coarse crumbs. A few larger bits of butter are fine. They’ll create lovely flaky layers.
- Pour in the buttermilk and gently stir with a fork until the dough just comes together. Don’t overmix!
- Turn the dough out onto a lightly floured surface. Gently fold it over itself 3–4 times. This helps create layers. Press or roll to about 2 cm (¾ inch) thick.
- Cut out biscuits with a floured cutter, pressing straight down without twisting. This ensures they rise evenly. Place them close together on the baking tray for soft sides, or spaced apart for crisper edges.
- Bake for 13 minutes or until golden.
- Brush with melted butter as soon as they come out of the oven. Serve warm and enjoy.