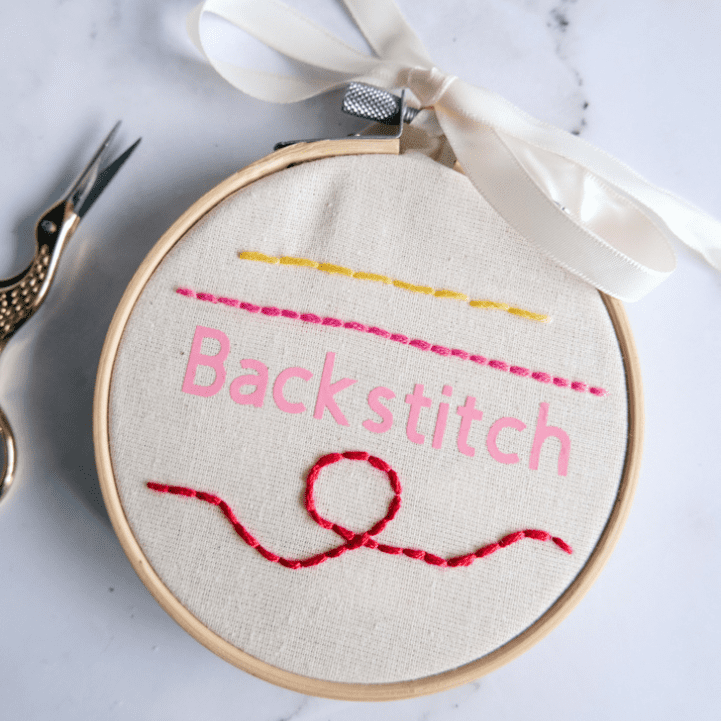
Learn how to sew backstitch with this detailed step-by-step tutorial for beginners. The backstitch is a commonly used sewing technique that produces a solid stitch line. It is one of the easiest and most adaptable hand-sewing techniques to master, making it an excellent starting point for beginners.
What is a Backstitch?
The backstitch is a basic sewing method that creates a strong and continuous line. To do it, you sew backwards and then forwards, making stitches that overlap. The result is a solid and noticeable line of stitches.

As an Amazon Associate, I earn from qualifying purchases. Read my full disclosure here.
What is Backstitch Used For?
Backstitch can be used in sewing in many ways because it’s so versatile and sturdy. Here are some ways it can be used:
- Seams: backstitching can be used as a simple and quick way to sew seams by hand. Backstitching is secure enough to hold the pieces together like a machine stitch. This is a good alternative if you don’t have a sewing machine or are working with delicate materials. If you want a quicker hand-sewing option try using a running stitch instead.
- Outlines: if you are learning to embroider, backstitching is super handy for sewing outlines or design lines. It is easy to create clear lines or precise shapes.
- Letters or Words: backstitching is commonly used for embroidering letters as the stitch line is solid.
- Fine Details: you can use it to add face details on handmade dolls or sew finer details on other embroidered projects.

Materials & Tools
To practice sewing backstitch, you will need a needle, thread, and a few other tools listed below.
- Hand sewing needles
- Embroidery thread
- Fabric shears
- Piece of calico or fabric to practice on cut to 25cm x 25cm
- Ruler
- Fabric marker
How to Sew a Backstitch
Step One: Draw practice lines on the fabric
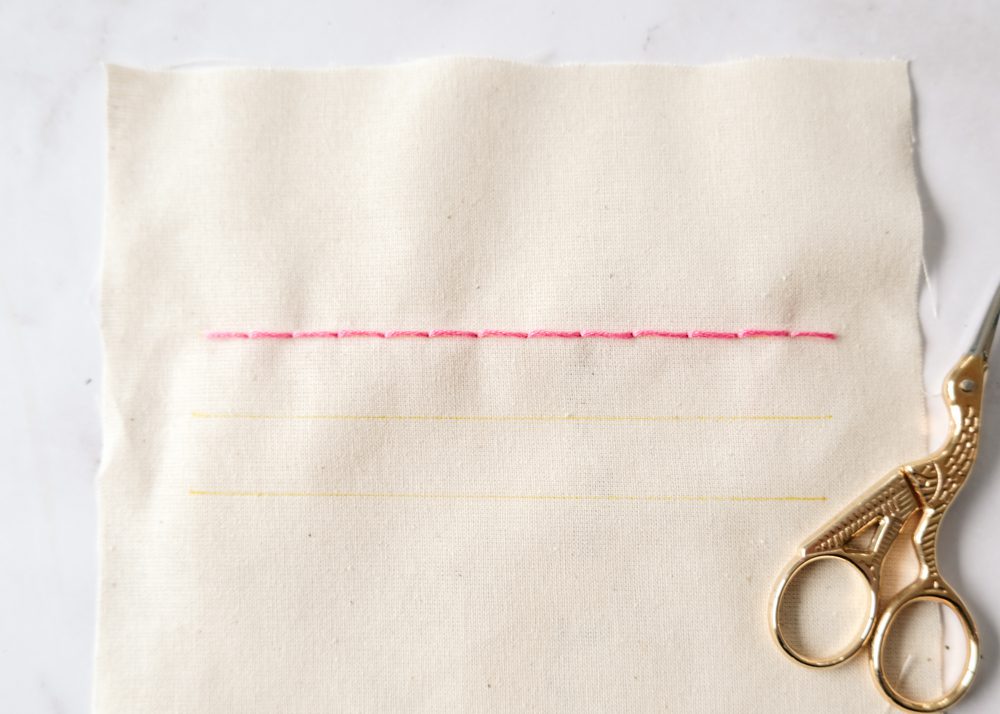
Using your ruler and fabric marking tool, draw as many practice lines as you require on the fabric. These will be the lines you follow as you learn to sew backstitch.
Step Two: Thread the needle
Start by threading the needle. Cut the thread length double your stitching line length and knot the end once.
Step Three: Start the backstitch
Begin sewing a backstitch on the righthand side of the fabric. At the desired stitch length away from the start of the stitching line bring the needle up the back of the fabric (1). Pull the thread until the knot is flush against the fabric.

Step Four: Stitch backward
Create the first backstitch by inserting the needle back through the fabric at the stitching line starting point (2).

Step Five: Sew a second backstitch
To continue stitching, bring the needle forward from the last stitch, leaving the same stitch length gap between the two stitches (3). Then, insert the needle into the fabric slightly ahead of where the previous stitch ended (4).


Step Six: Continue Stitching
Keep stitching in a backward and forward motion, making sure the stitches are evenly spaced and of consistent length. The backward stitch will always be the same length, while the forward stitch will create a gap between stitches.
When finishing, make a knot at the back of your work to secure the thread. Trim off any excess thread.

What Thread Do I Use?
There are various types of sewing threads that can be used when hand-sewing but a backstitch is often sewn to be seen.
When sewing backstitch to create seams, using a standard universal thread is best. However, if you are sewing backstitching for details, it is recommended to use a thicker thread such as embroidery thread (skeins).
More Hand Sewing Techniques
How to Sew Backstitch

Learn how to sew a backstitch with this detailed step-by-step tutorial for beginners. The backstitch is a commonly used sewing technique that produces a solid stitch line.
Materials
- Embroidery thread
- Piece of calico or fabric to practice on cut to 25cm x 25cm
Tools
- Hand sewing needles
- Fabric shears
- Ruler
- Fabric marker
Instructions
- Step One: Draw practice lines on the fabric
Using your ruler and fabric marking tool, draw as many practice lines as you require on the fabric. These will be the lines you follow as you learn to sew backstitch. - Step Two: Thread the needle
Start by threading the needle. Cut the thread length double your stitching line length and knot the end once. - Step Three: Start the backstitch
Begin sewing a backstitch on the righthand side of the fabric. At the desired stitch length away from the start of the stitching line bring the needle up the back of the fabric (1). Pull the thread until the knot is flush against the fabric. - Step Four: Stitch backward
Create the first backstitch by inserting the needle back through the fabric at the stitching line starting point (2). - Step Five: Sew a second backstitch
To continue stitching, bring the needle forward from the last stitch, leaving the same stitch length gap between the two stitches (3). Then, insert the needle into the fabric slightly ahead of where the previous stitch ended (4). - Step Six: Continue Stitching
Keep stitching in a backward and forward motion, making sure the stitches are evenly spaced and of consistent length. The backward stitch will always be the same length, while the forward stitch will create a gap between stitches. When finishing, make a knot at the back of your work to secure the thread. Trim off any excess thread.
Notes
What Thread Do I Use?
There are various types of sewing threads that can be used when hand-sewing but a backstitch is often sewn to be seen. When sewing backstitch to create seams, using a standard universal thread is best. However, if you are sewing backstitching for details, it is recommended to use a thicker thread such as embroidery thread (skeins).


