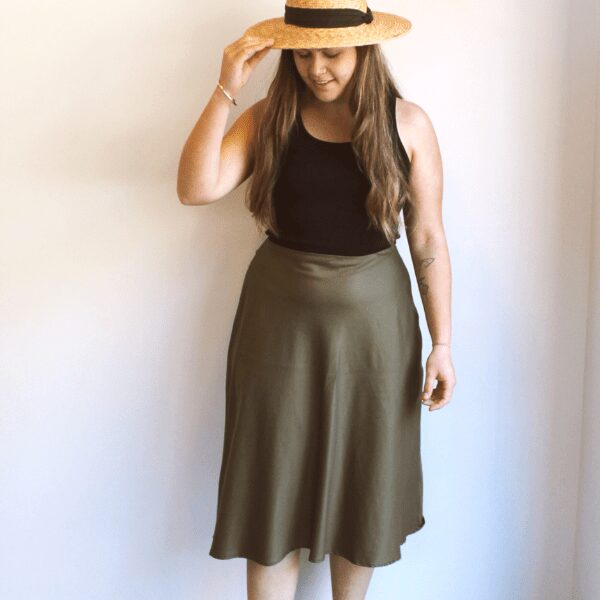
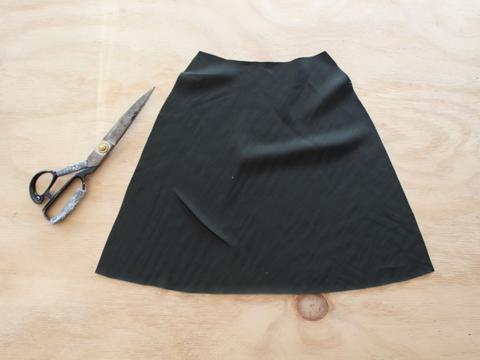
I am sharing my tip on how to cut out delicate fabrics on the bias in relation to my latest sewing pattern The Rachel Bias Skirt.
This technique works wonders for cutting out on the straight grain too. It’s a perfectionist savor when it comes to cutting out those floaty, delicate materials that move all over the place.
When I discovered this method I was busy studying fashion. At the time I was working on a project that required me to hand cut out silk flounces and tiny rouleau for button loops and ties. This cutting out method made my project so enjoyable.
Now, this is the only way I will ever cut out any delicate fabrics. It’s also the only way I cut out any garments on the bias to ensure complete accuracy.
I have been meaning to write this post since I launched my recent sewing pattern The Rachel Bias Skirt – if you haven’t already got a copy you can buy one here.
Have you ever tried on a cheap bias-cut garment to find it sitting super weird on you? Often it will pull in all sorts of ways. This can happen if any garment is cut the slightest bit off-grain.
The basic principle of this method is to lay your fabric between two layers of paper. It sounds simple but there is a bit more to it than just making a paper and fabric sandwich.
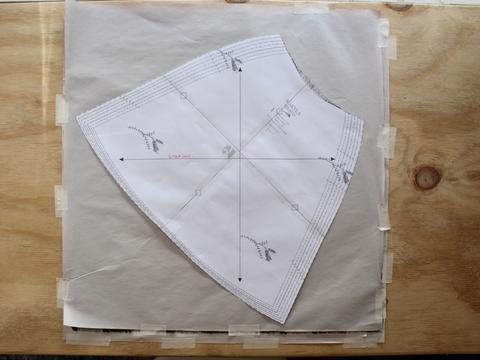
Below I have created a small scale of the Rachel Bias Skirt to show you a step by step.
MATERIALS AND TOOLS:
- Rachel Bias Skirt Pattern
- Plain Newsprint paper (not printed) or A3 sheets of paper.
You can buy rolls of newsprint at office supply stores for super cheap, its also really good tracing paper! - Fabric – the amount needed is in the instruction guide
- Masking tape or sellotape
- Tools; Pencil, Fabric Scissors, Paper Scissors, Pins or weights, ruler.
HOW TO CUT OUT DELICATE FABRICS ON THE BIAS
PREPARE THE BOTTOM LAYER OF PAPER
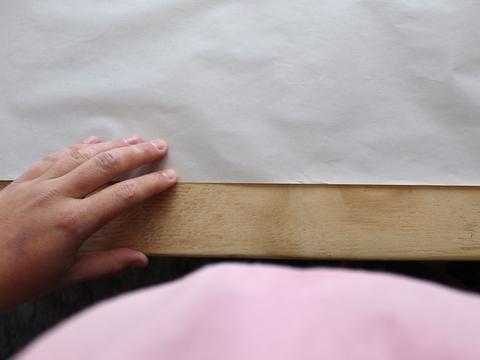
1. Find a sturdy surface to lay upon it may be on your dining table or it could be on a wood or tile floor.
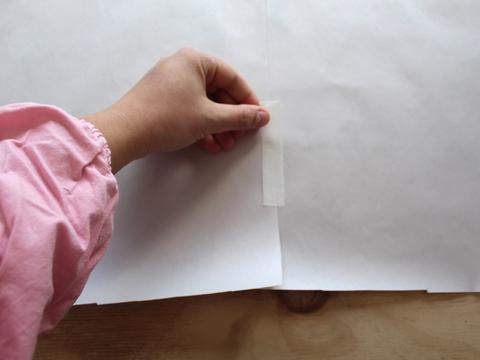
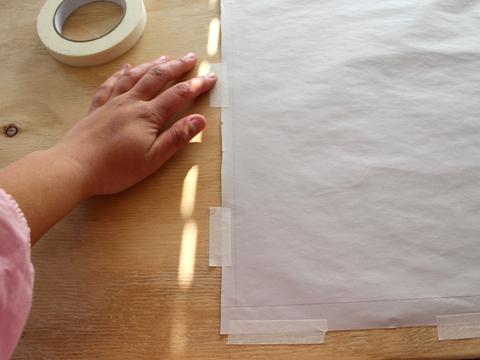
2. To begin you need to check the paper you are using is slightly wider than your fabric width. If it’s not wide enough tape some pieces together.
If you are using newsprint roll out to the length you need twice and tape the paper together in the centre.
If you are using sheets of paper, glue or tape them to be one large sheet. Once you start to cut out your fabric it is crucial for the paper to be stable.
Once you have the right size paper, tape it sparsely to the surface you are using and make sure it is flat. You will need to draw a 90-degree line along the width and length of the paper to use as a taping guide for the next step.
LAYING UP THE FABRIC
3. Next grab your fabric and check how the end is cut – you want to have a straight cut for your lay. If it’s not great try cutting it so it is as best it can be.
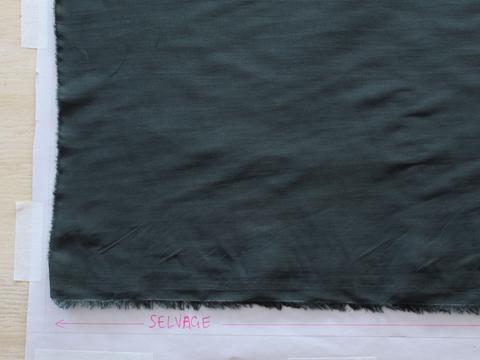
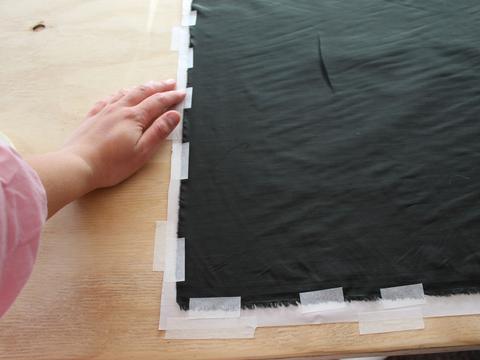
Start by roughly laying your fabric flat onto the paper. Starting at the corner of both 90-degree lines begin to tape the fabric down by matching the selvage to the guideline and the cut edge to the other guideline. Continue this until all sides of the fabric are taped down and sitting as accurate as you can get it.
If you don’t know what the selvage is, it is the uncut edge of the fabric, which you line the grain line up with.
You want the fabric to be in place but not pulling so be careful of this when taping. Continue to tape the selvedge down on both sides of the fabric until you get to the end of your fabric length.
ADDING THE TOP LAYER OF PAPER
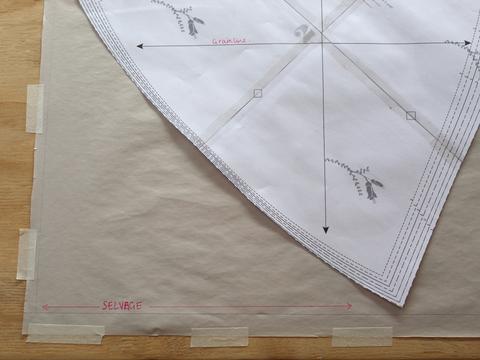
4. Now you need to repeat step 1 and set up another layer of paper exactly as you have on the bottom for on top of your fabric.
Once set up carefully place the paper over your taped fabric and carefully tape down sparsely to the surface.
TRACE AROUND PATTERN PIECES
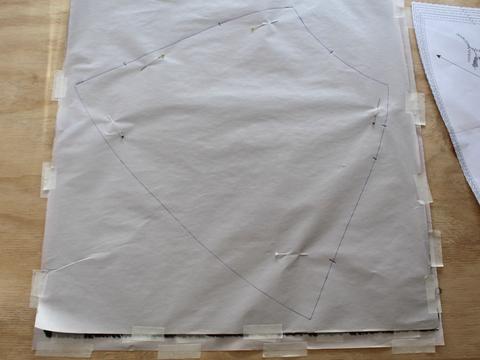
5. Trace around your pattern pieces on the top layer of paper, making sure your grainline is parallel to the selvedge.
TIP: Make sure to check that there is fabric where you are tracing your pattern pieces on the paper.
CUTTING OUT YOUR GARMENT
Use pins or paperweights to hold the paper and fabric in place when you start to cut out your garment pieces. Pinning through all three layers within the pencil marks is probably best but do what works best for you.
6. Once you have pinned all your pieces in place you can begin cutting.
TIP: Be really careful and take your time to cut out. Remember this method is to help with accuracy, not time!
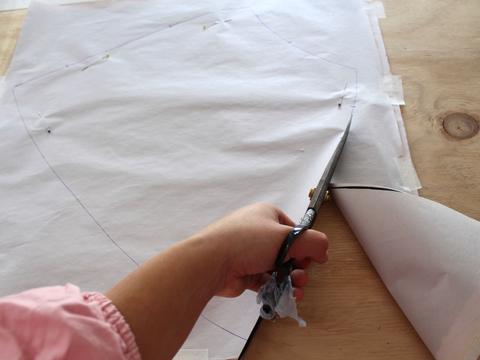
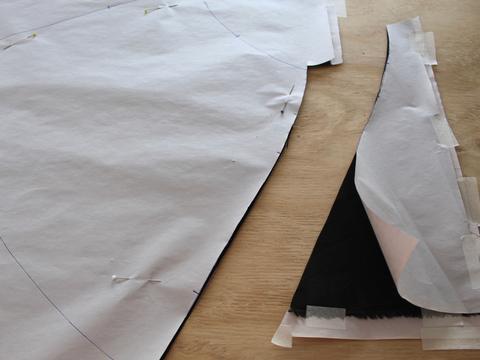
Usually, I will begin at one end and carefully pull the paper/tape off the surface. Little bits at a time and begin to cut through all layers along the marked lines. Continue to do this until your full garment is cut out.
You can then unpin the paper layers to reveal your fabric pieces cut perfectly and on the correct grain.
Please let me know in the comment section below if this method has helped you feel confident to cut out delicate fabrics or on the bias grain with confidence.
When I first started sewing I avoided using delicate fabrics like silks, satins and chiffons as I could never chalk my pieces accurately or cut them correctly. It just became a hated project and a waste of money. Now, I wouldn’t think twice!
If you found this method to be helpful please consider sharing this blog post with your friends and families. Don’t forget to tag me over on Instagram @makylacreates
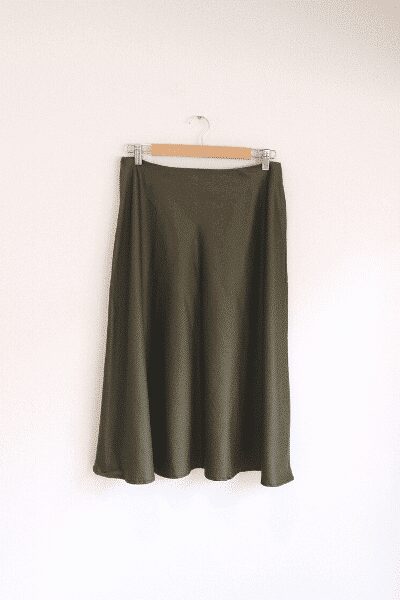
Here is my mini Rachel skirt hanging up to show the beautiful bias drape.
