Do you have trouble sleeping because of annoying light interruptions? I have just the thing for you – a DIY sleep mask that you can easily sew in under 30 minutes!
In this step-by-step sewing tutorial, I’ll walk you through creating an eye mask that fits you perfectly and blocks out light for a deeper, more restful sleep. I’ve even made a free printable sewing pattern to simplify the process.
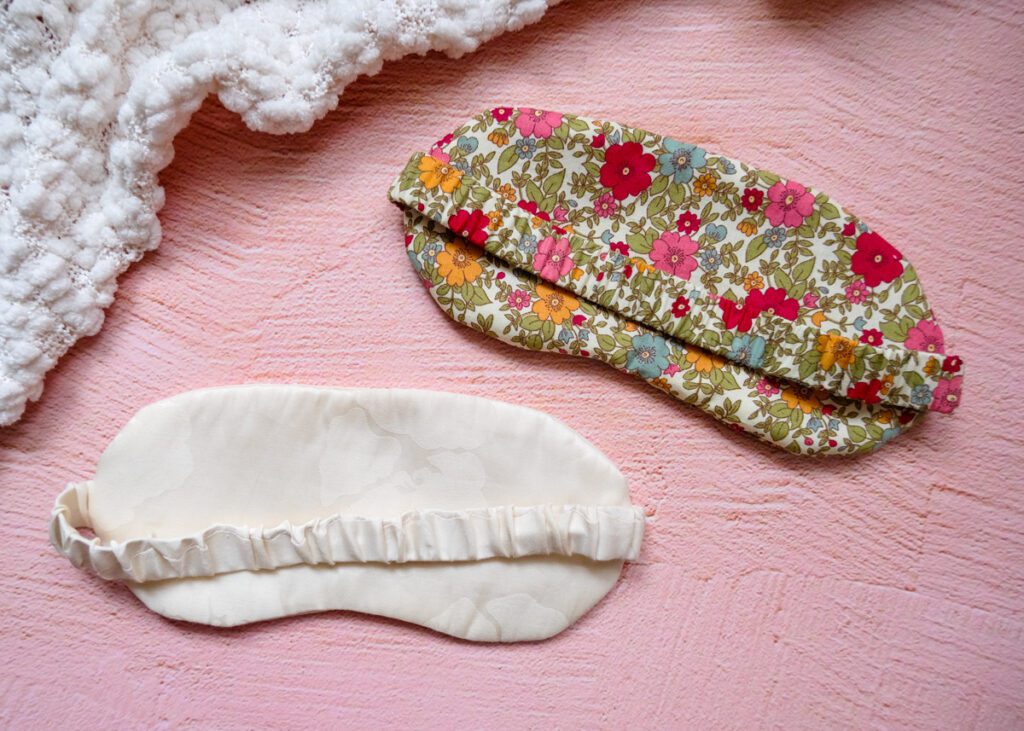
I don’t know about you, but I’m someone that needs a pitch-black room to be able to sleep. I’ve always been this way, and as I get older, it’s a non-negotiable that I need to sleep in a dark room! Sometimes this isn’t possible when I’m travelling or not at home. So, this eye sleep mask is the perfect solution to help me get a good night’s sleep no matter where I am.
One of the best things about making your own sleep mask is that you can customise it to your liking, making it super comfy and cosy. And, if you choose to use high-quality materials like cotton or silk, you’ll have a super luxurious mask that feels amazing on your skin.
If you are looking for more easy beginner sewing projects, check out these:
- How to Make a Pin Cushion
- How to Make a Drawstring Bag
- How to Sew Scrunchies – 3 Ways with Free Pattern
- DIY Heating Pad for Microwave
- DIY Ruffle Check Cushions {Heather Taylor Inspired}
As an Amazon Associate, I earn from qualifying purchases. Read my full disclosure here.
Why You’ll Love This DIY Sleep Mask
- This sleep mask is an enjoyable afternoon sewing project that you can make in 30 minutes or less after work or on the weekend.
- It is perfect for beginners, as I have included a free sewing pattern to cut out. It’s also great for passionate sewists wanting something simple and quick to sew. Sometimes smaller projects can bring back your sewjo!
- This sewing project is a good way to use up smaller pieces of fabric in your stash.
- The best part about making your own sleep mask is that you can customise it to your style.

Tools & Materials You’ll Need
- Cotton or silk material (1 x fat quarter size)
- Matching thread
- 80cm x 2cm wide elastic
- Small piece of batting
- Pins
- Sewing machine
- Fabric shears
- Free eye mask sewing pattern
Eye Mask Sewing Project Tips
What Batting Should I Use?
As I tested making this sleep mask, I initially tried using two layers of batting for added cushioning. However, it was too thick and didn’t sit very nicely for my liking. I recommend sticking to a single layer of batting to make it easier to sew and turn inside out.
A thin batting is suitable for this project, something that’s 5mm or so thick.
What fabric is best for a sleep mask?
Cotton and silk fabrics work well for a sleep mask because they are breathable and soft. There are many different types of fabrics that you can experiment with depending on your preferences. If you want a sparkly sleep mask or fun fabric, you could use that on the outside and use soft cotton on the inside.
How to Sew a DIY Sleep Mask
Step 1: Print out the sewing pattern and cut out the pattern
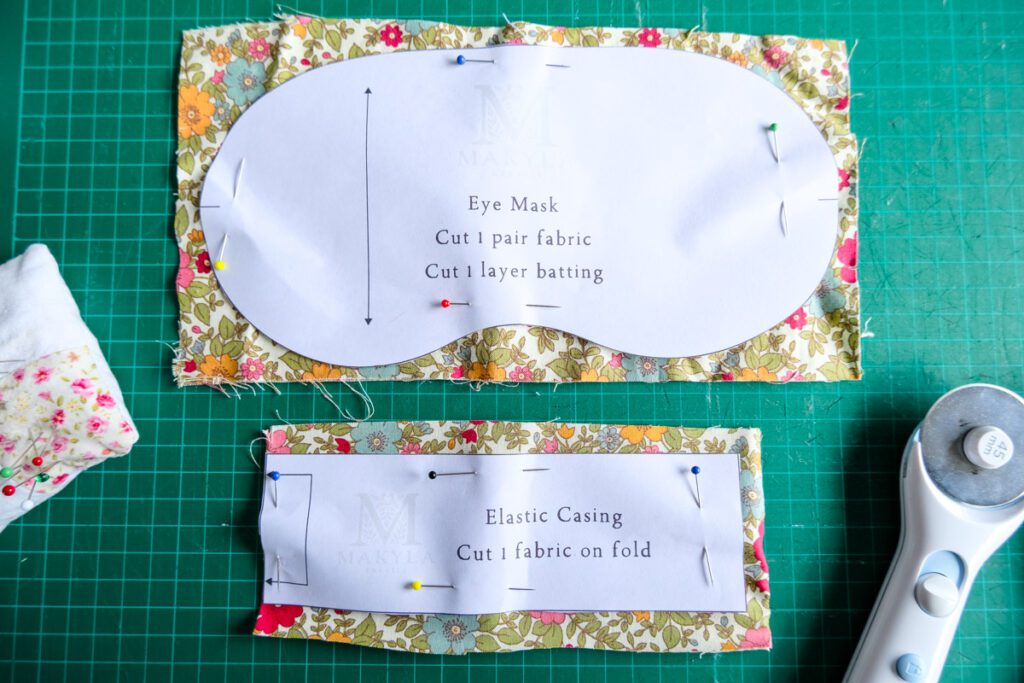
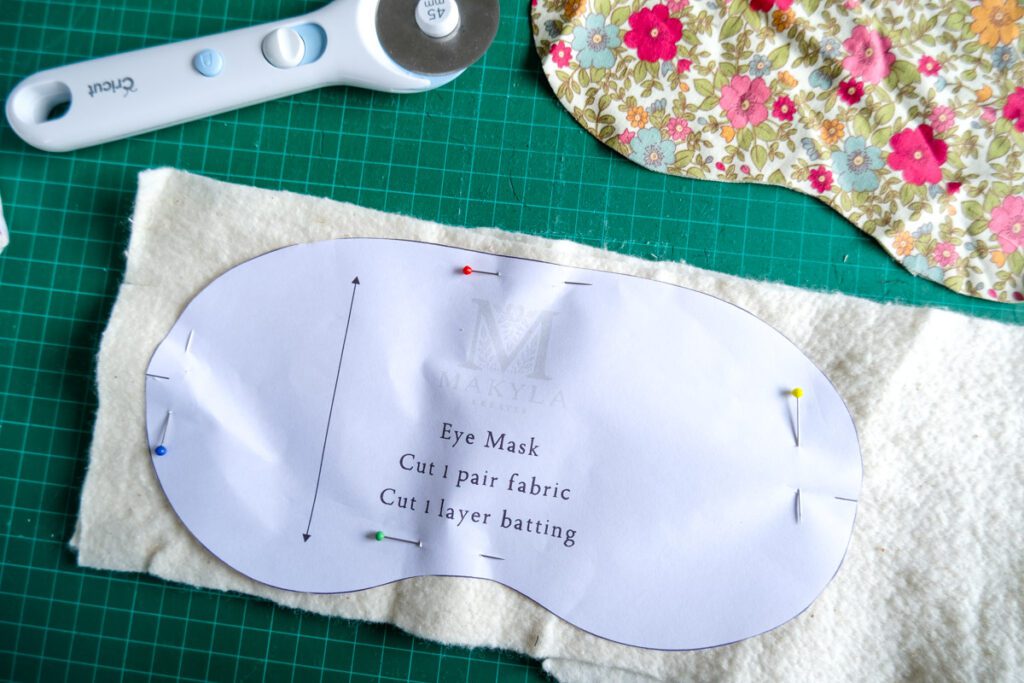
Begin by printing out my free eye mask sewing pattern. Ensure that your printer settings are set to 100% scale, and check by measuring the scale box. Cut the pattern pieces out.
Once the pattern is ready, cut out one pair of mask pieces and one elastic cover from your chosen fabric. Also, cut out one mask piece from the batting.
Step 2: Sew the elastic strap
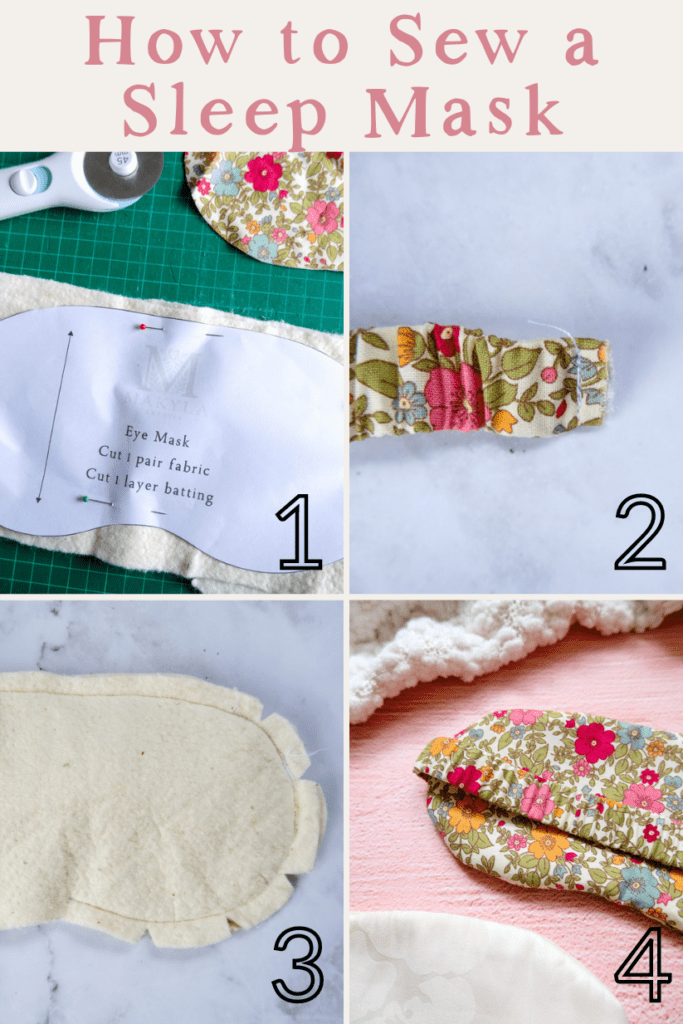
Measure and cut an 80cm long piece of 2cm wide elastic. Fold the fabric lengthwise, right sides together and sew a 5mm seam allowance. Attach a safety pin to one end of the elastic cover and pull it through to the right sides.

Attach a safety pin to one end of the elastic and thread it through the elastic cover. Be careful not to pull the elastic too far by pinning it in place. Pin the other end and remove the safety pin.

Sew along each end of the elastic to secure it in place.

Step 3: Sew the sleep mask together
Right sides together, pin the elastic to the mask. Matching the centre of the elastic width to the notch marking. Repeat for the other side of the mask. Be careful not to twist the elastic.

Place the second fabric piece on top of the elastic and pinned fabric, right sides together. Place the batting on top. Make sure to align the edges and pin all around to keep the layers in place.

Using a sewing machine, sew around the edges of the mask with a 1cm seam allowance, leaving a small opening for turning it right side out. Start at one edge, stitch around the mask, and stop 4cms before reaching the starting point. This opening will allow you to tuck in the raw edges neatly.
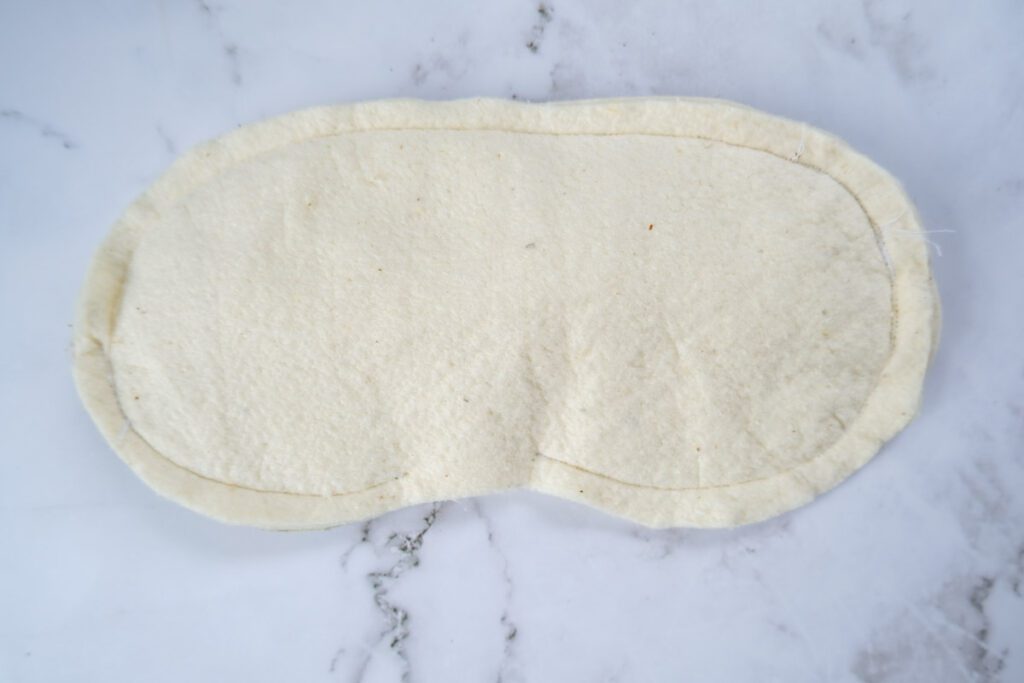
Step 4: Turn the mask right side out
Now, clip the curved edges to remove excess fabric bulk.

Turn the sleep mask to the right sides. Wiggle out the seams and get the edges sitting nice and smooth. Use an iron to help you press the mask in place, making it look crisp and professional.
Step 5: Close the seam opening
Carefully fold in the raw edges of the opening and pin them together. Use a needle and thread to hand stitch the opening closed.
Step 6: Final press
With the opening neatly closed, your DIY sleep mask is almost complete. Take a moment to press the mask with a warm iron, using a pressing cloth to protect delicate fabrics like silk. This will ensure a beautiful and professional finish.

DIY Sleep Mask Project
This DIY sleep mask sewing project is perfect for beginner sewers or anyone wanting an enjoyable, quick project. You can design and make a sleep mask that is personal to you by choosing your favourite colour or using a luxurious fabric like silk. Get in those precious zzzs with this easy hack!
DIY Sleep Mask with Free Pattern

Do you have trouble sleeping because of annoying light interruptions? I have just the thing for you – a DIY sleep mask that you can easily sew in under 30 minutes!
Materials
- Cotton or silk material (1 x fat quarter size)
- Matching thread
- 80cm x 2cm wide elastic
- Small piece of batting
- Free eye mask sewing pattern
Tools
- Pins
- Sewing machine
- Fabric shears
Instructions
- Print out the sewing pattern and cut out the pattern
Begin by printing out my free eye mask sewing pattern. Ensure that your printer settings are set to 100% scale, and check by measuring the scale box.
Cut the pattern pieces out. Once the pattern is ready, cut out one pair of mask pieces and one elastic cover from your chosen fabric. Also, cut out one mask piece from the batting. - Sew the elastic strap
Measure and cut an 80cm long piece of 2cm wide elastic. Fold the fabric lengthwise, right sides together and sew a 5mm seam allowance. Attach a safety pin to one end of the elastic cover and pull it through to the right sides.
Attach a safety pin to one end of the elastic and thread it through the elastic cover. Be careful not to pull the elastic too far by pinning it in place. Pin the other end and remove the safety pin. Sew along each end of the elastic to secure it in place. - Sew the sleep mask together
Right sides together, pin the elastic to the mask. Matching the centre of the elastic width to the notch marking. Repeat for the other side of the mask. Be careful not to twist the elastic.
Place the second fabric piece on top of the elastic and pinned fabric, right sides together. Place the batting on top. Make sure to align the edges and pin all around to keep the layers in place.
Using a sewing machine, sew around the edges of the mask with a 1cm seam allowance, leaving a small opening for turning it right side out. Start at one edge, stitch around the mask, and stop 4cms before reaching the starting point. This opening will allow you to tuck in the raw edges neatly. - Turn the mask right side out
Now, clip the curved edges to remove excess fabric bulk. Turn the sleep mask to the right sides. Wiggle out the seams and get the edges sitting nice and smooth. Use an iron to help you press the mask in place, making it look crisp and professional. - Close the seam opening
Carefully fold in the raw edges of the opening and pin them together. Use a needle and thread to hand stitch the opening closed. - Final press
With the opening neatly closed, your DIY sleep mask is almost complete. Take a moment to press the mask with a warm iron, using a pressing cloth to protect delicate fabrics like silk. This will ensure a beautiful and professional finish.
