With Halloween approaching, it’s time to get into the spooky spirit! And what better way to do that than with these super cute and easy felt pumpkin treat bags? Trust me. They’re a hit!
These easy DIY pumpkin treat bags are perfect for parties or handing out to trick-or-treaters. Plus, they’re super affordable to make and can be whipped up in no time.
The best part about creating these Halloween treat bags is that you don’t need to be a sewing expert. It’s a great activity to do with your kiddos. You could also add these spooky ghost lollipops to your trick-or-treat activities!
You only need a few sheets of felt, glue and your favourite candy to fill them with. I have even included a free pumpkin template printable to make this project quick and easy.
You will also love these 30 DIY pumpkin crafts if you enjoy getting creative for Halloween.
As an Amazon Associate, I earn from qualifying purchases. Read my full disclosure here.
Why You Will Love These Pumpkin Treat Bags
- These are easy to make and perfect for kids to get creative.
- Affordable to make with just a few craft supplies like felt and hot glue.
- This is a fun, unique trick-or-treat bag.
Materials You’ll Need
- 1 x sheet felt for each colour: orange, green, black, brown
- Free pumpkin template
- Scissors
- Hot glue gun and sticks
- Candy to fill

Can I Use PVA Glue Instead?
Yes! A craft glue will also work to help stick the felt together. Ensure it’s a strong hold that works on felt or fabric materials. This is a safe alternative for younger kids if you don’t want them handling a hot glue gun.
How to Make Felt Pumpkin Treat Bags
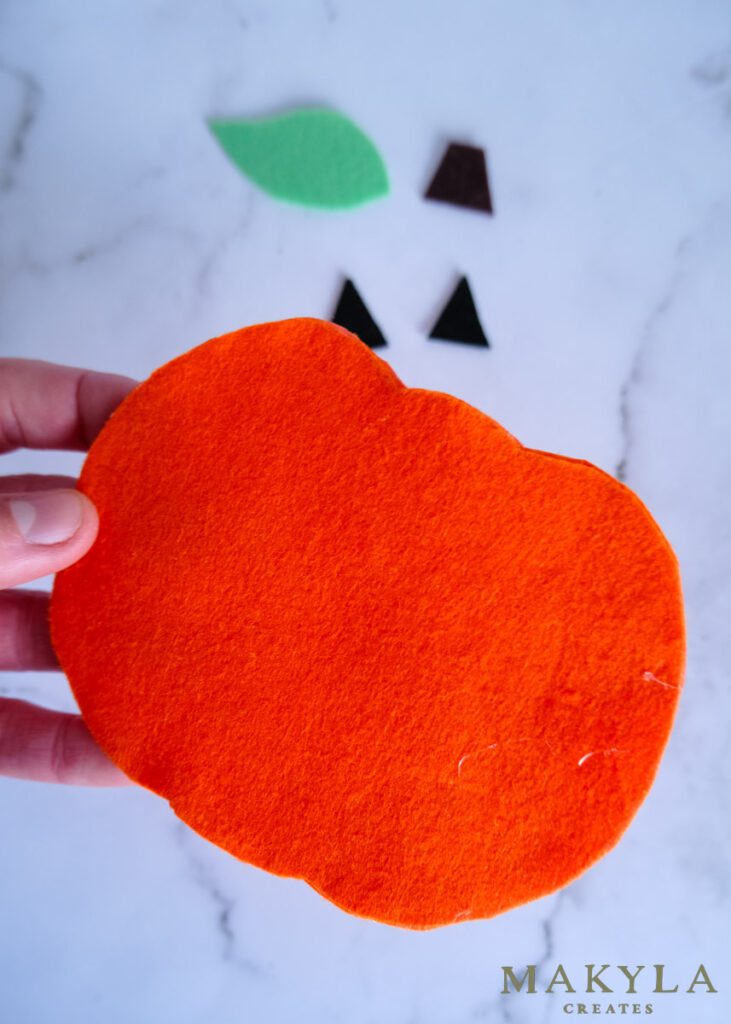
Step 1: Print the templates and cut out the felt
Begin by printing out my free pumpkin template. Ensure that your printer settings are set to 100% scale. Cut the pattern pieces out.
Once the pattern is ready, trace around the pieces onto the felt.
Cut list:
- 2 x pumpkins & 1 x pocket from the orange felt
- 1 x leaf from the green felt
- 1 x stalk from the brown felt
- 1 x face from the black felt

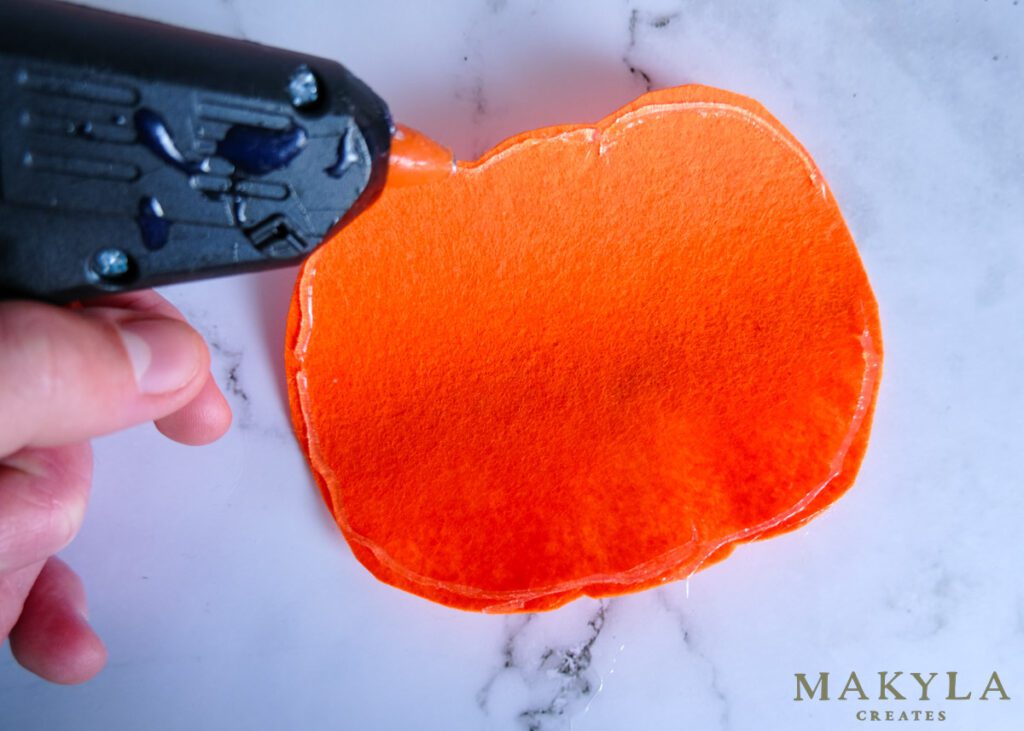
Step 2: Glue the pumpkin together
To create a sturdy base, I hot glued the two pumpkins together to make a thicker pumpkin. To do this glue around the edges and press the two layers together until dry.
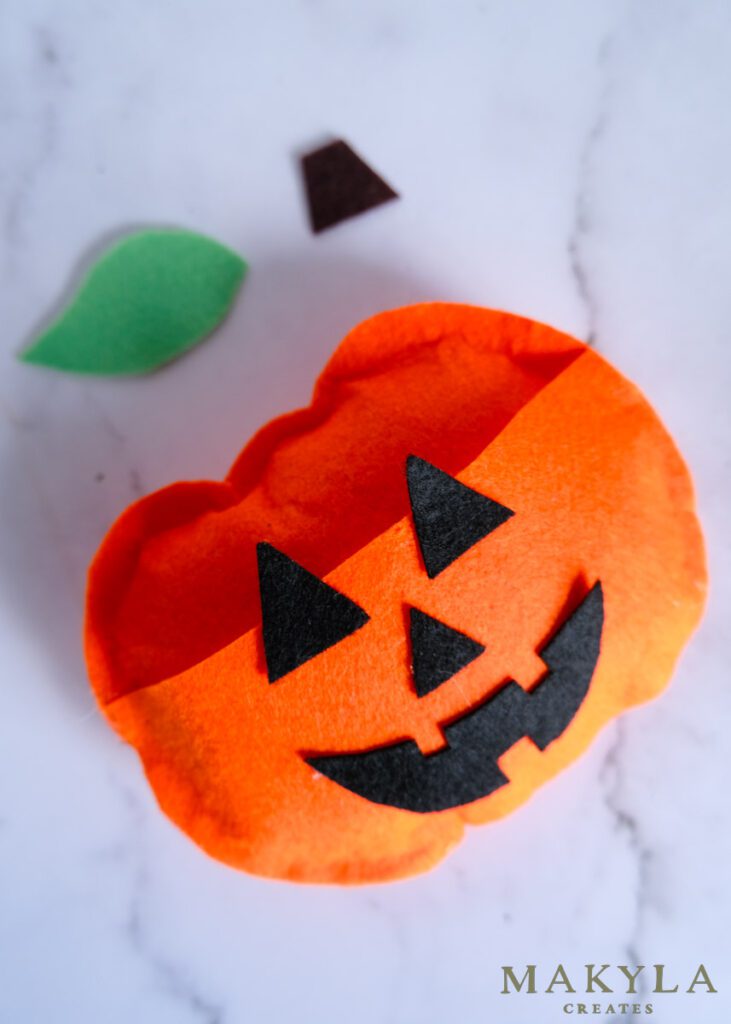
Step 3: Attach the face
Next, add glue to the face and stick it onto the pumpkin pocket. I added glue to the bottom edge of the eyes as they hang over the pocket slightly.


Add some glue around the out edges of the pumpkin pocket (not along the top edge). Stick this to the pumpkin, lining up the edges and holding it in place until the glue dries.
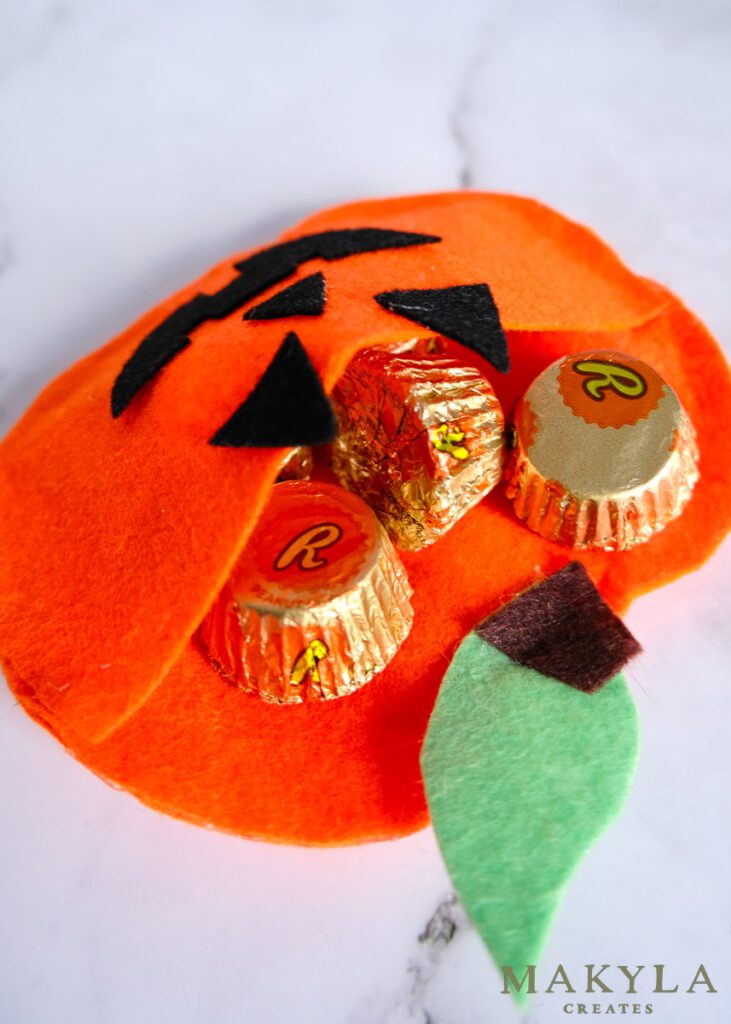
Step 4: Glue on the leaf and stalk
Lastly, add some glue to the inner corner of the leaf and stick it to the top middle of the pumpkin. Then glue the bottom edge of the stalk and stick this on top of the leaf.
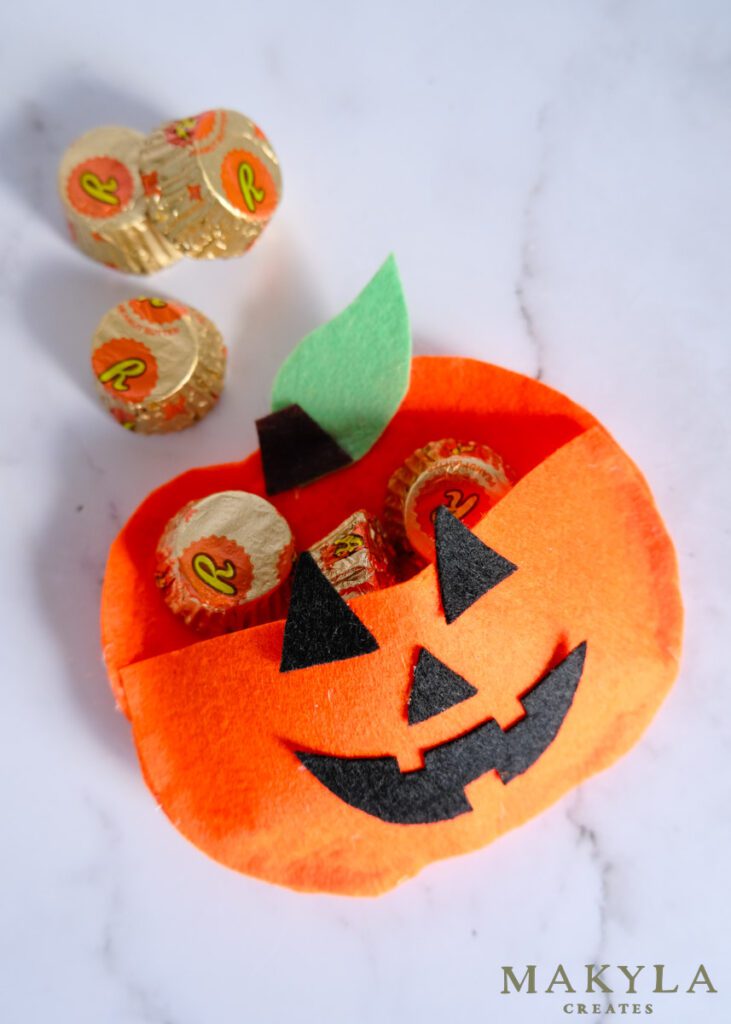
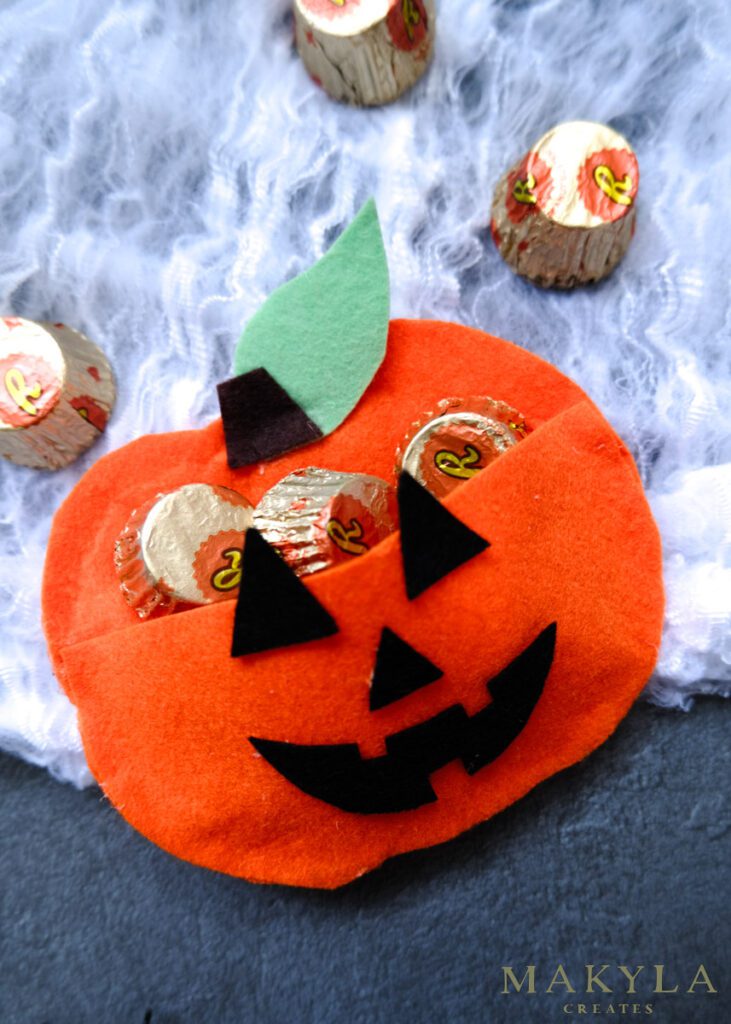
Now you can add your favourite candy to the pocket!

Pumpkin Treat Bags
Creating Halloween treats is a fun and creative activity for kids and adults. You can make these spooky and delicious ghost lollipops with just a few simple steps, perfect for Halloween parties or trick-or-treating. Happy Halloween!