Learn how to make a tiered maxi dress with this beginner-friendly step by step tutorial. This summer dress is perfect for over your bikini at the beach, going out for dinner and even just lounging around the house!

If you are anything like me you probably love simple, comfortable clothing that you feel effortlessly chic wearing! This dress ticks all of these boxes.
If you have just started sewing this diy tiered maxi dress is a really great staring point.
If you think you need a clear guide on how to sew each step you can check out my Chloe Maxi Dress sewing pattern.
This dress pattern is beginner friendly with illustrated instructions and a video sew-along guide.
You can find some helpful tips on how to thread up your sewing machine or how to wind up the bobbin before you start this project.
You can find the Chloe Tiered Maxi Dress pattern in my digital pattern shop.

How to Make a Tiered Maxi Dress
The first step is to make a pattern that fits you. To do this you can either draw onto paper or straight onto your fabric. I personally prefer to use paper, then you can make this dress again in the future.
I have shared the steps below along with illustrations for you to follow.
If you do get stuck just comment below and I can help you out, no worries.

Making the Tiered Dress Pattern
To start you will need to use a dressmaker tape and measure the fullest part of your bust.
Write this down and add 2cm. For example: Bust = 95cm + 2cm = 97cm. We will call this measurement the dress bust.
How to Draft the Bodice Pattern
These instructions are to draft the front bodice.
- Using a piece of A3 paper, fold it in half and measure out 1/4 of the dress bust measurement from the folded edge. Example = 24.25cm. This is point A.
- From point A measure down 20cm, this is point B. This is the length of the front bodice. Now take the line back to point C (the fold of the paper) to create a rectangle.
- Along the top-line measure across 15cm, this is point D. Measure down 10cm from point A to find point E.
- Draw a slight curve from point D & E to create the armhole curve. Add a 1cm seam allowance on the outer edge of the line.
- Cut the front bodice pattern piece out.
These instructions are to draft the back bodice.
- To draft the back bodice pattern follow step 1 for the front bodice. This is now point F.
- From point F measure down 15cm. This is the length of the back bodice, this is point G. Now take the line back to point H (the fold of the paper) to create a rectangle.
- Measure in 8cm from point F to point I, mark point. Measure down 5cm from point F to find point J.
- Draw a slight curve from point I to J to create the armhole curve. Add a 1cm seam allowance on the outer edge of the line.

How to Draft the Dress Tiers
There are three tiers to form the body of this dress. These are just rectangles.
Its best to just measure and cut these out directly on the fabric rather than making pattern pieces but do what works best for you!

To work out the correct measurements to fit your bodice size follow the equation below.
Dress bust x 1.5 = width for tier 1
Tier 1 x 1.5 = width for tier 2
Tier 2 x 1.5 = width for tier 3
You may need to divide up these tier panels to fit onto your fabric width.
These are the length measurements I followed for my tiers below.
Tier 1 = 25cm
Tier 2 = 30cm
Tier 3 = 35cm

If you have limited fabric you could just sew one long tier to create a simple gathered maxi dress.
Materials & Tools
- 3m cotton or linen fabric
- Measuring tape
- Scissors
- Pins
- Sewing machine
- A3 paper & pencil
Cut List
- Front Bodice – Cut x 1 Pair
- Back Bodice – Cut x 1 Pair
- Straps – Cut x 2 (30cm x 4cm strips)
- Tier 1 – Cut as required
- Tier 2 – Cut as required
- Tier 3 – Cut as required
How to Sew a Tiered Maxi Dress
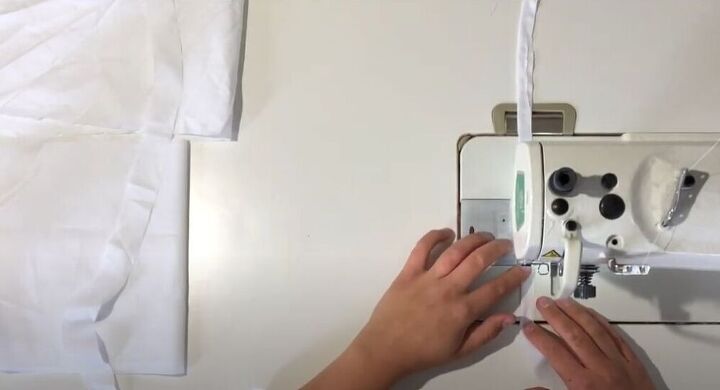
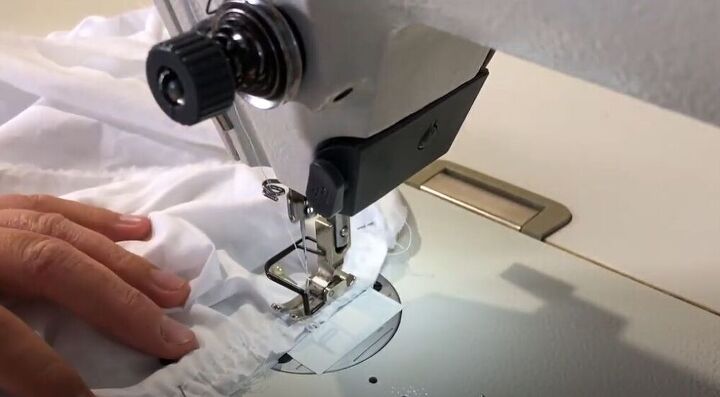
Step 1: Straps
Fold the straps in half and sew a 1cm seam allowance, trim 5mm off the seam allowance.
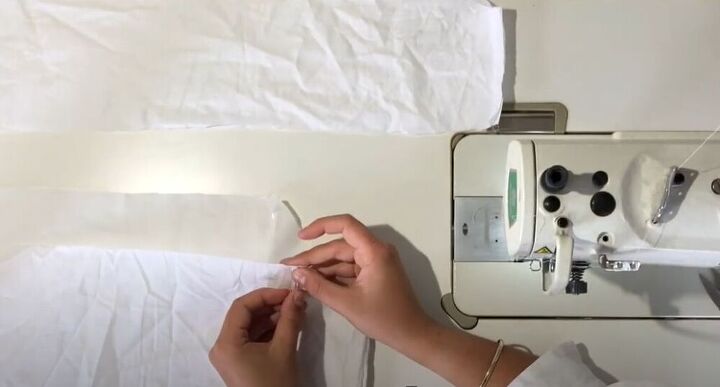
Use a safety pin to turn the straps through to the right sides.
Press flat with an iron.
Tip: Edge stitch down the sides of these straps if you want extra detail.
Step 2: Sewing the bodice
You will have two bodice pairs. One pair of front bodices & one pair of back bodices.
Place front & back bodices right sides together so you have two sets. One will be the main outer and the other is the lining.
Pin the side seams in place and sew together with a 1cm seam allowance.

Grabbing one of the straps measure 1cm from the armhole seam on the front bodice and pin the strap in place.
Untwisted the strap and flip it over to the back bodice.
Pin the other end of the strap 1 cm from the armhole.
Repeat for the other strap.
Tip: This step ensures that the straps won’t get caught in the seam when bagging out the bodice.
Attach the straps onto the bodice with a 5mm seam allowance.
Place the outer and lining bodices, right sides together, and pin around the edges.
Leave the bottom edge open. Sew the bodice lining and outer together with a 1cm seam allowance along the front, back, and armhole edges.
Cut some small nicks along the armhole seam to reduce the seam bulking.
Turn the bodice to the right sides and press.
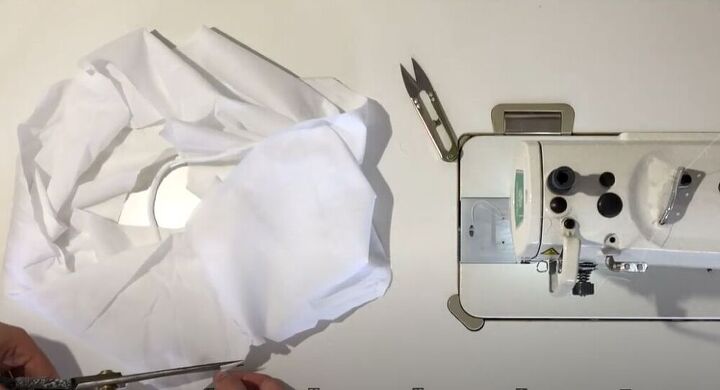
Step 3: Sewing the Tiers
Depending on how long your tiers are you may need to join some panels together, think of these as the side seams.
Once all of the side seams are sewn you should have continuous panels for each tier.
Tip: Don’t forget to overlock the side seams before gathering the tiers.
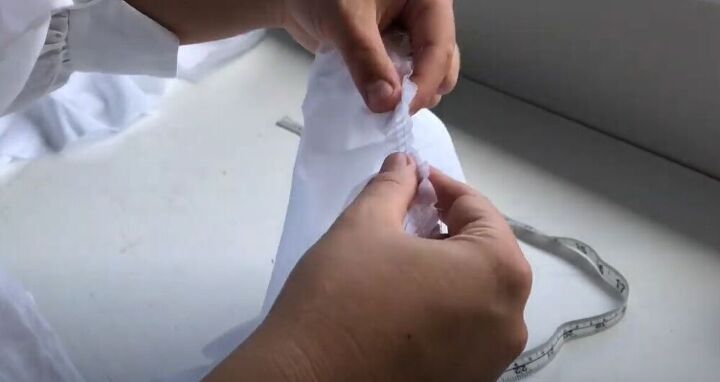
The next step is to gather the top edges of the tiers. I have a full tutorial on how to sew gathers that you can read before continuing with this tutorial.
Change the stitch length on the sewing machine to the longest length around 4-5.
Begin sewing one continuous row of baste stitching 5mm from the raw edge.
Sew another row 5mm from the last row of stitching.
Pull two end tails to gather up the fabric until the tier fits onto the bodice hem.
Repeat this for all three tiers matching the gathers to the bottom of the appropriate seam.
Pin the tiers to the appropriate seams, moving the gathers to sit evenly then attach with a 1cm seam allowance.
Tip: By appropriate tiers I mean tier one will attach to the bottom of the bodice. Tier two will attach to the bottom of tier one and so forth.
Overlock all of the seams.
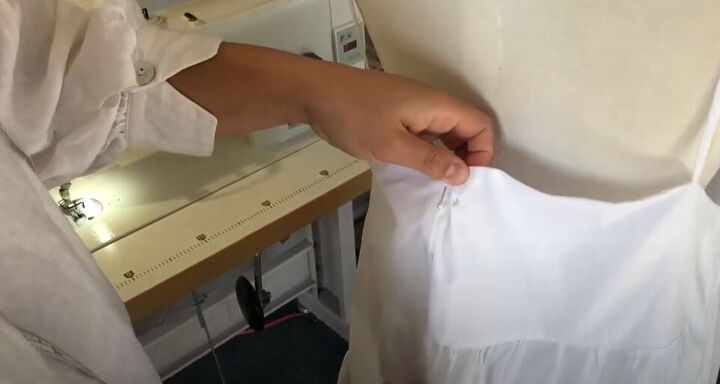
Step 4: Sewing the bodice darts
To create a bit of shape I suggest adding darts to the front bodice.
Find halfway on the front armhole and mark by pinning.
Measure 1cm from each side of the pin and fold into a dart.
Pin the folded dart in place.
Measure the dart length on the inside of the bodice to roughly 12cm.
Tip: I suggest trying on the dress and seeing where the dart sits best on your body.
Mirror this dart onto the other side of the bodice and sew.
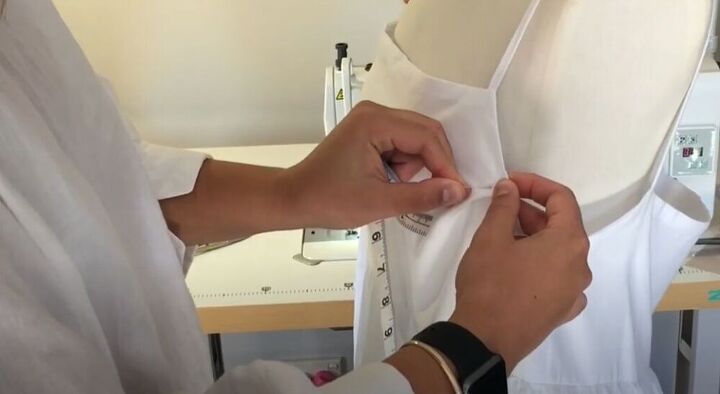
Step 5: Sewing the back dart
To stop the back from gapping add a box pleat to the centre back of the bodice.
Find the centre of the back bodice and mark with a pin.
Measure 1cm on either side and fold in towards the pin.
Pin both folds of the box pleat down and edge stitch in place.
Step 6: Sewing the hem
Fold the bottom edge of the dress up 1cm and press.
Fold again over itself and pin in place.
Edge stitch the hem in place.

Give your dress a final press and you can wear it!
If you enjoyed this sewing tutorial, let us know in the Comments below!
DIY Tiered Maxi Dress

Learn how to make a tiered maxi dress with this beginner-friendly step by step tutorial. This Summer dress is perfect for over your bikini at the beach, going out for dinner and even just lounging around the house!
Materials
- 3m cotton or linen fabric
- Matching thread
Tools
- Measuring tape
- Scissors
- Pins
- Sewing machine
- A3 paper & pencil
Instructions
- Fold the straps in half and sew a 1cm seam allowance. Use a safety pin to turn the straps through to the right sides. Press flat with an iron. You could edge stitch down the sides of these straps if you want extra detail.
- You will have 2 pairs of the front & back bodice pieces. Place front & back bodices right sides together so you have two sets. Pin the side seams in place and sew together with a 1cm seam allowance.
- Grabbing one of the straps measure 1cm from the armhole seam on the front bodice and pin the strap in place. Untwisted the strap and flip it over to the back bodice. Pin the other end of the strap 1 cm from the armhole.
- Repeat for the other strap. This step ensures that the straps won’t get caught in the seam when bagging out the bodice.
- Attach the straps onto the bodice with a 5mm seam allowance.
- Place the outer and lining bodices, right sides together, and pin around the edges. Leave the bottom edge open. Sew the bodice lining and outer together with a 1cm seam allowance along the front, back, and armhole edges.
- Cut some small nicks along the armhole seam to reduce the seam bulking. Turn the bodice to the right sides and press.
- Depending on how long your tiers are you may need to join some panels together. Think of these as the side seams. Once all of the side seams are sewn you should have continuous panels for each tier. Don’t forget to overlock the seams.
- Change the stitch length on the sewing machine to the longest length around 4-5 and sew one continuous row of baste stitching 5mm from the raw edge. Sew another row 5mm from the last row of stitching. Pull two end tails to gather up the fabric until the tier fits onto the bodice hem. Repeat this for all 3 tiers matching the gathers to the bottom of the appropriate seam.
- Pin the tiers to the appropriate seams, moving the gathers to sit evenly then attach with a 1cm seam allowance. Overlock all of the seams.
- To create a bit of shape I suggest adding darts to the front bodice. Find halfway on the front armhole and mark by pinning. Measure 1cm from each side of the pin and fold into a dart. Pin the folded dart in place. Measure the dart length on the inside of the bodice to roughly 12cm. I suggest trying on the dress and seeing where sits best.
- Mirror this dart onto the other side of the bodice and sew.
- To stop the back from gapping add a box pleat to the centre back of the bodice. Find the centre of the back bodice and mark with a pin. Measure 1cm on either side and fold in towards the pin. Pin both folds of the box pleat down and edge stitch in place.
- Fold the bottom edge of the dress up 1cm and press. Fold again over itself and pin in place. Edgestitch the hem in place.
Notes
- Try the dress on as you sew to make sure it fits you well.
- Use an overlocker to get neatly finished seams.
- Use a lightweight cotton poplin or linen to get a beautiful floaty style.


Hi wonder
if I can buy the tiered maxi dress pattern
Let me know.
Hi Rosa, I am hoping to make this pattern next. If you sign up to my mailing list I will notify you with updates!
Thanks, Mak x
I made this over the last couple of days and it turned out great. Thanks for sharing.
I just wanted to drop you a note to say that the very first sewing step isn’t very clear. I think you mean you need to cut 2x 30cm by 4cm strips, fold in half to get 2cms and then you can sew a 1cm seam allowance.
Hi Stacey! I’m so excited to hear you made this maxi dress! Thanks so much for your feedback – you are absolutely right I have noted down the wrong strap measurement. I will update this now. Thanks! Mak x
Hi, I am wondering if the front and back bodice pieces should be the same height where they meet. Points E-B are a different length than J-G so I am not sure how to line them up correctly. Thanks! I really appreciate being able to make a pattern with my exact measurements.
Thank you for sharing this pattern! I’ve been looking for a tiered maxi pattern similar to this so was pleased to find yours. I am keen to add a fourth tier to the bottom. Going by your formula tier 4 = tier 3 x 1.5 (width) and 40cm (length) – do you think this will work? I’m guessing I will need about 4 metres of fabric – good idea making it in a cotton poplin!
Hi Samantha, thank you for your lovely comment. I think that will work great. I hope you have had time to try it now. Let me know how you get on 🙂 xx
Hi! I pinned the straps to the bodice and noticed that they seemed a lot shorter than the ones shown in the video example. The 30cm length almost seems too short. Did you modify the straps in the video or did I miss a step? Thanks!