Are you feeling thrifty? Why not try your hand at a furniture makeover? I’ll show you how to repaint a dresser to get results you’ll be thrilled about.
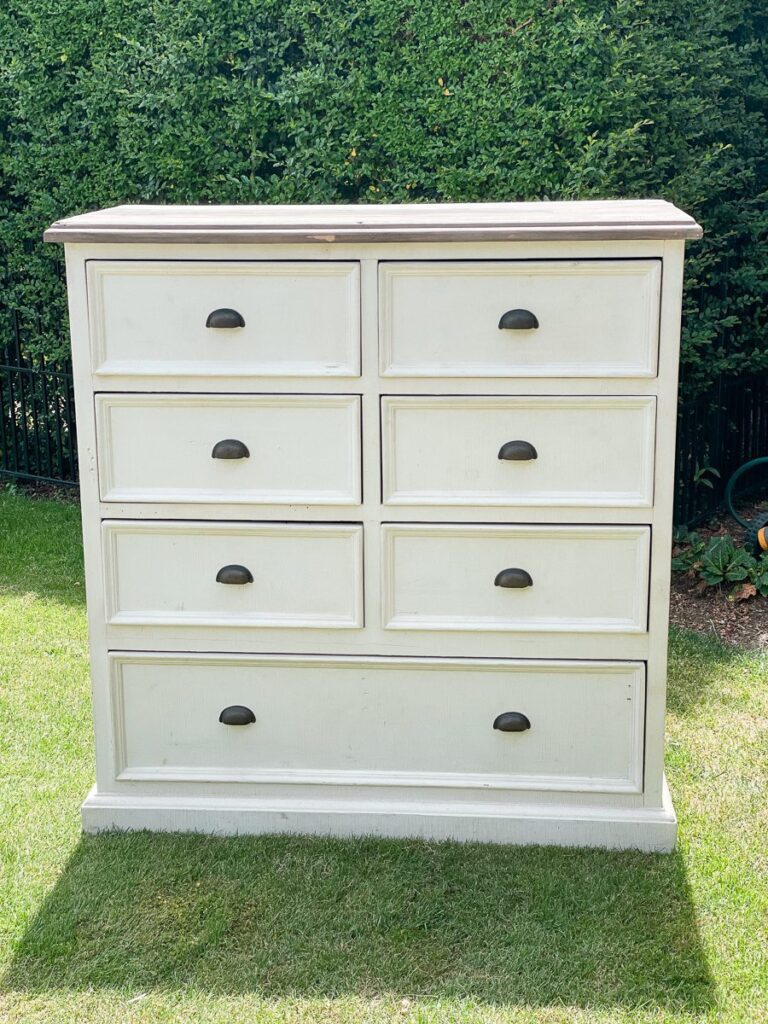
We sold our large furniture when we moved cities last year, so I went online and found this dresser for $100. Weirdly enough, the seller lived around the corner from our house. When I was searching online, I knew this dresser had the potential to become a statement piece in our bedroom.
This Post May Contain Affiliate Links. Please Read Our Disclosure Policy.
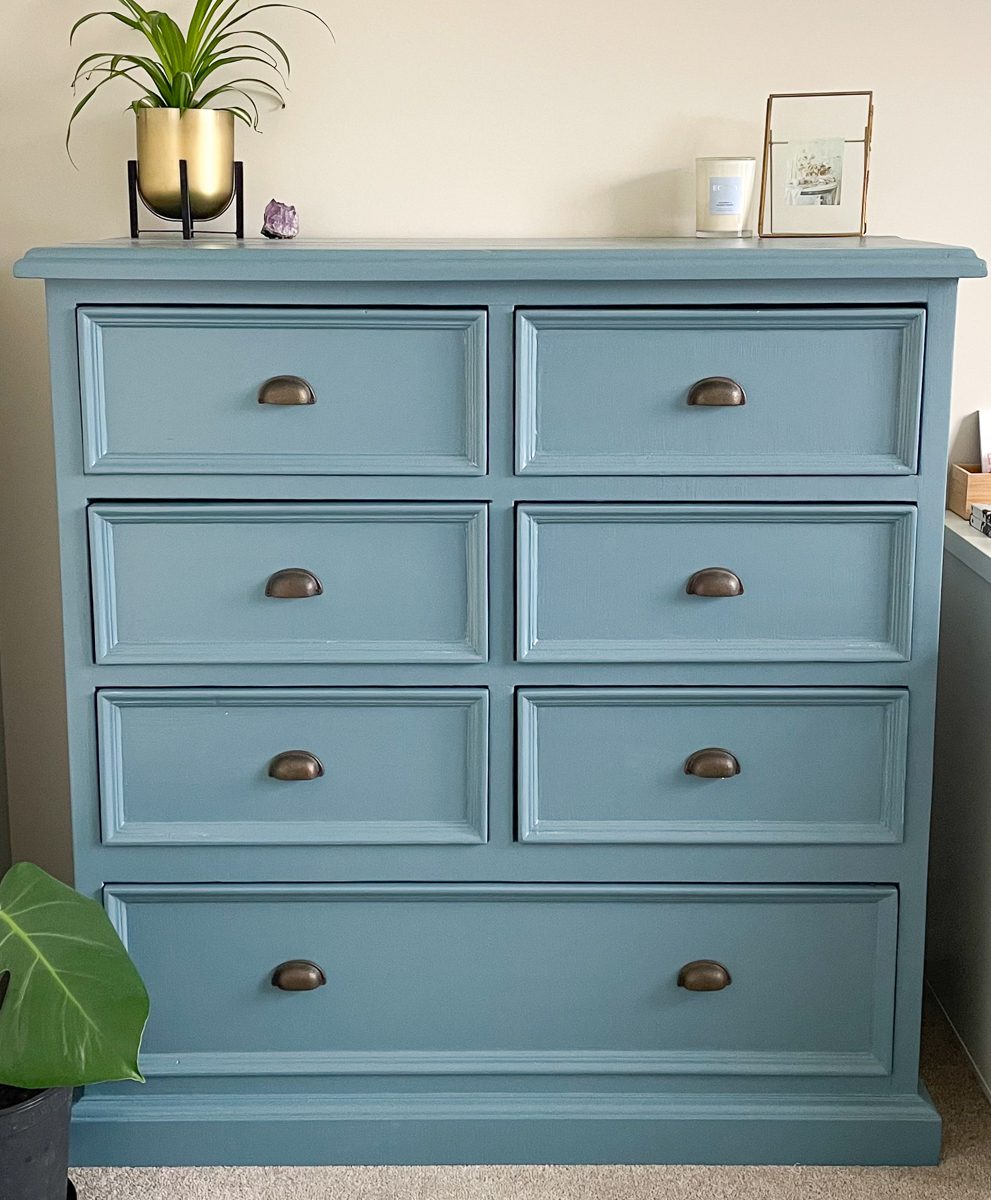
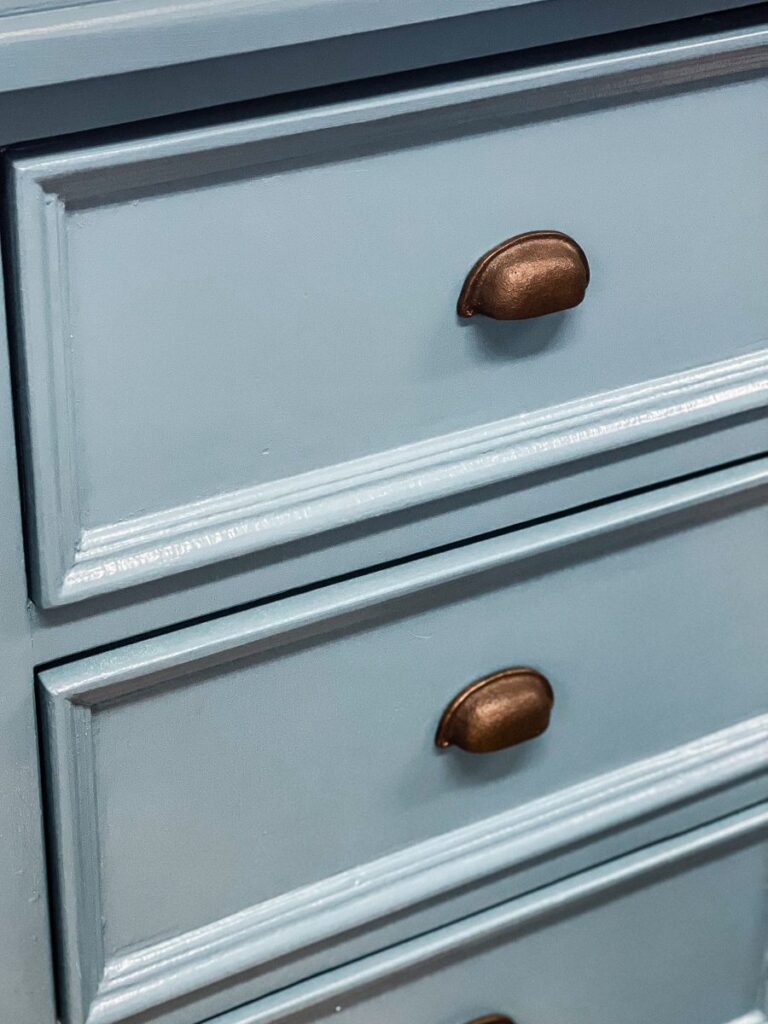
We had a warm long weekend and I’d been itching to repaint this wooden dresser since picking it up. So off to the hardware store we went. My main goal for this dresser was to create a timeless piece that showcases the brass fixtures nicely.
We decided on this rich blue called Wayward Wind by PPG Paints.
Why You’ll Love repainting your Dresser
- You will save money
- Its always rewarding to give new life to something old instead of throwing it away
- It will freshen up your home
- You can make your home exactly your style
Supplies You Will Need
- Electric Sander – Trust me when I say to use an electric sander. This is a lot of sanding work. This part is important because it will ensure the paint lasts a long time without bubbling or chipping. You want the wood to be smooth and the old paint or stain removed enough to get a clean finish on your dresser.
- Face mask and eye protection – There will be plenty of dust, so it’s safe to wear glasses and a mask.
- 220 grit sandpaper – This will attach to your electric sander.
- Paintbrush – A small one to paint over non-flat areas will work well.
- Small roller and tray – I used a mini roller to easily roll the paint onto the front of the dresser drawers.
- Primer – This is important to get the best results. I primed my dresser two times before painting it with the colour.
- Paint – You can use many types of paint, but I chose to stick with a semi-gloss acrylic. You could try chalk paint if you want a more matte feel.
What Kind of Paint Do You Use on a Dresser?
This really depends on your style. Common options are acrylic glossy or semi-gloss and chalk paint. I went for a semi-gloss finish to get a nice shine but nothing too overwhelming. Semi-gloss paint on this style of dresser, with the brass fittings, makes it modern and timeless.
Do You Have to Sand a Dresser Before Painting?
Yes, don’t get excited and decide to skip this step. It’s important to get the best-finished results. Older furniture could have layers of paint that you aren’t aware of. These layers will chip and flake overtime even with a new fresh coat of paint.
If you don’t sand your dress before painting, it may flake soon after. This would be counterproductive, as you would need to sand and repaint the dresser. It also wastes your money on paint and supplies. Prepping is key!
Tips to pick the right paint colours for your dresser
I always find picking paint colours, fixtures, and other details the most exciting part of these projects. It can be easy to feel overwhelmed by choice and forget about important details like the style of your home when choosing the finer details.
Here are my top tips
- Pinterest is your best friend when planning any projects. It helps you stay focused on the style or mood you want to convey. I love to make mood boards, which I did for this project.
- Think about long-term use. How long will you have this piece for? Do you want to paint the dresser trendy or modern for a timeless look? Do the fixtures you like match the colours?
We kept in mind that this year, we will hopefully be moving into our first home, which we want to renovate to our own style. Thinking about wall paint colours and tones in the room will help you make a guided decision. - If you have useable fixtures, why not let them guide your colour choices as well?
How do you paint furniture without brush marks?
- Sand the dresser well, and be sure to remove all the excess dust
- Use a small roller
- Primer the dresser with a roller
- Only use a brush to cut in or to paint areas the roller can’t paint
- Paint 2-3 coats of paint
- You could also sand between coats of paint, but I didn’t do this for my finished look
Take a photo of the before! Don’t skip this step, it’s so much fun comparing the old to the new.
How to Paint Your Dresser
1. Take the dresser outside for sanding. Empty all the drawers and remove handles if there are any. Remember to place these in a safe place to reattach later. I put mine into a snap lock bag.
2. Use the electric sander with the 220-grit sandpaper and sand down the dresser. This will take some time, so patience is key. I sanded in sections, beginning with the body of the dresser and then each individual drawer. This way, I didn’t miss any spots.
3. If there are any holes or blemishes in the wood, you could use a gap filler to close these up before priming. Let this dry, then sand it smooth.
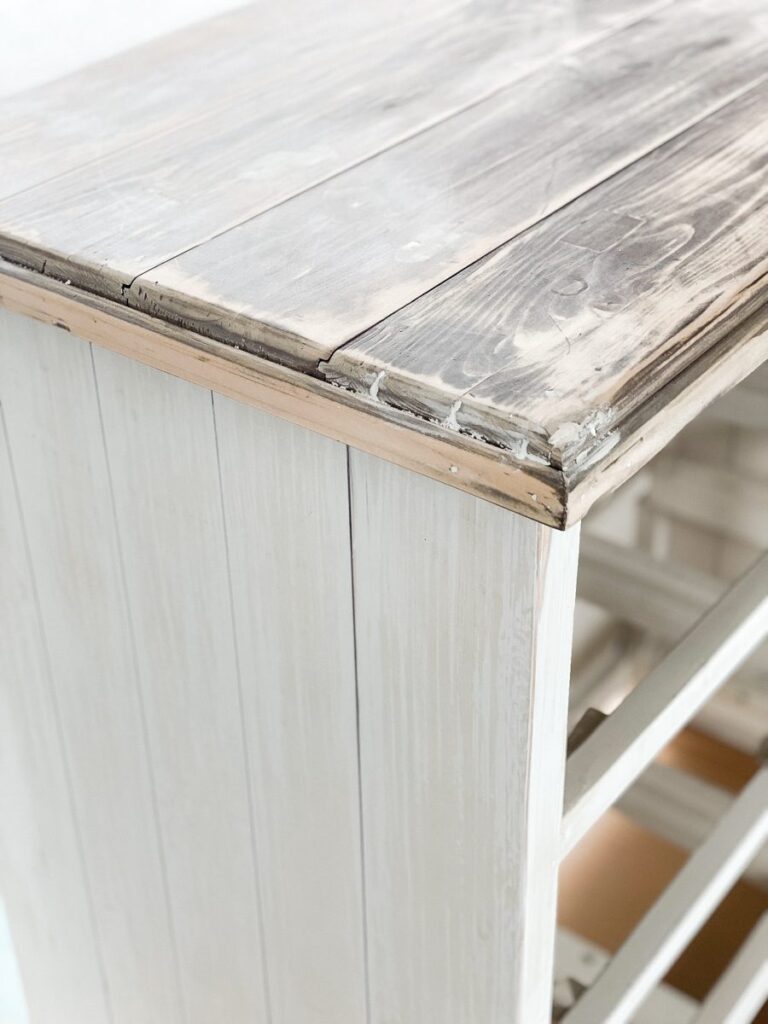
4. After all of the sanding is complete, remove all of the excess dust with a damp rag.
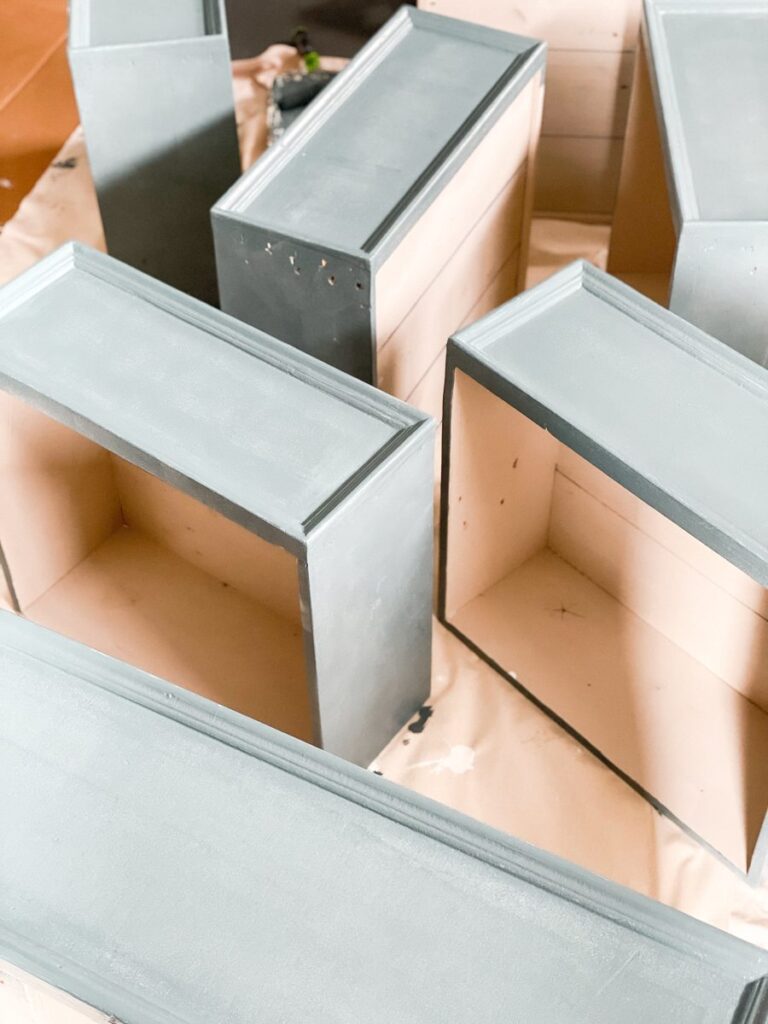
5. Now, you want to prime-paint the wooden dresser with the roller. I like to line my rolling tray with aluminum foil, which helps with cleaning up later. Prime the entire dresser. Then repeat one more time once the first coat is dry. Darker colours may require 3-4 coats of primer, but this is only necessary if you are repainting the dresser a light colour.
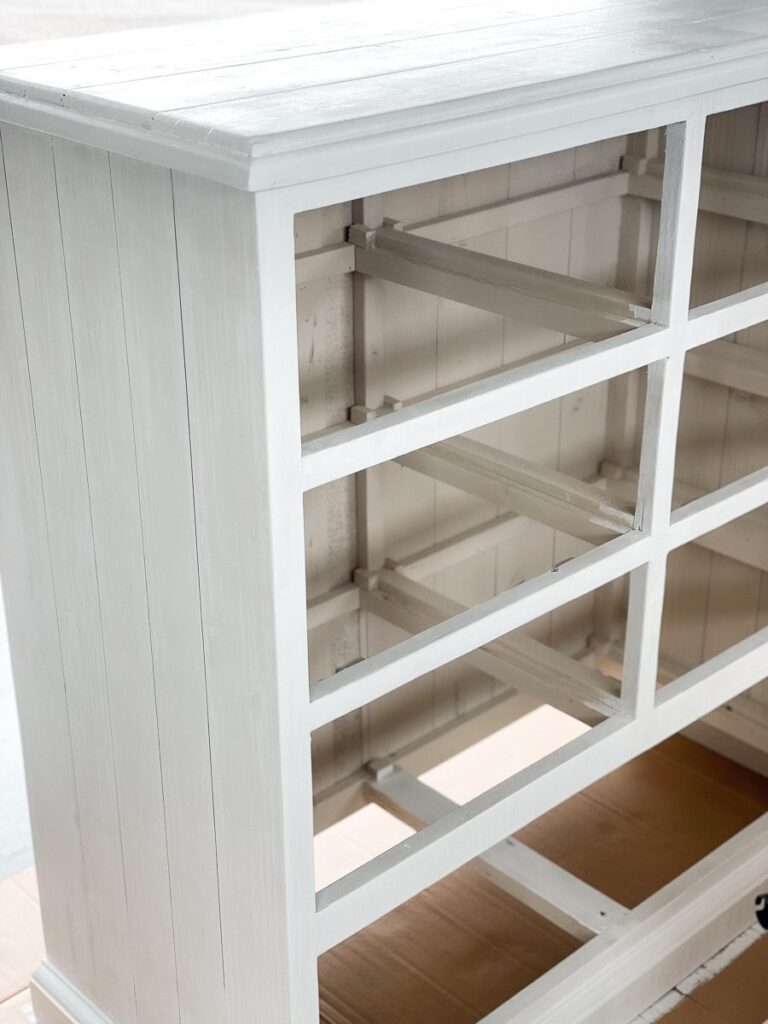
6. Begin painting the dresser with paint—the fun part! Follow the same steps above by lining your roller tray and coating the dresser with paint. I painted the edges with a brush and rolled the rest. I added two coats of paint, which I recommend.
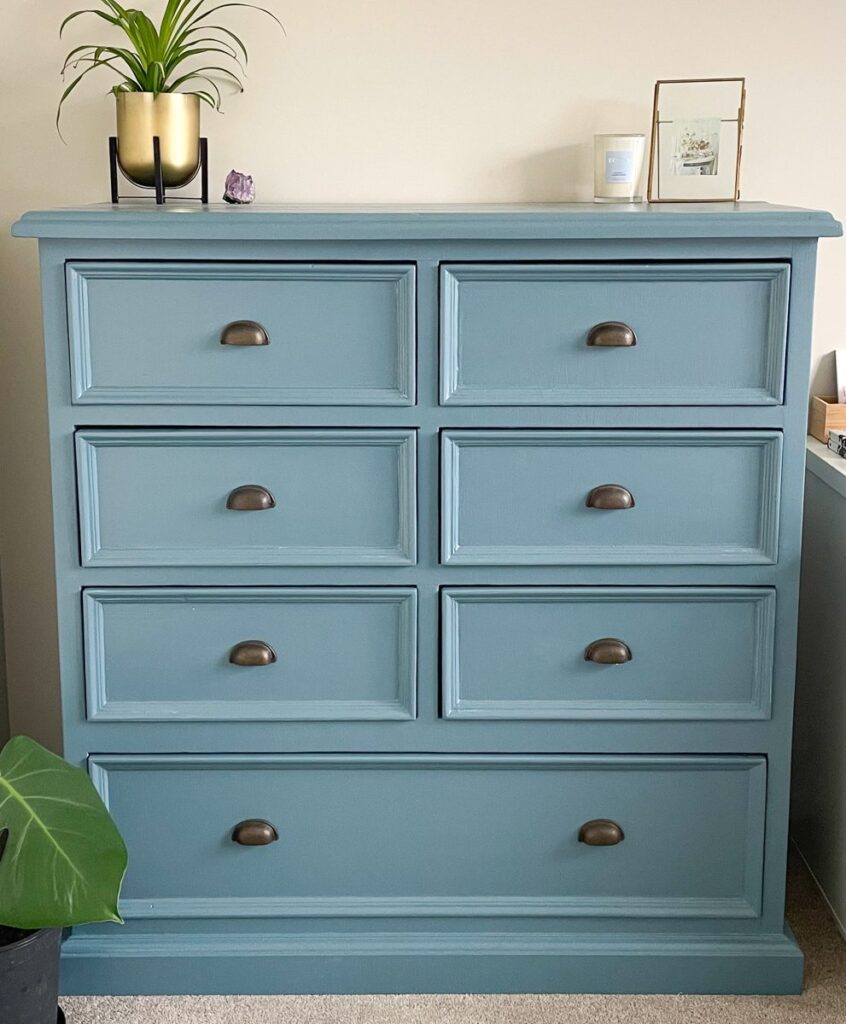
Let the dresser paint dry, then reattach the handles, and you’re done.
Painting your dresser is such a great way to repurpose what you already own while saving money.
In the comments below, I would love to know if you have a dresser you want to make over.
More Home DIY Ideas
How to Repaint a Dresser
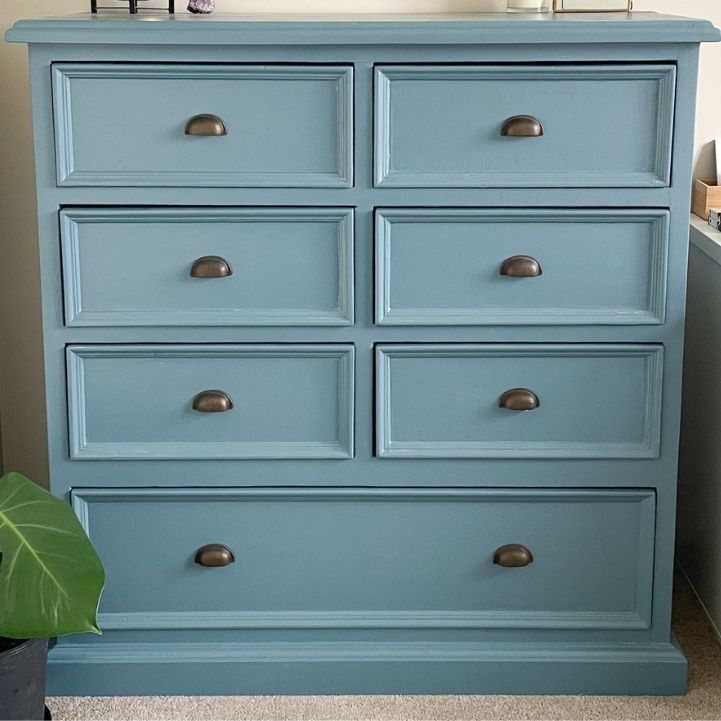
Feeling thrifty? Why not try your hand at a furniture makeover. I'll show you how to repaint a dresser to get results you'll be thrilled about.
Materials
- 220 grit sand paper
- Primer
- Paint
Tools
- Paint brush
- Small roller and tray
- Electric Sander
- Face mask and eye protection
Instructions
- Take the dresser outside for sanding. Empty out all the drawers and begin to remove handles if there are any. Remember to place these in a safe place to reattach later. I put mine into a snap lock bag.
- Use the electric sander with the 220 grit sandpaper and begin sanding down the entire dresser. This will take some time so patience is key. I sanded in sections beginning with the body of the dresser then each individual drawer. This way I didn't miss any spots.
- If there are any holes, or blemishes in the wood you could use a gaps filler to close these up before priming. Let this dry then sand it smooth.
- After all of the sanding is complete remove all of the excess dust with a damp rag.
- Now you want to prime paint the wooden dresser with the roller. I like to line my rolling tray with aluminium foil. This helps with cleaning up later. Prime the entire dresser all over. Then repeat one more time once the first coat is dry. Darker colours may require 3-4 coats of primer but this is only necessary if you are repainting the dresser a light colour.
- Begin painting the dresser with paint, the fun part! Follow the same steps above by lining your roller tray and begin coating the dresser with paint. I painted the edges with a brush then rolled the rest. I added two coats of paint, which I recommend doing.
- Let the dresser paint dry then reattach the handles and you're done.
Notes
- Pinterest is your best friend when planning any projects. It helps you stay focused on the style or mood you are wanting to convey.
- Sand the dresser well and be sure to remove all the excess dust
- Use a small roller
- Primer the dresser with a roller
- Only use a brush to cut in or to paint areas the roller can't paint
- Paint 2-3 coats of paint
- You could also sand between coats of paint but I didn't do this for my finished look