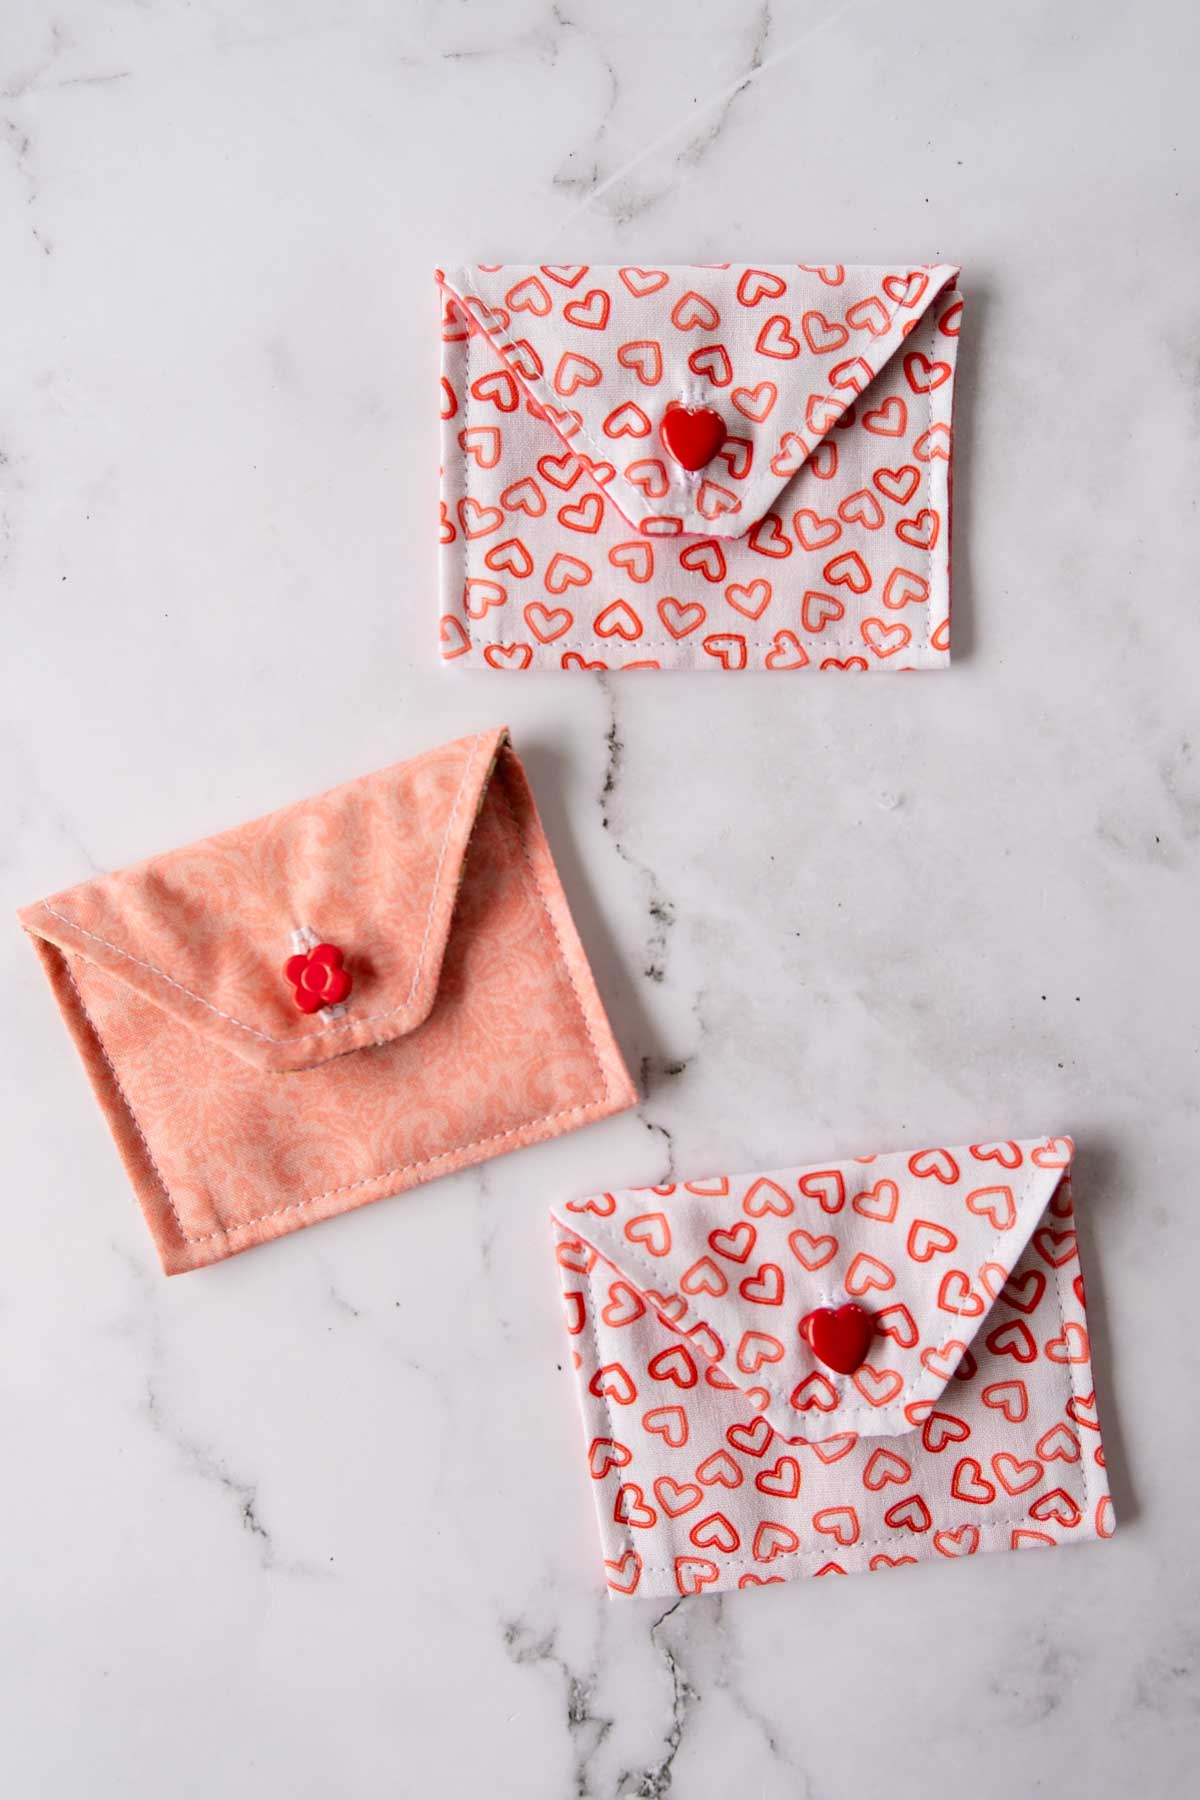
Valentine’s Day is just around the corner, and what could be more heartfelt than crafting a personalised fabric envelope to gift your loved ones a piece of your heart?
Whether it’s a thoughtful note, a delicious chocolate, or a handful of candies, these adorable fabric envelopes add a personal touch to your Valentine’s gifts.
In this beginner-friendly sewing tutorial, I’ll walk you through creating a charming fabric envelope that’s sure to make your Valentine’s Day extra special.
As an Amazon Associate, I earn from qualifying purchases. Read my full disclosure here.
Why You Will Love These Fabric Envelopes
Gift Ideas to Tuck Inside
- A Love Note – Nothing beats a handwritten note filled with special words from the heart.
- Chocolates or Candies – A sweet treat for your sweet person.
- Jewellery – A handmade fabric envelope is perfect for gifting a piece of special jewellery.
- Gift Cards – A gift card tucked inside adds a personal touch for those who love shopping.

Materials & Tools You Will Need
2 cotton fat quarters (one for the outer layer and one for the lining)
1cm (0.4″) diameter buttons (1 per envelope)
Sewing Pattern (free below)
Tape measure
Chalk
Pins
Fabric shears
Thread
Sewing machine
Iron
How to Sew DIY Fabric Envelopes
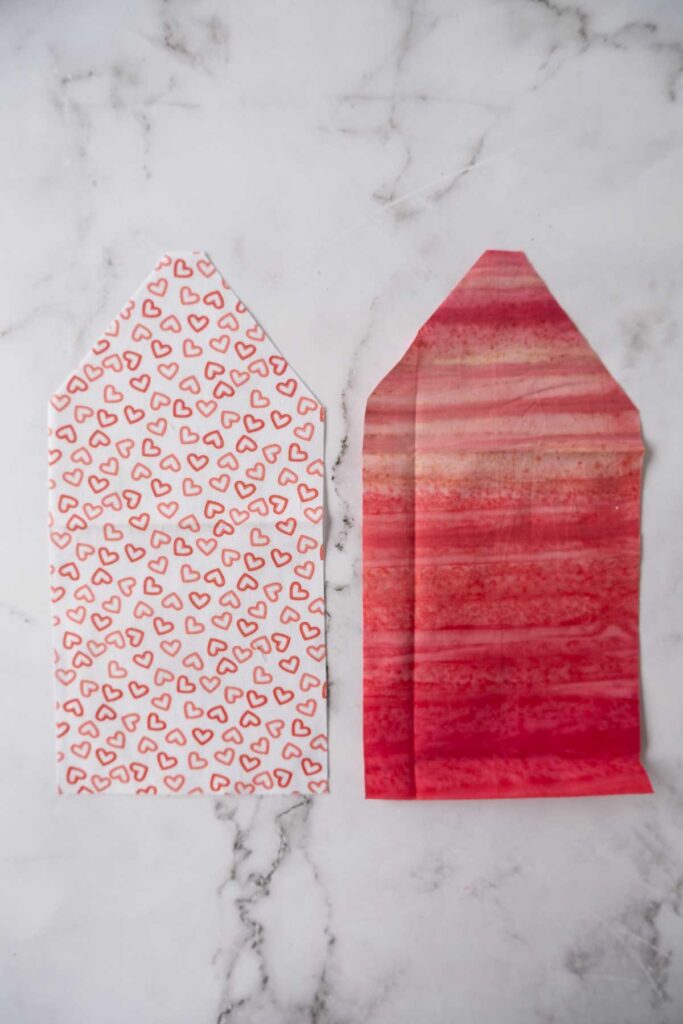
1. Cut out one each of the outer and lining fabric. Place the outer and lining right sides together and pin around the outside.

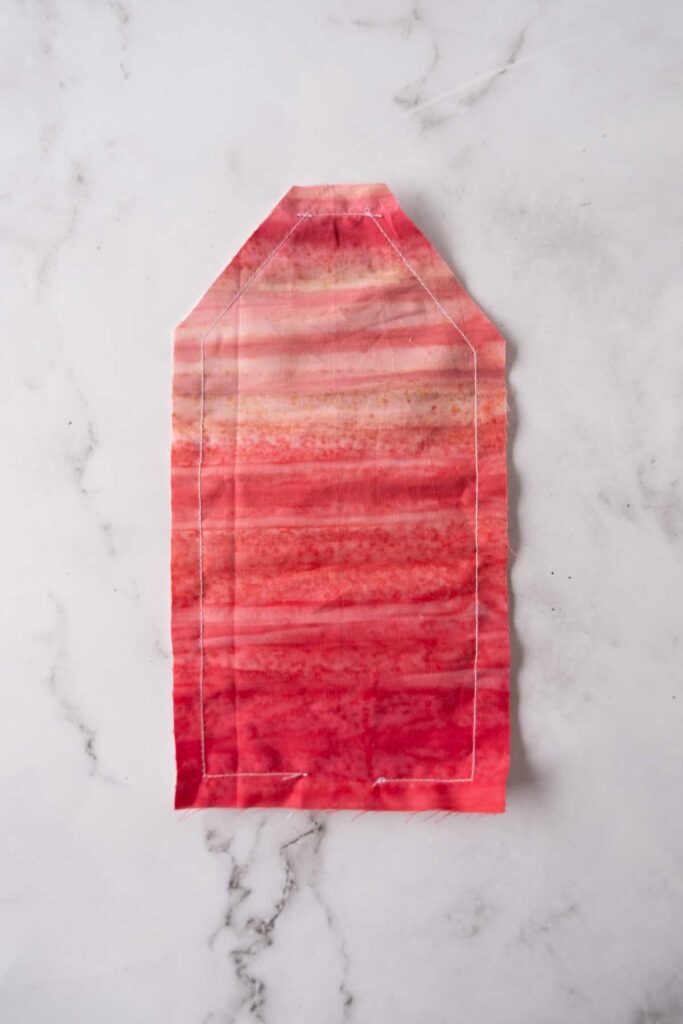
2. Start sewing around the envelope with a 1cm (0.4″) seam allowance. Leaving a 4cm gap in the seam. Trim the corners to reduce the seam bulk.
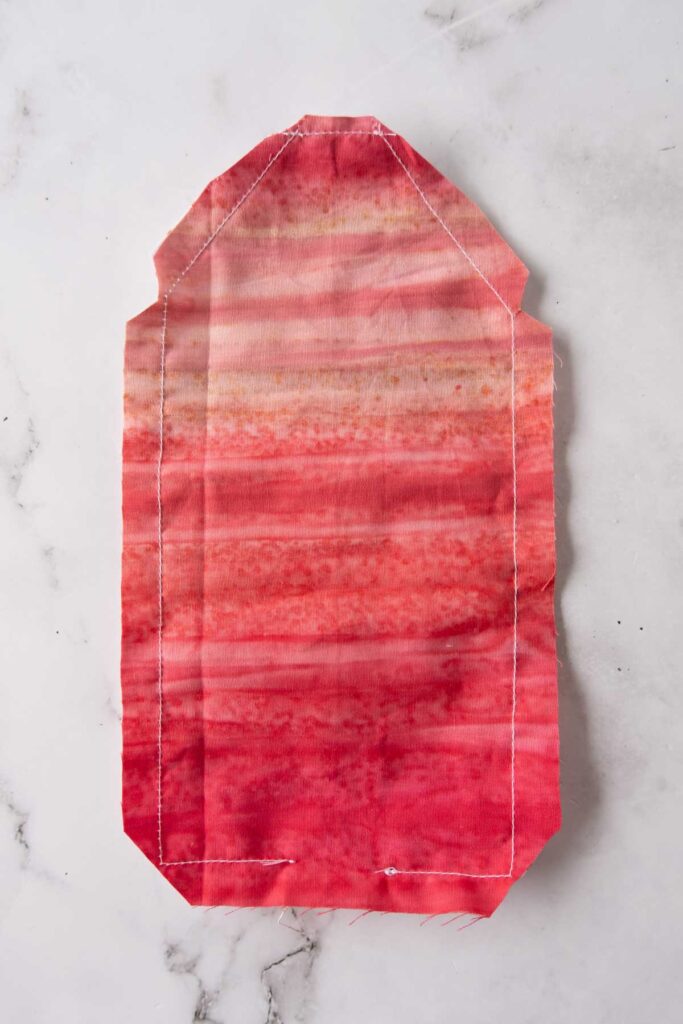
3. Turn the fabric right side out through the gap in the seam allowance. You can use a knitting needle or chopstick to help push the corners out—press flat.

4. Right side down fold the bottom up following the pattern notches. Press to crease the bottom of the envelope. Edgestitch around the envelope.


5. Using chalk, mark a point 1cm down from the top of the envelope flap on the right side. This point will serve as the starting point for the buttonhole. Sew the buttonhole to the size of your button, then carefully cut it open.
Fold the envelope flap down, mark a dot through the buttonhole, and sew on the button by hand.
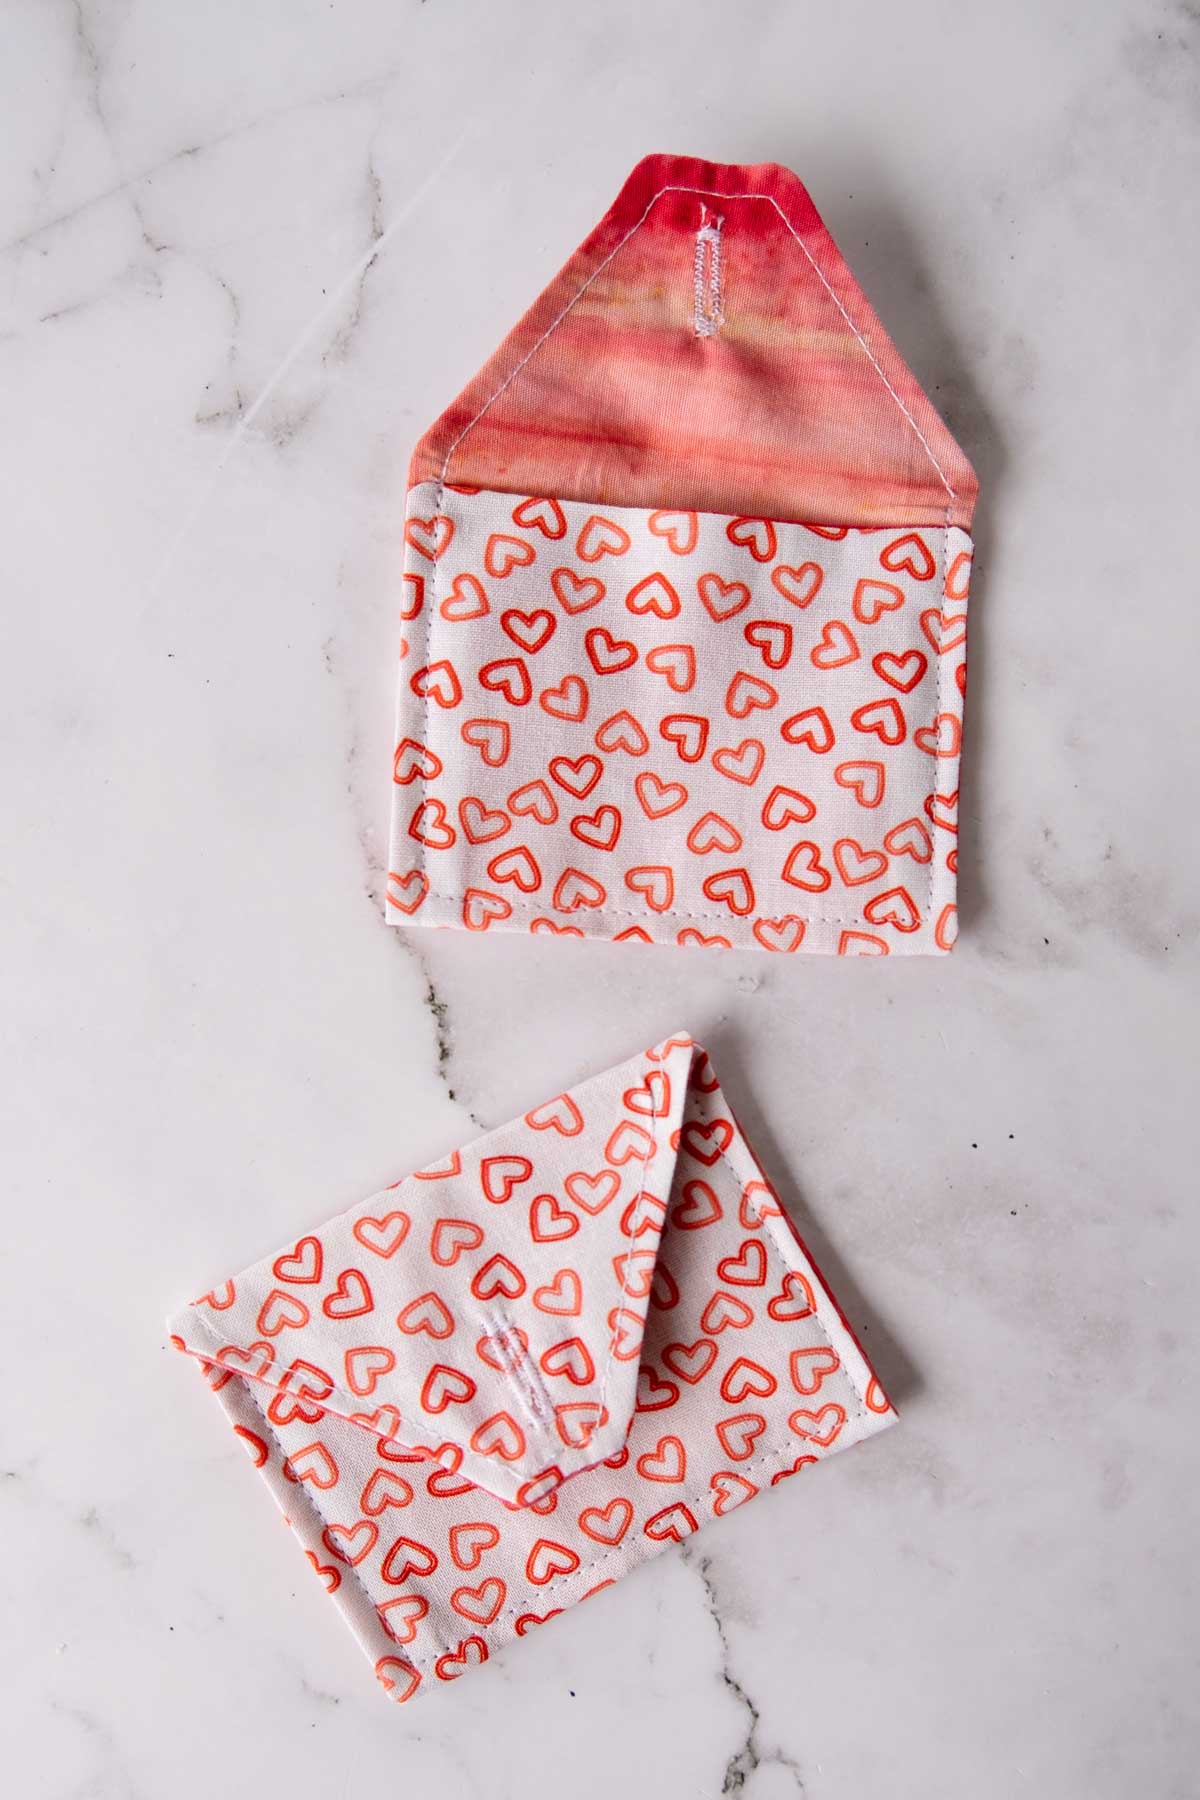
6. Add in your gift and button it closed. You’re finished!
If you like making quick and easy sewing projects, you’ll love these easy sewing projects!
