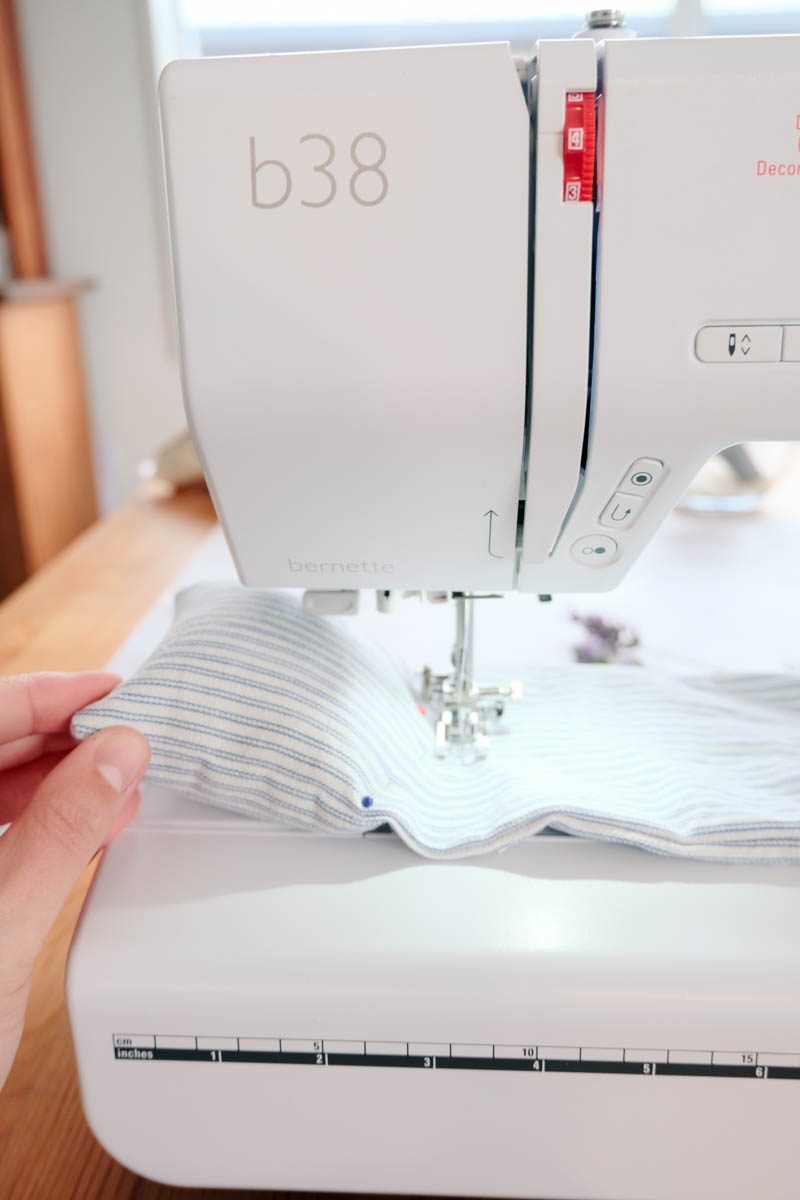
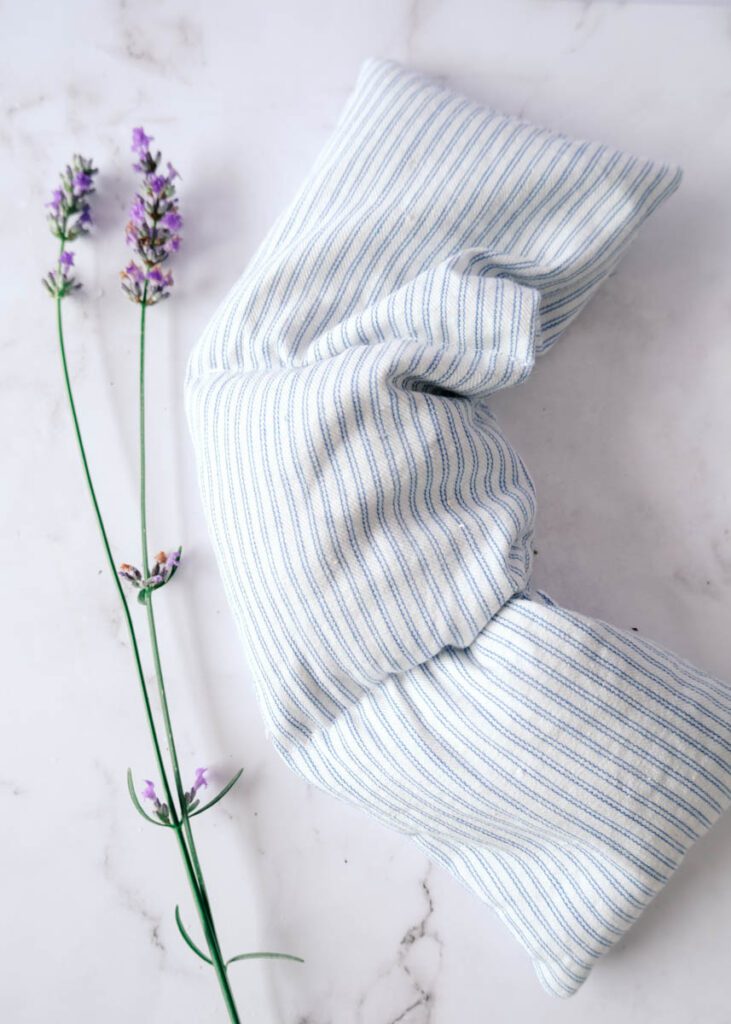
Are you looking for a quick and easy sewing project that also provides soothing warmth? In this beginner-friendly sewing tutorial, I’ll guide you through the process of creating your own DIY heating pad for the microwave.
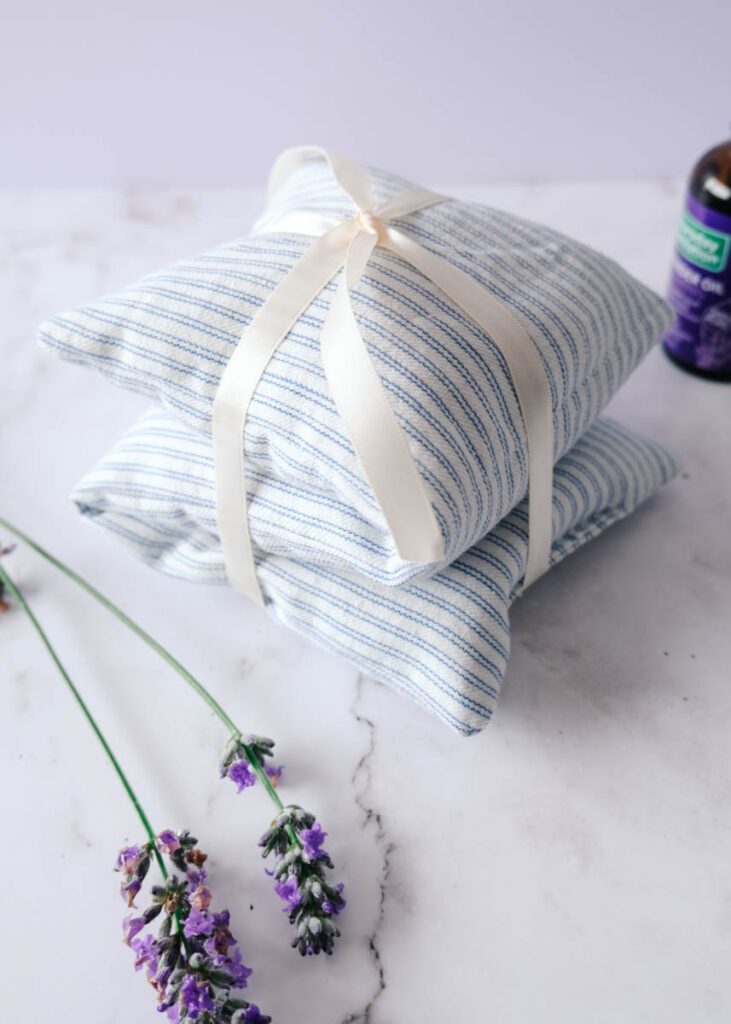
Made with simple materials like cotton ticking, rice, and lavender essential oils, this heating pad is not only practical but also a comforting companion for those chilly days.
On super cold days, I love to pamper myself by making a hot cup of peppermint tea and rinsing my face with my DIY homemade coffee scrub and sugar lip scrub. Then I grab a good book and snuggle up on the couch with my cuddly ruffle cushions and a warm heating pad.
Let’s get started sewing your very own heating pad in a few simple steps.
If you are new to sewing checkout these helpful sewing articles:
- Learn how to sew – Ultimate guide for beginners
- Best sewing machines for beginners
- Sewing tool and equipment guide
- Types of fabrics
- How to cut out fabric
As an Amazon Associate, I earn from qualifying purchases. Read my full disclosure here.
Why You Will Love This Heating Pad
- A homemade heating pad provides warmth and relaxation. The rice filling will retain heat for a significant amount of time, offering soothing relief to sore muscles, and menstrual cramps, or simply keeping you cosy on a chilly day.
- The lavender essential oils are soothing and can help the body relax. It is great for helping to ease headaches or with sleep.
- Easy to make with just a few simple sewing and home pantry supplies.
- Perfect sewing project for beginners!
Materials & Tools You’ll Need
- Cotton ticking fabric – Cut a pair to size: 42cm x 16cm (16.5in x 6.3in)
- Rice – 3-4 cups
- Lavender essential oil (optional for a soothing scent)
- Sewing machine
- Thread
- Fabric shears
- Pins
- Fabric marker
DIY Heating Pad Video Tutorial
How to Make a DIY Heating Pad for Microwave
Step 1: Cutting the Fabric
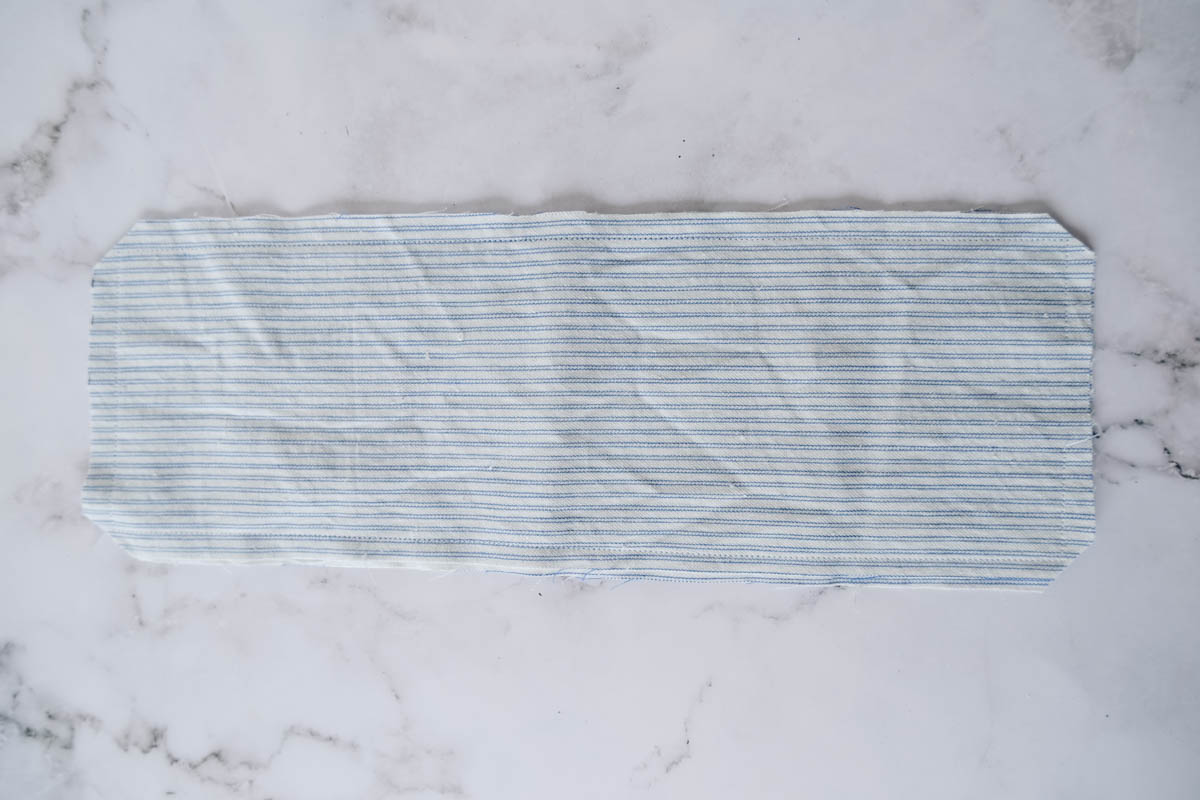
Cut a pair of cotton-ticking fabric to size, 42cm x 16cm (16.5in x 6.3in). Once sewn, the finished size will be slightly smaller: 40cm x 14cm (15.7in x 5.5in). Feel free to experiment with sizing if you want a smaller or larger heat pack.
Step 2: Sewing the Heating Pad
Place the pieces right sides together. Pin around the edges to hold the fabric in place.
Pin the two longer sides together and one short side, leaving one of the shorter ends with a small 4cm opening for filling. This will create a fabric pocket.
Sew along the pinned sides using a 1cm (0.4in) seam allowance, backstitching at the beginning and end to secure the stitches.
Trim the corners of the seam allowance, being careful not to cut into the stitching.
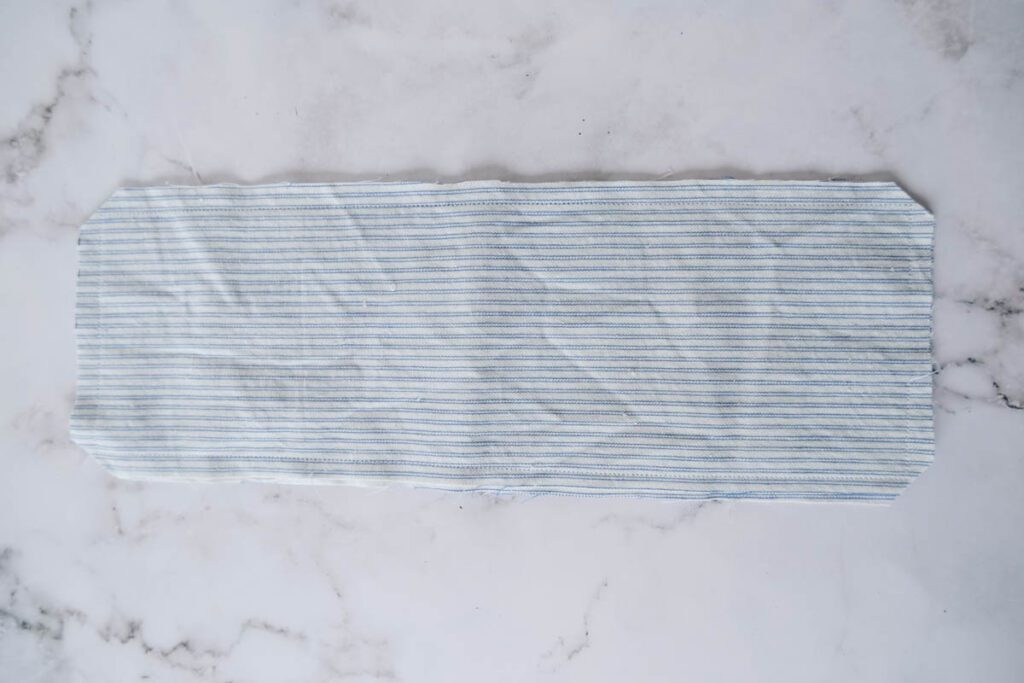
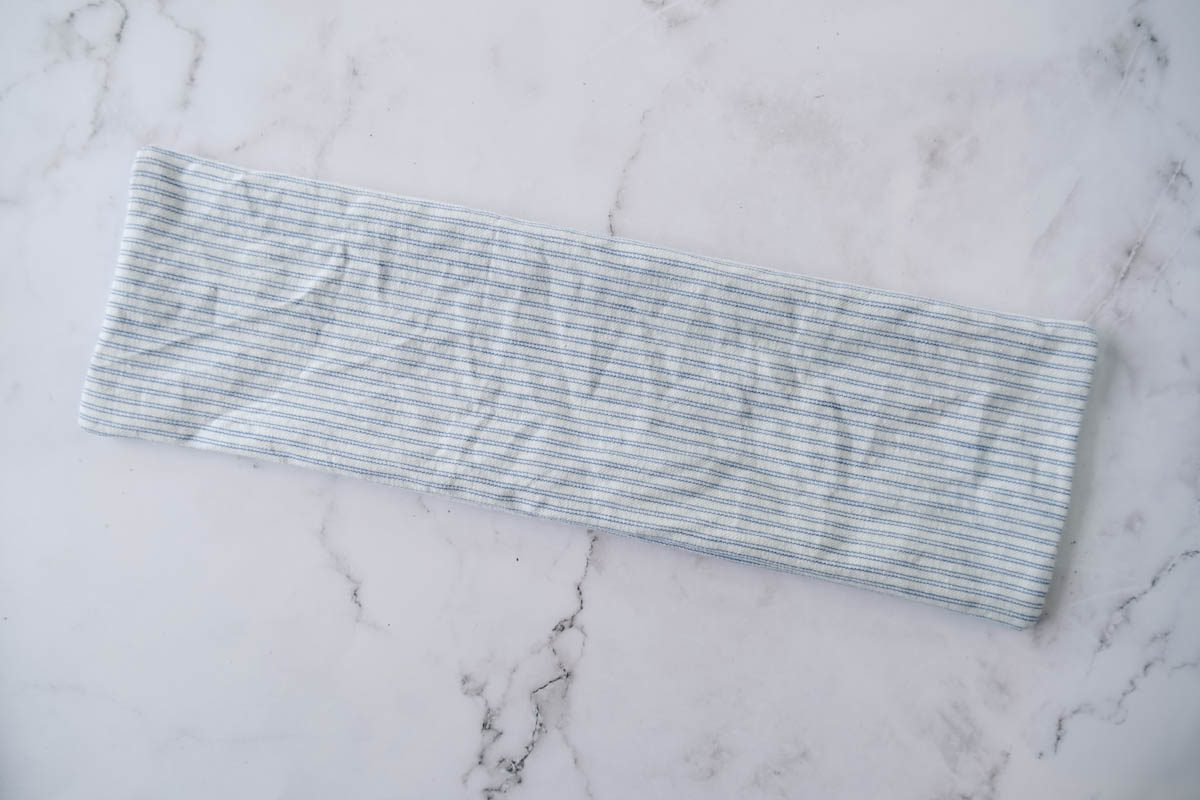
Turn the fabric pocket right side out, gently pushing out the corners to ensure a clean finish.
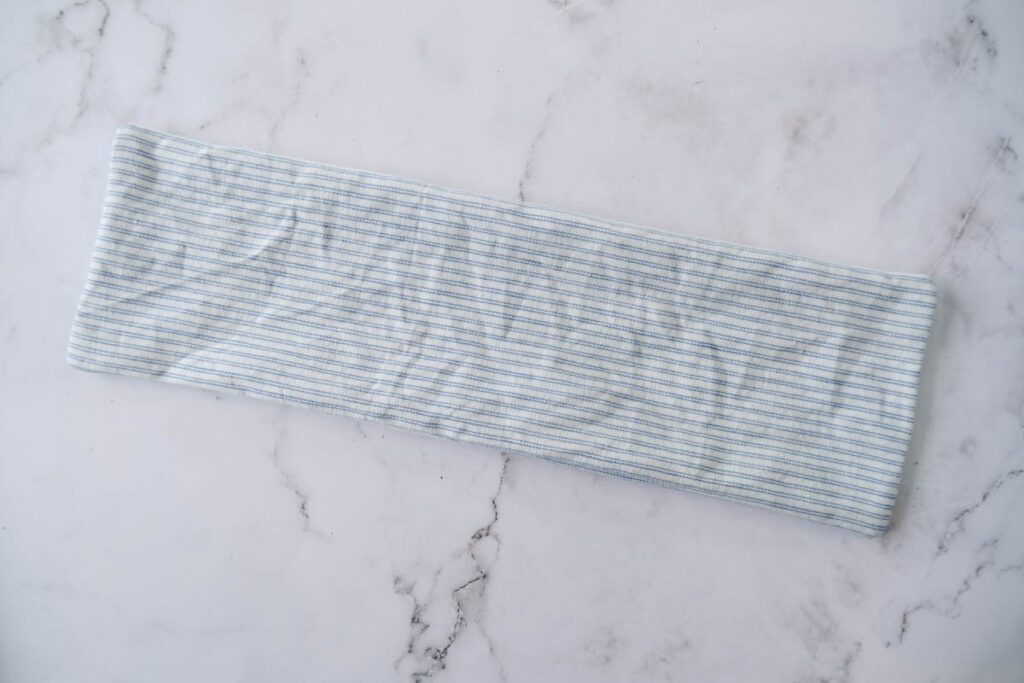
Step 3: Divide the Heating Pad into Three
Fold the length into three even parts and mark the folds with a fabric marker.
Step 4: Adding Rice and Lavender Essential Oil
Now it’s time to fill your heating pad with rice. Rice is an excellent natural filler that retains heat well. If desired, you can add a few drops of lavender essential oil to create a soothing aroma.
If using a lavender essential oil, add a few drops directly to the rice. Lavender is known for its calming properties and can enhance the relaxation experience.
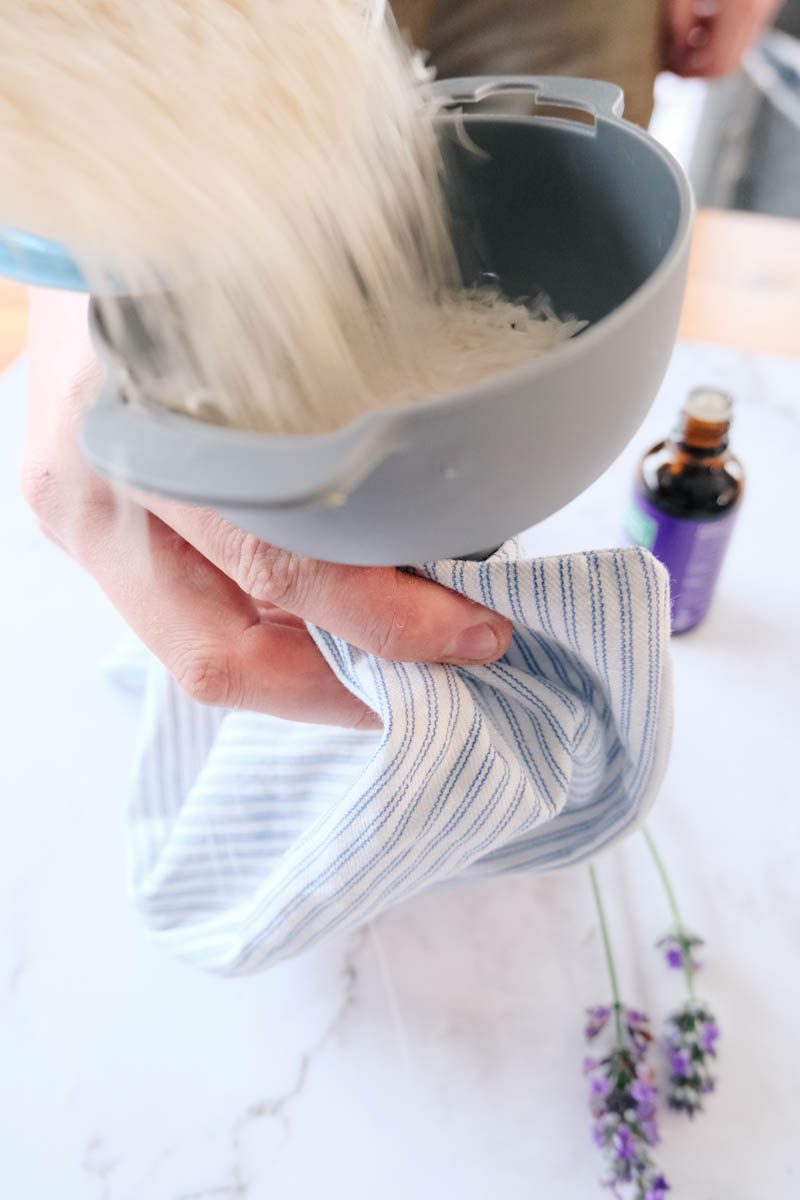
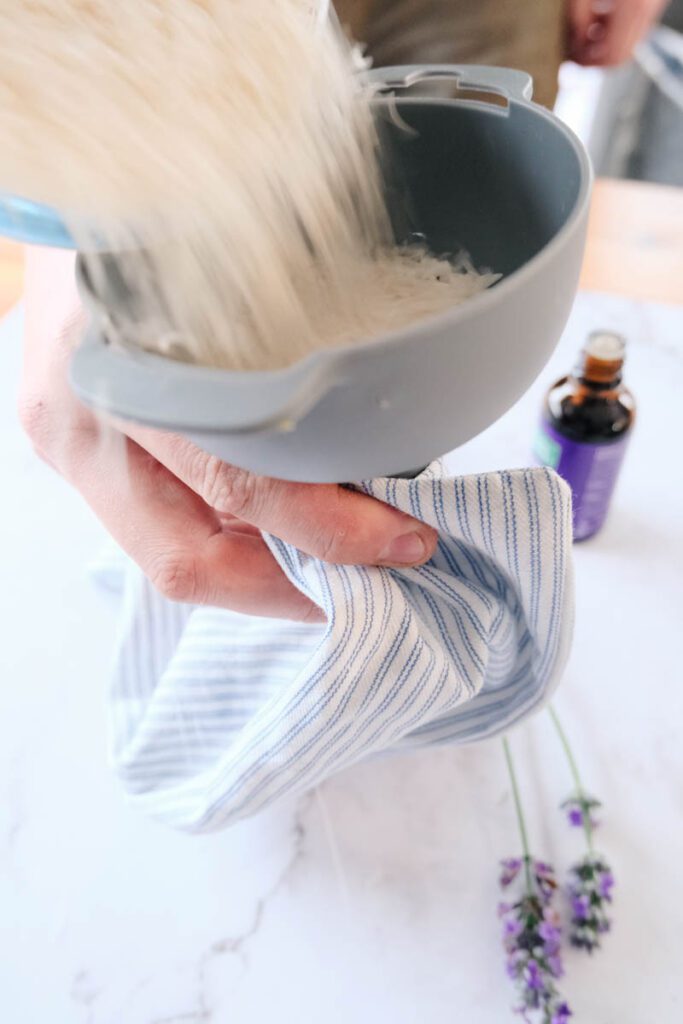
Using a funnel or a rolled-up piece of paper, carefully pour just over 1 cup of rice into the open end of the fabric pocket.
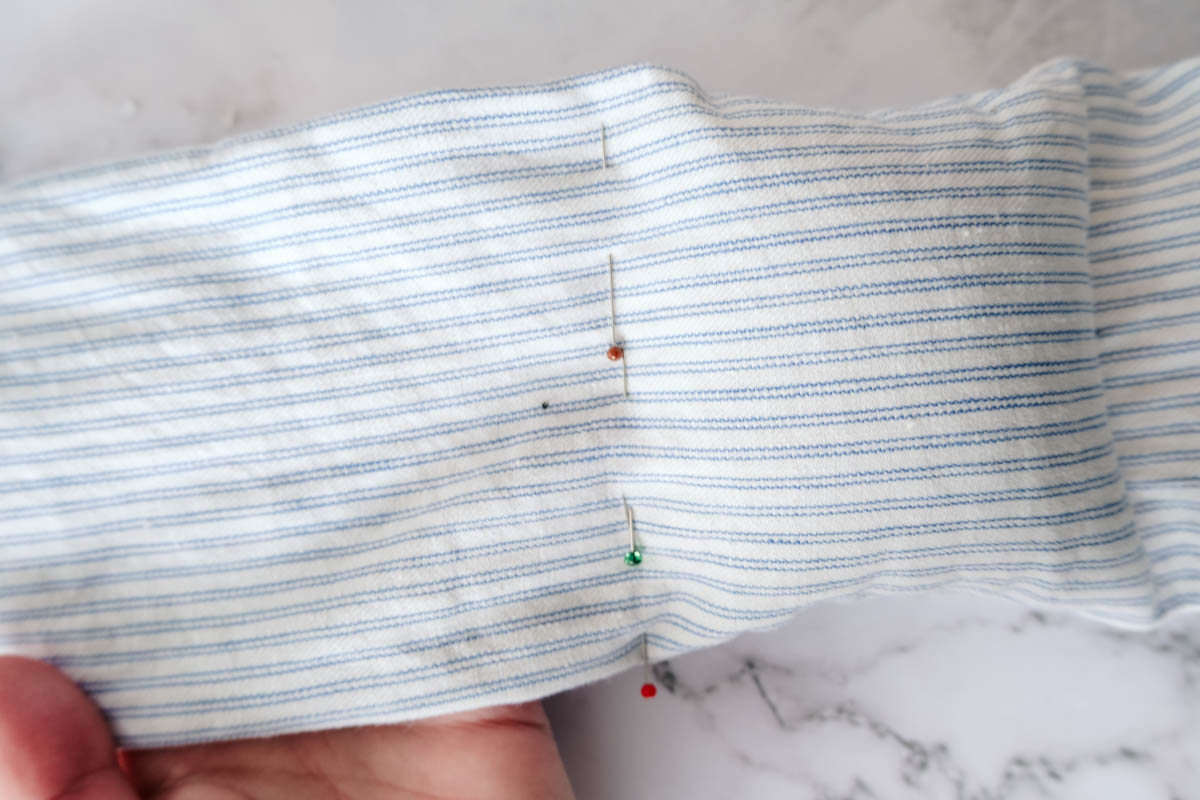
Push all the rice to the bottom of the heating pad and pin along the first marked fold.
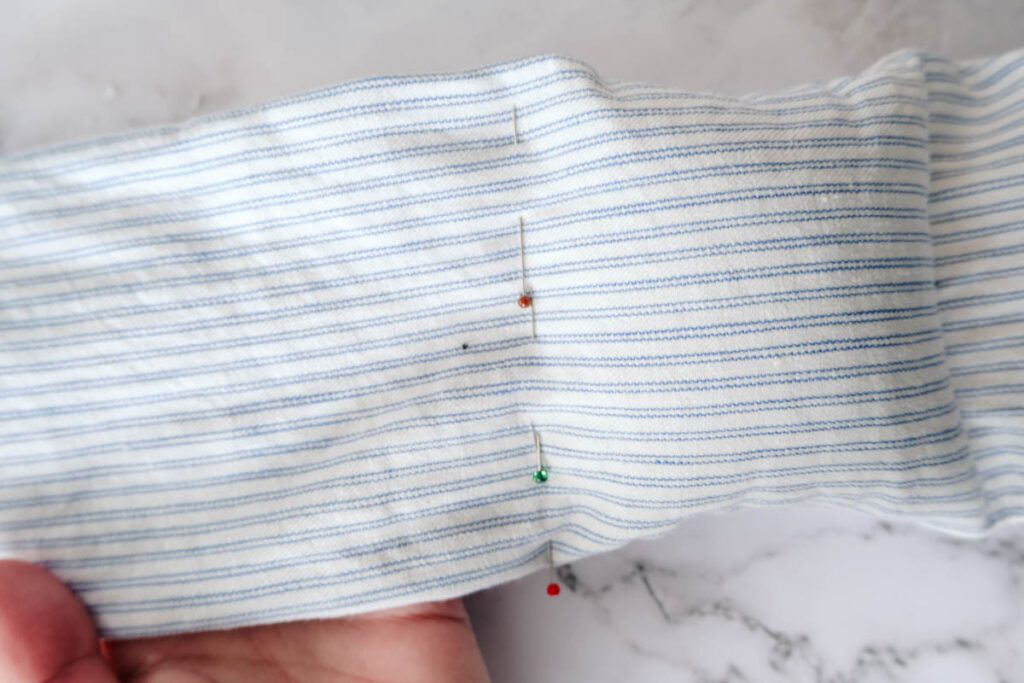
Sew a row of stitching along the mark. This creates the first 1/3 division.
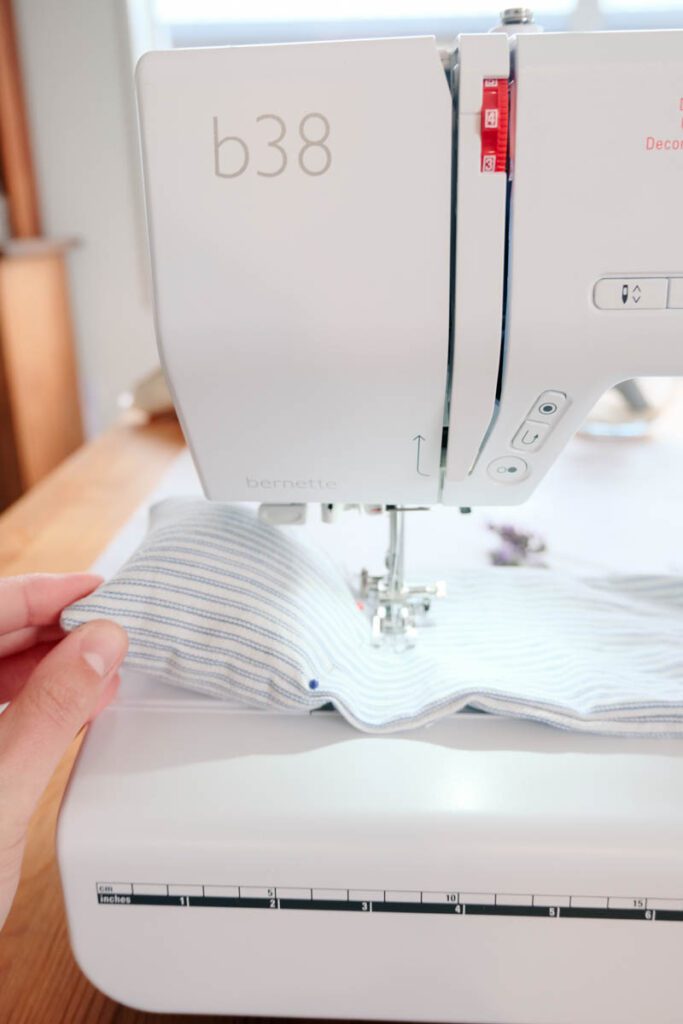
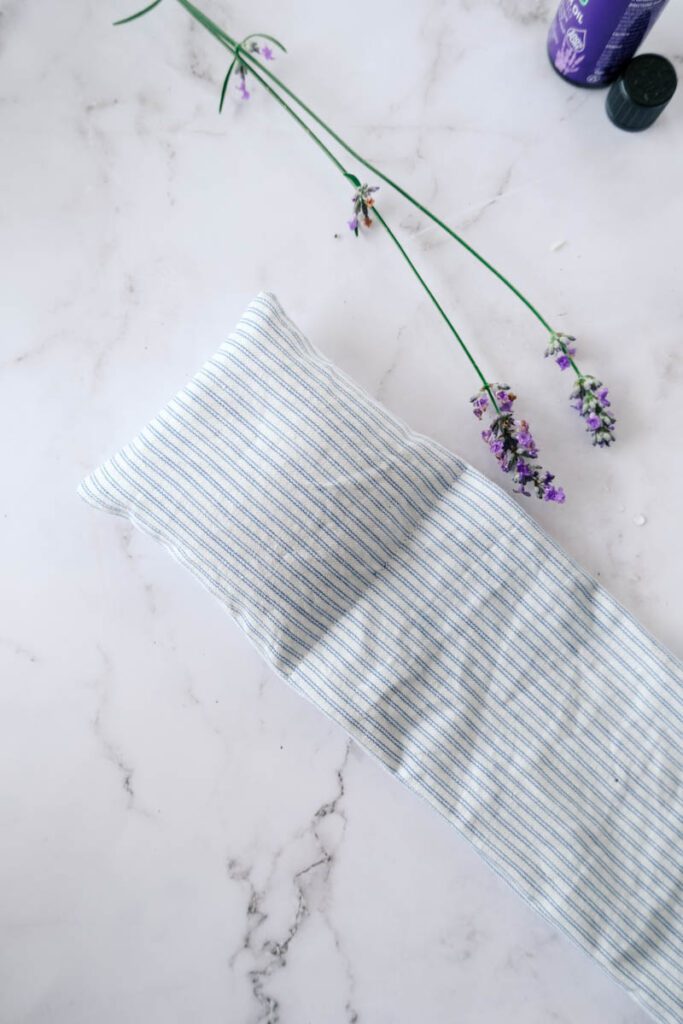
Repeat these steps for the second division.
Step 5: Finishing the Heat Pad
Fill the third division with rice then fold the open end of the fabric inward by approximately 1cm (0.4in) to create a clean edge. Pin the folded end securely, ensuring that no rice spills out during the sewing process.
Edgestitch across the pinned edge, backstitching at the beginning and end for reinforcement.
How to Use Your DIY Heating Pad
Now, your DIY heating pad is ready to provide soothing warmth and comfort whenever you need it.
To use it, simply place the heating pad in the microwave with a mug of cold water and heat it in 30-second intervals until it reaches your desired temperature. Always test the heating pad’s temperature on the back of your hand before applying it to your body to avoid burns.
If it’s too hot leave it to cool down for a few minutes before using.
Before putting it to use, let’s make sure it’s safe and ready to provide you with cosy warmth.
- It’s important to check all the seams to ensure they are secure and free from any loose threads.
- Since the heating pad contains rice and essential oils, avoid getting it wet or placing it in the freezer.
- If you are gifting this to someone else remember to add instructions on how to heat it safely.
Frequently Asked Questions
Can I use a different fabric instead of cotton ticking?
Yes, you can try using fabrics other than cotton ticking for your project. However, it’s important to make sure that the material you choose is safe to use in the microwave and won’t be damaged by heat. Flannel and cotton blends are good options to consider. Read more about types of fabrics.
Is it necessary to prewash the fabric before sewing?
When you’re using fabric for a project, it’s usually a good idea to wash it first to get rid of any sizing or prevent shrinking later. But for this heating pad project, you don’t really need to worry about that since it won’t be getting washed. Of course, if you do decide to wash it, just make sure to dry it completely before you start cutting and sewing.
Can I use a different filler instead of rice?
Rice is a popular choice for heating pads due to its heat-retaining properties. However, you can also use other fillers like flaxseed or wheat. Just ensure that the filler is microwave-safe and able to hold heat effectively.
Can I reuse the heating pad multiple times?
You can use the heating pad multiple times, but you need to check it for any wear or damage before using it again. If you see any holes, tears, or bad smells, then it’s time to replace the rice and lavender filling or make a new heating pad.
Can I wash the heating pad?
We advise against washing the heating pad since it has rice and essential oils. If the fabric gets dirty, simply clean the stained part with a damp cloth. Please avoid soaking the heating pad in water or washing it.
How should I store the heating pad when not in use?
To ensure that your heating pad lasts longer, make sure to store it in a clean and dry location when it’s not in use. It’s recommended to keep it in a sealed plastic bag or container to shield it from moisture, dust, and potential pests.
DIY Heat Pad Conclusion
Making your own microwaveable heating pad is a useful and satisfying sewing project. With basic sewing skills and a few materials, you can create a cosy and comforting accessory for relaxation and warmth. Whether you want to relieve muscle tension or cuddle up on a chilly night, this heating pad is perfect.
It’s important to be careful when heating the pad and make sure to check the temperature before applying it to your body. Safety should always come first to avoid any potential burns or accidents. Enjoy the soothing benefits of your handmade heating pad and stay warm and cosy all year round. Happy sewing!
More Beginner Sewing Projects to Try:
- How to Make Pot Holders
- DIY Drawstring Bags
- DIY Ruffle Pillowcases
- DIY Baby Blanket
- DIY Patchwork Laptop Case
DIY Heating Pad for Microwave
Are you looking for a quick and easy sewing project that also provides soothing warmth? In this beginner-friendly sewing tutorial, I’ll guide you through the process of creating your own DIY heating pad for the microwave.
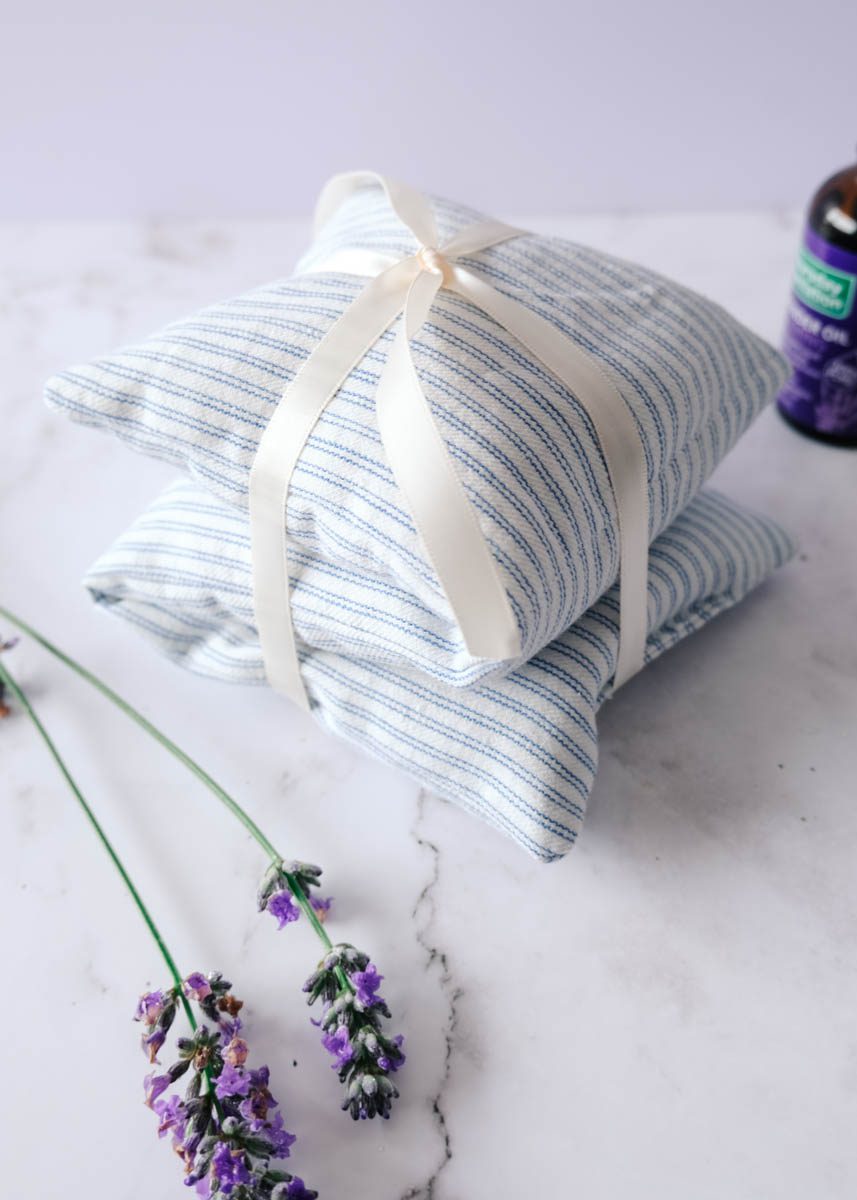
Made with simple materials like cotton ticking, rice, and lavender essential oils, this heating pad is not only practical but also a comforting companion for those chilly days.
Materials
- Cotton ticking fabric – Cut a pair to size: 42cm x 16cm (16.5in x 6.3in)
- Rice – 3-4 cups
- Lavender essential oil (optional for a soothing scent)
- Thread
Tools
- Sewing machine
- Fabric shears
- Pins
- Fabric marker
Instructions
- Cutting the Fabric
Cut a pair of cotton-ticking fabric to size, 42cm x 16cm (16.5in x 6.3in). Once sewn, the finished size will be slightly smaller: 40cm x 14cm (15.7in x 5.5in). Feel free to experiment with sizing if you want a smaller or larger heat pack. - Sewing the Heating Pad
Place the pieces right sides together. Pin around the edges to hold the fabric in place.
Pin the two longer sides together and one short side, leaving one of the shorter ends with a small 4cm opening for filling. This will create a fabric pocket.
Sew along the pinned sides using a 1cm (0.4in) seam allowance, backstitching at the beginning and end to secure the stitches.
Trim the corners of the seam allowance, being careful not to cut into the stitching.
Turn the fabric pocket right side out, gently pushing out the corners to ensure a clean finish. - Divide the Heating Pad into Three
Fold the length into three even parts and mark the folds with a fabric marker. - Adding Rice and Lavender Essential Oil
Now it’s time to fill your heating pad with rice. Rice is an excellent natural filler that retains heat well. If desired, you can add a few drops of lavender essential oil to create a soothing aroma.
If using a lavender essential oil, add a few drops directly to the rice. Lavender is known for its calming properties and can enhance the relaxation experience.
Using a funnel or a rolled-up piece of paper, carefully pour just over 1 cup of rice into the open end of the fabric pocket.
Push all the rice to the bottom of the heating pad and pin along the first marked fold.
Sew a row of stitching along the mark. This creates the first 1/3 division.
Repeat these steps for the second division. - Finishing the Heat Pad
Fill the third division with rice then fold the open end of the fabric inward by approximately 1cm (0.4in) to create a clean edge. Pin the folded end securely, ensuring that no rice spills out during the sewing process.
Edgestitch across the pinned edge, backstitching at the beginning and end for reinforcement.
Notes
To use it, simply place the heating pad in the microwave with a mug of cold water and heat it in 30-second intervals until it reaches your desired temperature. Always test the heating pad’s temperature on the back of your hand before applying it to your body to avoid burns.
Before putting it to use, let’s make sure it’s safe and ready to provide you with cosy warmth.
- It’s important to check all the seams to ensure they are secure and free from any loose threads.
- Since the heating pad contains rice and essential oils, avoid getting it wet or placing it in the freezer.
- If you are gifting this to someone else remember to add instructions on how to heat it safely.
